Engineering Hillside Stability: 5 Yard Cleanup Fixes to Stop 2026 Soil Erosion
Soil erosion on a slope is not just a cosmetic nuisance; it is a structural threat to the integrity of your entire property. When heavy rains hit a grade that hasn’t been properly stabilized, the hydraulic force strips away the O-horizon (organic layer), exposes root systems, and can eventually lead to slope failure or ‘slumping.’ To prevent a washout in the 2026 season, you need to stop thinking about your yard as a garden and start thinking about it as a drainage basin.
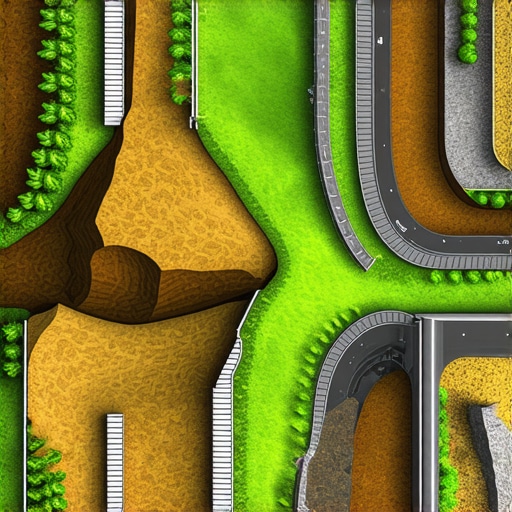
The Hardscape Autopsy: Why Gravity Always Wins
I recently got called out to tear up a $30,000 patio that was sinking because the previous contractor treated a 15-degree slope like a flat parking lot. They laid pavers directly over poorly compacted fill dirt without a single thought for hydrostatic pressure. Within two seasons, the water moving under the surface had carved a subterranean channel—what we call ‘piping’—and the entire north corner of the patio dropped six inches into the void. This failure wasn’t caused by the stone; it was caused by the contractor’s ignorance of soil physics. If you don’t manage where the water goes, it will manage your bank account for you.
“A retaining wall doesn’t fail because of the stone; it fails because of the water trapped behind it.” – Hardscape Engineering Axiom
1. Stabilizing the Shear Plane with Precise Soil Grading
Soil grading for erosion control involves reconfiguring the terrain to a 1:3 slope ratio to reduce water velocity. By directing runoff toward designated swales or catch basins, you prevent the saturation of the soil’s shear plane, which is the primary cause of hill failure during 2026 spring thaws.
When we talk about grading, we are looking at the ‘angle of repose.’ For most clay-heavy soils, if your hill is steeper than 33 degrees, gravity is actively trying to pull it down. During your yard cleanup, look for ‘rills’—small finger-like channels in the dirt. These are the precursors to gullies. You must fill these with a mixture of screened topsoil and 3/4-inch crushed aggregate to provide ‘teeth’ for the soil to grip. Don’t just throw loose dirt in a hole. It will wash away in the first storm. Use a hand tamper or a plate compactor to reach at least 90% Proctor density. It must be hard. If you can push a screwdriver into it with one hand, it’s not compacted enough.
2. Installing a Bio-Filtration Sod Barrier
A strategic sod install acts as a biological rebar system, using a dense network of rhizomes and fibrous roots to lock the top six inches of soil in place. Unlike seeding, which can wash away in a single afternoon, sod provides instantaneous hydraulic resistance against downhill water flow.
For hills, you cannot use the ‘cheap’ mesh-backed sod from a big-box store. You need farm-grown, thick-cut sod—preferably a Tall Fescue or Bermuda, depending on your USDA zone. When laying sod on a hill, you must stagger the joints like bricks. If you align the seams, water will find those straight lines and turn them into new erosion channels. Stake the sod pieces into the hill using biodegradable wooden stakes. This prevents the turf from sliding before the roots knit into the native soil. It’s hard work. Your back will hurt. Do it anyway.
How deep should sod roots go?
In a healthy hill stabilization project, you want to see root penetration of at least 4 to 6 inches within the first 60 days. This requires deep, infrequent irrigation that forces the roots to seek moisture further down in the soil profile. Shallow watering is the enemy of slope stability.
3. Sub-Surface Drainage and the French Drain Grid
Sub-surface drainage involves installing perforated PVC piping encased in a non-woven geotextile fabric and clean stone to intercept groundwater before it destabilizes a slope. This system mitigates hydrostatic pressure, which is the weight of water trapped in the soil pushing against your landscaping.
| Method | Slope Tolerance | Estimated Lifespan | Primary Failure Mode |
|---|---|---|---|
| Sod Reinforcement | 1:3 Grade | 5-10 Years | Root Desiccation |
| Riprap / Armoring | 1:2 Grade | 25+ Years | Under-cutting |
| French Drain Grid | N/A (Sub-surface) | 15-20 Years | Siltation/Clogging |
| Terraced Retaining Wall | 1:1 Grade | 40+ Years | Hydrostatic Pressure |
Many homeowners think a yard cleanup is just raking leaves. On a hill, a real cleanup involves clearing the ‘daylight’ ends of your drain pipes. If the exit point of your French drain is buried under two inches of mulch or silt, the whole system backs up. The water saturates the hill, the weight of the soil doubles, and then the hill moves. Use 4-inch SDR-35 pipe; do not use that flimsy black corrugated tubing. The corrugated stuff traps silt in the ridges and collapses under the weight of the earth. It is garbage. Use rigid pipe.
4. Irrigation Calibration: Avoiding the ‘Saturation Point’
Irrigation management on slopes requires matched precipitation rate nozzles and cycle-and-soak programming to prevent surface runoff. Over-irrigation on a hill doesn’t just waste water; it lubricates the soil particles, significantly increasing the risk of a localized landslide or mudflow.
If you have an automated system, you must check your run times. If you see water running off the grass and into the street or driveway, you have reached the soil’s infiltration limit. Stop the water. Set your controller to run for 5 minutes, wait an hour for the water to soak in, and then run for another 5 minutes. This is ‘cycle-and-soak.’ Also, check for ‘weeping’ heads at the bottom of the hill. Gravity pulls all the water in the pipes to the lowest head after the zone shuts off. Install check valves (like the Rain Bird SAM series) to keep the water in the pipe and prevent the bottom of your hill from becoming a swamp.
“Surface water runoff is a function of soil permeability and rainfall intensity; once intensity exceeds permeability, erosion is inevitable without mechanical intervention.” – USDA NRCS Technical Manual
5. Hardscape Anchoring and Riprap Placement
Hardscape anchoring uses angular riprap stone or segmental retaining units to provide a mechanical counterweight to the soil’s lateral pressure. On steep grades where vegetation alone fails, armoring the toe of the slope prevents the base from washing out, which would otherwise lead to a ‘global failure’ of the hill.
During your 2026 yard cleanup, inspect the ‘toe’ of your hill—the very bottom where it flattens out. If you see soil accumulating there, the hill is moving. You need to anchor it. Use 6-to-12-inch angular limestone. Do not use round river rock. Round rocks are like marbles; they roll. Angular stones lock together. This is called ‘interlocking friction.’ Dig a trench at the bottom of the hill, line it with heavy-duty filter fabric, and ‘key’ the first layer of stones into the ground. This creates a structural ‘boot’ that holds the rest of the hill in place.
How much modified gravel do I need for a patio base?
For a standard patio, you need 6 inches of compacted 21A or 57 stone. However, on a hill or near a slope, you must increase that to 8-12 inches of compacted aggregate, reinforced with a biaxial geogrid to prevent lateral shifting of the base material.
Checklist for Hillside Erosion Inspection
- Identify ‘rills’ or small channels deeper than 1 inch.
- Check for ‘creep’ (leaning fence posts or trees with ‘J’ shaped trunks).
- Clear all debris from drain exits and catch basin grates.
- Test soil pH; acidic soil (below 5.5) prevents the deep root growth needed for stability.
- Examine the ‘toe’ of the slope for signs of bulging or silt accumulation.
Fixing erosion isn’t about one big ‘transformation.’ It’s about a dozen small engineering choices. Use the right pipe. Compact the dirt until it’s hard as a rock. Stake your sod. If you cut corners, the rain will find them. Don’t let 2026 be the year your backyard ends up in your neighbor’s pool.