The Death of the Turf: Identifying the Pressure Drop
A lawn does not die all at once; it starts with a subtle graying of the blades, a loss of turgor pressure that signals the root system is starving for hydration. When you see your sprinkler heads barely popping up or dribbling water like a leaky faucet, you are not just looking at a nuisance. You are looking at a system failure that will cost you thousands in sod replacement if left unchecked. I always drill into my new crew members: if you do not fix the hydraulics before you roll out the sod, you are just laying down expensive tinder. Irrigation is not a garden hose attached to a plastic spike; it is a pressurized engineering network that relies on consistent PSI and GPM to function. It is a game of physics. If the math is wrong, the grass dies. Period.
“A common cause of poor uniformity in irrigation systems is operating outside the manufacturer’s recommended pressure range, which leads to atomization or large droplet formation.” – USDA NRCS Irrigation Guide
How to fix low sprinkler pressure in under 5 minutes
To fix low sprinkler pressure, you must first verify that the main water valve and backflow preventer are fully open, then inspect the nozzle filters for debris, and finally check for line leaks or a faulty Pressure Reducing Valve (PRV) that may be restricting water flow to your irrigation zones.
How do I check my water pressure at the source?
Before you start digging up your yard, you need to establish a baseline. Static pressure is the PSI when the water is not moving. Dynamic pressure is what matters when the system is running. Use a 160-PSI liquid-filled gauge and thread it onto your outdoor hose bib. If your static pressure is below 40 PSI, your municipal supply or well pump is the culprit. If it is above 60 PSI but the heads are still dragging, you have a restriction in the line. This is where the forensic work begins. Check your water meter. If the little red triangle or leak indicator is spinning while the sprinklers are off, you have a subterranean leak. It is likely a cracked lateral line or a failed coupling. Do not ignore it.
Why is one zone lower than the others?
If the pressure drop is isolated to a single zone, the problem is likely at the valve or the heads themselves. Solenoid valves can become clogged with silt or small stones during a yard cleanup or after a main line repair. This restricts the diaphragm from opening fully. It is a mechanical bottleneck. Furthermore, if you just did a sod install, the extra soil and debris can easily migrate into the heads. Take a look at the table below to see what your heads actually need to perform.
| Head Type | Minimum Operating PSI | Optimal PSI Range | Common Failure Symptom |
|---|---|---|---|
| Pop-up Sprays | 15 PSI | 30 – 35 PSI | Donut-shaped brown spots |
| Rotary Nozzles | 25 PSI | 40 – 55 PSI | Low rotation speed |
| Impact Sprinklers | 20 PSI | 40 – 60 PSI | Failure to trip reverse lever |
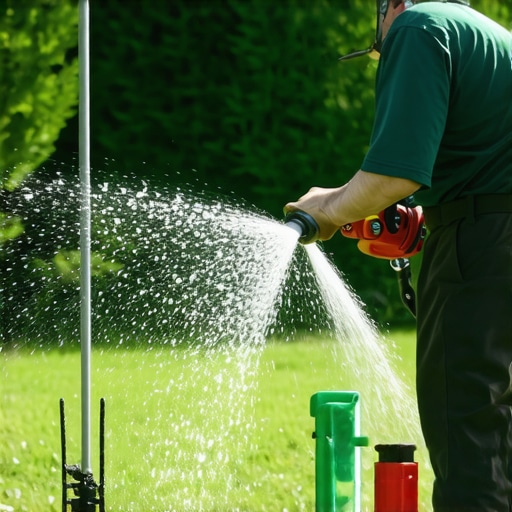
Precision matters here. A spray head designed for 30 PSI will mist and drift away in the wind if the pressure is too high, but it will fail to pop up if it hits 12 PSI. You are looking for the sweet spot. [image_placeholder_1]
The 5-Minute Diagnostic Checklist
- Check the Backflow: Ensure both ball valves are parallel to the pipe. If one is at a 45-degree angle, you are strangling the flow.
- Verify the PRV: If your home has a Pressure Reducing Valve, the internal spring may have failed. This is a common point of failure in newer developments.
- Inspect the ‘Last’ Head: Go to the head furthest from the valve. Pull the nozzle and check the filter screen. If it is coated in slime or sand, your whole zone is choked.
- Listen for the ‘Hiss’: A steady Hissing sound near a valve box usually indicates a weeping diaphragm.
- The Meter Test: Watch the leak dial for 60 seconds with all water off.
“Flow is the volume of water moving through the pipe, whereas pressure is the energy that moves it. You cannot have one without the other in a balanced system.” – Irrigation Association Technical Manual
How much modified gravel do I need for a patio base?
While this seems unrelated to irrigation, homeowners often crush their irrigation lines when installing hardscapes. If you are building a patio over an existing line, you need a minimum of 6 inches of compacted 21A or 3/4-inch modified gravel to protect the PVC from the weight of the pavers. If you skip the compaction, the ground settles, the pipe shears, and your pressure vanishes overnight. It happens all the time. Hacks forget the sleeve. Don’t be that guy. Use a Schedule 40 PVC sleeve for any line running under a walkway. It prevents future headaches.
Remediating Friction Loss and Pipe Sizing
Many DIY systems fail because the installer used 1/2-inch poly pipe for a 100-foot run. Friction loss is a silent killer. As water moves through a pipe, it rubs against the walls, losing energy. The faster it moves, the more pressure you lose. If you are pushing 10 GPM through a 1/2-inch pipe, you are losing nearly 15 PSI every 100 feet. Switch to 1-inch Class 200 or Schedule 40 PVC. The internal diameter is larger, the velocity drops, and your pressure stays at the head where it belongs. This is basic civil engineering. If the pipe is too small, the system is doomed from day one. It is a physical limitation you cannot bypass with a bigger pump.
The Maintenance Rigor
Once you restore the pressure, you must maintain it. This means flushing the system every spring. Debris accumulates in the low points of the manifold. Open the manual bleed screws on your valves to purge the air and grit. If you live in a region with hard water, mineral scale will eventually narrow your nozzles. Soak them in a mild acid solution or just replace them. They are cheap. Your lawn is not. Clean the filters twice a season. It takes ten minutes. Do it. Your turf will thank you with deep green growth and a root structure that can actually survive a July heatwave.