
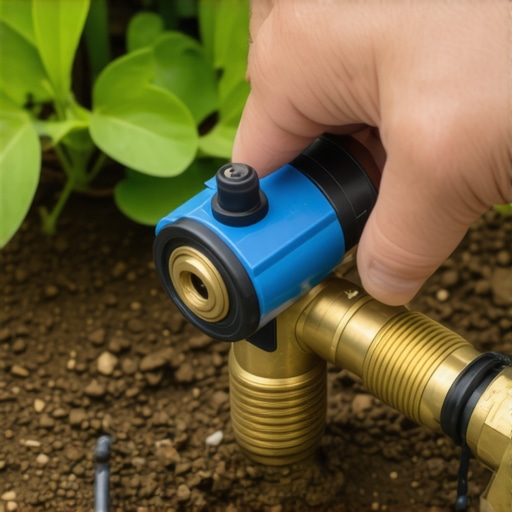
Detecting the Failure: Why Your Irrigation Valve Won’t Cycle
To fix a stuck solenoid on an irrigation valve, you must first identify if the failure is electrical (bad coil) or mechanical (debris in the plunger). Most issues are resolved by shutting off the water, unscrewing the solenoid, and clearing mineral deposits from the internal housing. This requires a systematic approach to diagnostic testing before you start tearing out pipes.
The $12,000 Swamp: A Case Study in Irrigation Neglect
I recently got called out to a job site where a homeowner had spent a small fortune on a premium sod install. It was a beautiful 90-10 fescue blend, laid perfectly over a screened topsoil base. Three weeks later, I was standing in six inches of mud. A single solenoid on Zone 4 had stuck open during the Monday morning cycle. Because the homeowner was away for work, the zone ran for 72 hours straight. The hydrostatic pressure didn’t just drown the roots; it compromised the soil grading I had meticulously leveled. The fescue didn’t just die; it fermented in anaerobic conditions. This is the cost of a fifty dollar part failing. I had to rip out the rotting sod, let the ground dry for two weeks, and regrade the entire north quadrant. If that owner had known how to listen for the click of a functioning solenoid, he would have saved ten grand. Irrigation isn’t a ‘set it and forget it’ system. It is a pressurized hydraulic network that requires active monitoring.
“A properly functioning irrigation valve is dependent on the balance of hydraulic pressure above and below the diaphragm; even a microscopic grain of sand in the weep hole can disrupt this equilibrium.” – Irrigation Association Technical Manual
The Mechanical Anatomy: How the Solenoid Operates
A solenoid is an electromagnetic switch. When your controller sends 24 volts of alternating current (VAC) through the wires, it creates a magnetic field that pulls a metal plunger up. This movement opens a small port called the weep hole, which relieves pressure on top of the internal diaphragm. Once the pressure drops, the higher pressure from the main line pushes the diaphragm up, allowing water to flow to the heads. When the power cuts, the plunger drops, the pressure rebuilds on top of the diaphragm, and the valve slams shut. Any disruption in this sequence—whether it’s a burnt-out coil or a grain of sand—results in a stuck valve. You will either have a zone that won’t turn on or, more dangerously, a zone that won’t turn off. You need to know which one you are dealing with before you touch a wrench.
Phase 1: The Electrical Diagnostic
Before you get your hands wet, use a multimeter. Set it to ohms. A healthy solenoid should read between 20 and 60 ohms. If you get a reading of zero, you have a short. If you get an infinite reading, the internal coil is fried. Don’t skip this. I see hacks all the time replacing entire valves when the problem was a simple loose wire nut in the valve box. Check your connections. Use waterproof grease-filled wire nuts. Standard electrical tape is useless in a damp valve box. It will fail. Every time.
Phase 2: The Mechanical Tear-Down
If the electrical readings are solid, you have a mechanical blockage. Shut off the main water supply first. If you unscrew a solenoid under pressure, you are going to get a 60 PSI jet of water to the face. Once the water is off, unscrew the solenoid counter-clockwise. Inspect the plunger—the small metal rod at the bottom. It should move freely against its internal spring. If it’s gritty or stuck, you’ve found your culprit. Use a clean rag to wipe the seat of the valve. Do not use WD-40 or petroleum-based lubricants. Petroleum will degrade the rubber seals and the diaphragm. Use a dedicated silicone-based lubricant if you must, but usually, a simple flush with clean water is enough.
| Symptom | Probable Cause | Required Action |
|---|---|---|
| Zone Won’t Turn On | Burnt Solenoid Coil | Replace Solenoid (Check 24VAC) |
| Zone Won’t Turn Off | Debris in Weep Hole | Flush Valve and Clean Diaphragm |
| Weak Water Flow | Partial Diaphragm Failure | Replace Diaphragm and Spring |
| Chattering Noise | Air in Line or Low Voltage | Bleed Air or Check Transformer |
How do I know if my irrigation solenoid is bad?
A bad solenoid usually manifests as a silent valve. If you manually activate the zone from the controller and you don’t hear a distinct ‘click’ or ‘thunk’ from the valve box, the electromagnet isn’t pulling the plunger. You can also test this by manually turning the solenoid a quarter-turn. If the water flows when you turn it manually but not electronically, the solenoid is dead. Replace it. It is a five-minute fix that saves your yard from drought stress.
“Turfgrass requires deep, infrequent watering to encourage root systems to penetrate at least six inches into the soil profile; constant saturation from a leaking valve leads to shallow rooting and fungal pathogens.” – University of Georgia Extension, Circular 893
Can I replace just the solenoid without the valve?
Yes. In 90 percent of cases, you do not need to cut the PVC pipe and replace the entire valve body. As long as you stay within the same brand and model (e.g., Rain Bird DV series or Hunter PGV), the solenoids are interchangeable. Just make sure the O-ring is seated correctly when you screw the new one in. Cross-threading a plastic valve body is a death sentence for that component. Hand-tighten only. Do not use a pipe wrench. You will crack the housing.
The Checklist: Monthly Irrigation Audit
- Check all valve boxes for standing water or mud.
- Listen for the mechanical click of every solenoid during a test cycle.
- Inspect wire nuts for corrosion or moisture ingress.
- Manually bleed each valve to ensure the diaphragm isn’t sticking.
- Verify the controller is outputting a clean 24VAC signal to each station.
Maintaining the Hydraulic Integrity
Once you have the valve back together, turn the water on slowly. Slamming a dry system with full pressure causes water hammer, which can blow the heads right off the risers. Watch the zone. Ensure it shuts down completely. If it continues to weep, you likely have a damaged diaphragm seat. At that point, you are looking at a full internal rebuild. Don’t be the guy who ignores a small leak. It will rot your root zone and skyrocket your utility bill. Fix it right. Fix it once. Keep the dirt out of the system. That is the only way to ensure your landscaping survives the peak of summer heat.