
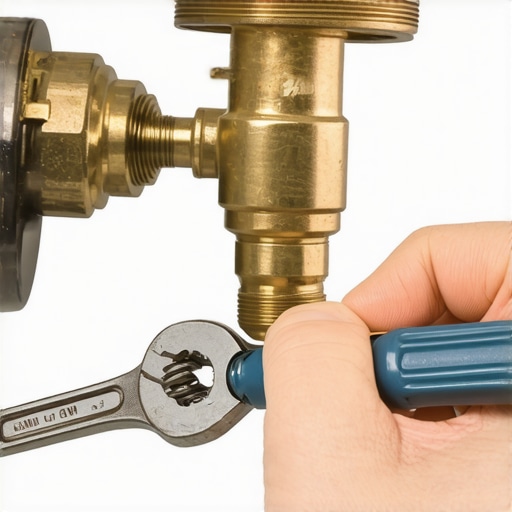
Diagnosing the Hydrostatic Failure in Your Irrigation Manifold
A stuck zone valve is a mechanical failure where the internal diaphragm fails to seal against the valve seat, allowing a constant, low-pressure flow of water to saturate a specific landscaping zone even when the controller is off. This isn’t just a minor leak; it is a localized flood that creates anaerobic soil conditions, effectively drowning your sod install and turning your yard into a breeding ground for Pythium blight. You see the signs: a squishy patch of turf, a suspiciously high water bill, and the constant hum of a pump or the ticking of a meter. It happens because of grit. A single grain of sand in the weeping hole or a microscopic tear in the EPDM rubber diaphragm is all it takes to ruin your 12-foot head pressure.
I always drill into my new crew members: if you don’t understand how a valve handles 50 PSI of dynamic pressure, you have no business touching a shovel. I remember a job in Austin where a homeowner spent $12,000 on high-end landscaping only to have the whole front yard turn into a swamp because a ‘mow-and-blow’ guy had knocked a valve box lid loose, letting mulch fall into the manifold during a repair. They didn’t flush the lines. Two weeks later, the sod install was literally floating on a layer of grey-black mud. We had to rip out the dead grass, remediate the soil with calcined clay to restore oxygen levels, and replace three valves that were choked with debris. Technical wisdom: never assume a valve is ‘fine’ just because it’s new. Dirt is the enemy of engineering.
“Irrigation valves are the heart of the distribution system; a failure here translates to hydraulic shock across the entire manifold and significant water waste.” – Irrigation Association Design Manual
How do I know if my irrigation valve is stuck open?
You can identify a stuck irrigation valve by checking for constant water flow at the lowest head in the zone, even when the irrigation controller is disconnected from power. If the water continues to seep out, the problem is mechanical (the valve), not electrical (the controller). You will notice the grass around the heads becoming spongy. It will rot. Don’t wait until the mushrooms sprout. You need to act before the root zone undergoes total collapse. This isn’t a problem that fixes itself with time.
The 10-Minute Anatomy of an Irrigation Valve Repair
The 10-minute fix for a stuck zone valve involves isolating the water supply, disassembling the valve bonnet, and clearing any physical obstructions from the diaphragm or the solenoid seat. Most modern valves from brands like Rain Bird, Hunter, or Irritrol use a ‘jar-top’ or a ‘bolt-top’ configuration. For a jar-top, you literally unscrew the lid by hand. For a bolt-top, you’ll need a 5/16-inch nut driver or a Phillips head. The goal is to inspect the rubber diaphragm for pinholes. If the rubber is stretched or brittle, it won’t seat. If there is a pebble in the seat, the valve stays open. It’s that simple. Clean it. Flush it. Reassemble it. Don’t over-tighten the screws or you’ll crack the plastic body.
| Symptom | Probable Cause | Technical Solution |
|---|---|---|
| Zone won’t turn off | Debris in Diaphragm | Disassemble valve and flush debris |
| Zone won’t turn on | Solenoid Coil Failure | Test ohms (20-60 range) or replace solenoid |
| Leaking around bonnet | O-ring failure | Replace O-ring or tighten bonnet screws |
| Low pressure in zone | Partial blockage/Leak | Check for cracked manifold or weeping hole clog |
While the internet tells you to water every day, turf grass actually needs deep, infrequent watering—exactly 1 inch per week—to force roots to chase the water down. A stuck valve violates this fundamental biological law by providing constant, shallow moisture that keeps roots at the surface. When the summer heat hits, that shallow-rooted grass cooks. You are effectively training your lawn to be weak. A pro knows that the yard cleanup isn’t finished until the irrigation system is audited for hydraulic efficiency. We use a pressure gauge at the furthest head to ensure we aren’t losing PSI to internal valve friction. If your pressure drops more than 5 PSI across the valve, that valve is a bottleneck. Replace it.
“Excessive soil moisture from irrigation leaks reduces oxygen pore space, leading to root asphyxiation in sensitive turfgrass species.” – Texas A&M AgriLife Extension
How much does it cost to replace an irrigation valve?
Replacing an irrigation valve typically costs between $150 and $300 for professional labor and materials, though the part itself is usually under $30. If you are doing a yard cleanup and find a buried manifold, the cost can rise due to the excavation time required to reach the pipes without cutting the lateral lines. It is always cheaper to fix the diaphragm than to cut out the entire valve and re-glue the PVC. Use a slip-fix coupling if you have to cut the pipe. It saves time. Don’t use cheap glue. Use heavy-duty grey or clear PVC cement and let it cure for at least 30 minutes before pressurizing the line.
Step-by-Step Maintenance Checklist
- Locate the main shut-off valve (usually near the water meter) and kill the supply.
- Open the bleeder screw on the target valve to relieve internal pressure.
- Remove the solenoid by turning it counter-clockwise; check the plunger for smooth movement.
- Unscrew the bonnet screws in a star pattern to avoid warping the plastic.
- Remove the diaphragm and spring; inspect for tears or calcium buildup.
- Flush the valve body by briefly turning the water back on for 3 seconds.
- Reseat the diaphragm and reassemble, ensuring the spring is centered.
If you live in a region with heavy clay soil, like the red clays of the Southeast, a stuck valve is a death sentence for your landscaping. Clay holds water too long. It turns into a hypoxic mess that smells like rotten eggs—that’s the sulfur being produced by anaerobic bacteria. If you have sandy soil, the water might drain away, but you’ll see the ‘Information Gain’ in your water bill first. Always check your meter’s leak indicator (the small red triangle or star) when the house is quiet. If it’s spinning, you have a mechanical failure. Don’t skip the 811 call if you decide to dig up the manifold. Utility lines love to hide right next to irrigation pipes. Safety is not optional in this trade. Keep your hands clean, your tools sharp, and your valves tight. That’s how you keep a lawn green without wasting a drop.