
The Engineering Behind Clay Soil: Why Your Sod Fails Before You Lay It
Success in professional sod install projects is determined by the preparation of the soil profile, not the quality of the grass itself. To achieve high-end results, you must understand that clay soil is composed of microscopic, flat platelets that pack together tightly, eliminating the pore space required for oxygen and water movement. If you ignore the bulk density of your yard, the sod install will fail within eighteen months. Landscaping is not about aesthetics; it is about managing hydrostatic pressure and soil microbiology. Most homeowners think they can just throw some topsoil over the hardpack. They are wrong. It will rot.
I always drill into my new crew members: if you don’t fix the soil grading first, every plant you put in the ground is just expensive compost. Last year, I had a rookie who thought he could skip the yard cleanup and core aeration phase on a red clay site in the heat of July. He laid three thousand square feet of premium fescue. Within two weeks, the anaerobic conditions under the sod turned the root zone into a black, smelling sludge. We had to rip the whole thing out. It was a twenty thousand dollar lesson in soil physics. You cannot cheat the nitrogen cycle, and you cannot cheat the clay. You either fix the structure, or the clay wins every single time.
“The primary challenge of clay soils is the lack of macropores, which restricts both drainage and the gas exchange necessary for root respiration.” – Penn State Agricultural Extension
The Yard Cleanup: Removing the Obstacles to Growth
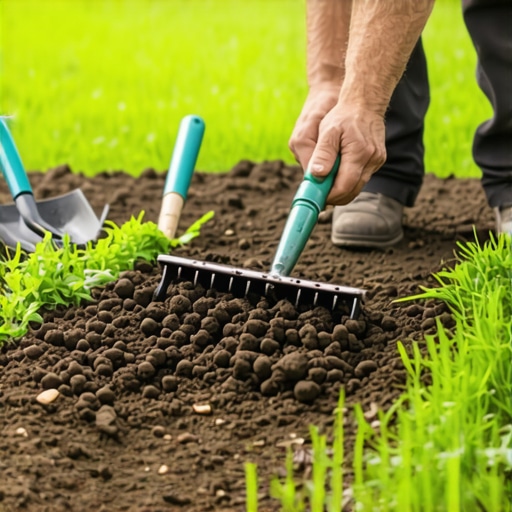
Proper yard cleanup for a clay soil site involves the total removal of all existing vegetation, debris, and the top layer of thatch to prevent organic layering. When landscaping on clay, any buried organic matter will decompose without oxygen, creating pockets of methane gas that kill developing sod roots. You must clear the site to bare earth. This means using a sod cutter to remove the old grass, not just tilling it in. Tilling green grass into clay creates a green manure layer that traps moisture and causes fungal pathogens to explode. Use a heavy-duty rake to remove every stone larger than one inch. Don’t skip this. Stones in clay create localized dry spots by disrupting capillary action.
The Chemistry of Flocculation: Using Gypsum and Organic Matter
To prep clay for a sod install, you must change its physical structure through a process called flocculation, which involves adding calcium sulfate (gypsum) to displace excess sodium. Clay soil often has a high cation exchange capacity (CEC), but the particles are too close together. By adding gypsum at a rate of 40 pounds per 1,000 square feet, you encourage the clay particles to clump into larger aggregates. This creates the macropores needed for irrigation water to penetrate the root zone. Follow this with high-quality composted organic matter. Avoid cheap fill dirt; it often contains weed seeds and pathogens. You need a 50/50 mix of screened topsoil and leaf mulch compost to break the clay’s grip.
How much topsoil do I need for clay soil sod prep?
For a standard sod install on clay soil, you should aim for a minimum of 4 inches of amended topsoil. This requires approximately 12 to 15 cubic yards of material per 1,000 square feet of area. This depth ensures the sod roots have enough aerated space to establish before hitting the compacted clay sub-base.
| Amendment Type | Function in Clay | Application Rate |
|---|---|---|
| Gypsum (Calcium Sulfate) | Flocculates clay particles | 40 lbs / 1,000 sq ft |
| Leaf Compost | Increases pore space | 2-3 inches tilled in |
| Coarse Sand | Improves drainage (Use carefully) | Not recommended without high organic load |
| Pelletized Lime | Adjusts pH levels | Based on soil test results |
Grading and Irrigation: Setting the Foundation
Before the sod install begins, the grading must be perfect to prevent standing water. Use a transit level to ensure a 2 percent slope away from all structures. On clay soil, water does not soak in; it runs. If your grading is off by even an inch, you will have a marshy dead zone in your landscaping. This is also the time to check your irrigation system. You must ensure 100 percent head-to-head coverage. Clay soil dries out into a concrete-like state; if your irrigation misses a spot, the sod in that area will desiccate and die within 48 hours of a heat wave. Test every zone before the first piece of grass hits the dirt.
“Sod installed on compacted clay without proper soil remediation will likely face root rot within the first 24 months due to anaerobic conditions.” – Agronomy Manual 101
Can I lay sod directly over clay?
Laying sod directly over unprepared clay is the most common mistake in landscaping. The roots will fail to penetrate the compacted surface, leading to a shallow root system that cannot survive drought or heat stress. You must scarify the clay surface to a depth of at least 6 inches and incorporate amendments to ensure long-term turf health.
The Pre-Sod Installation Checklist
- Conduct a soil test: Determine your pH and NPK levels. Clay is often acidic.
- Remove all debris: Perform a thorough yard cleanup.
- Apply Gypsum: Start the flocculation process.
- Till to 6 inches: Break the hardpan.
- Add Organic Matter: Mix in 2 to 3 inches of compost.
- Final Grade: Use a landscape rake and a water roller to level the surface.
- Irrigation Check: Ensure valves and sprinkler heads are fully functional.
The final step before the sod install is a starter fertilizer high in phosphorus to encourage root development. Do not use high-nitrogen products yet; you want root growth, not leaf growth. Once the sod is down, use a weighted roller to ensure soil-to-root contact. This eliminates air pockets that would otherwise dry out the tender roots. Remember, landscaping success is 90 percent preparation and 10 percent installation. If the clay soil is prepped right, the sod will thrive for decades. If not, you are just renting your lawn from the landscaping supplier. Manage your soil profile like an engineer, and the biology will take care of itself.