
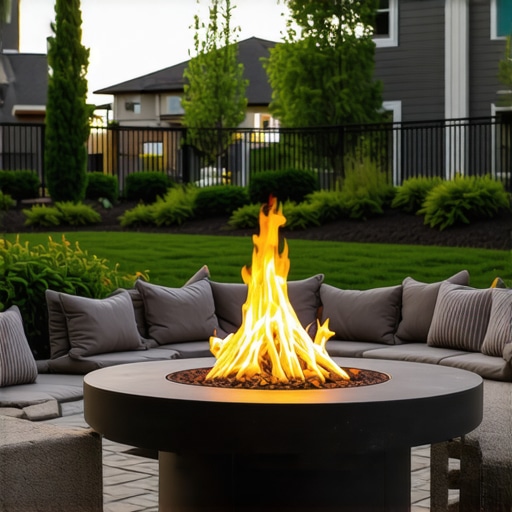
How to Design a Backyard Fire Pit Area for Maximum Safety
I recently got called out to tear up a $30,000 patio that was sinking because the previous contractor decided to build a massive stone fire pit directly over a main drainage line without a reinforced sub-base. The weight of the masonry crushed the PVC pipe over two seasons, turning the entire sub-surface into a localized swamp. The homeowner didn’t notice until the fire pit started leaning like the Tower of Pisa and the basement started taking on water. This is the reality of amateur landscaping; if you don’t respect the engineering, the earth will eventually reclaim your investment. Building a fire pit area isn’t just about picking out pretty stones. It is about managing thermal expansion, soil compaction, and gas dynamics. If you get it wrong, you aren’t just wasting money; you are creating a structural and fire hazard.
Site Selection and Minimum Safety Clearances
To design a safe backyard fire pit, you must maintain a minimum 10 to 25-foot clearance from combustible structures, overhanging trees, and property lines. Proper landscaping planning ensures the fire pit foundation is level and isolated from underground utilities, sod install zones, or irrigation lines that could melt or rupture under high heat loads.
You cannot simply eyeball where a fire pit goes. You need to look up. Most homeowners forget about the canopy. Heat rises. A roaring wood fire can send embers thirty feet into the air. If you have an oak tree with a dry canopy overhanging your pit, you are essentially building a fuse. You also need to account for the prevailing wind. In most residential lots, wind tunnels form between the house and the fence. If you place your pit in one of these corridors, you’ll be dealing with unpredictable smoke patterns and flying sparks. Check your local municipal codes first. Many jurisdictions require a permit for any permanent fire feature and mandate specific distances from the dwelling. Don’t skip the 811 call either. I’ve seen crews nick gas lines because they thought they were only digging a 6-inch yard cleanup trench. For a fire pit, you’re going deep into the sub-grade.
“A fire pit area is not merely a decorative element; it is a thermal management system that must account for radiant heat transfer and the structural integrity of the underlying soil strata.” – Hardscape Engineering Axiom
How much modified gravel do I need for a patio base?
For a standard fire pit patio, you need a minimum of 6 inches of compacted 3/4-inch modified gravel (often called 2A or CR6). This provides the structural capacity to prevent heaving and settling. You calculate the volume by multiplying the square footage of the area by the depth in feet, then dividing by 27 to get cubic yards. Compaction is non-negotiable. If you don’t use a plate compactor to reach 95% Proctor density, your pit will shift within two freeze-thaw cycles. Do not use pea gravel for the base. It acts like ball bearings. It will never lock into place.
Foundation Engineering: Beyond the Surface
The foundation of a safe fire pit requires a multi-layered approach involving geotextile fabric, compacted aggregate, and heat-resistant masonry. A failed foundation leads to cracked stones and trapped moisture, which can cause hydrostatic pressure build-up or even steam-induced stone explosions if the material is non-porous and becomes saturated.
Most DIYers make the mistake of building directly on top of sod. Grass is organic matter. Organic matter rots. When it rots, it creates voids. When you have voids under a 1,000-pound stone structure, that structure moves. You must excavate down to the sub-soil, remove all root systems, and lay down a woven geotextile fabric. This fabric keeps your clean gravel base from mixing with the native soil. Without it, the soil eventually migrates upward, the gravel sinks, and your level patio becomes a roller coaster. If you are doing a sod install around the pit later, make sure the grade slopes away from the fire area. You don’t want water pooling at the base of your masonry.
| Material Type | Heat Resistance | Drainage Rating | Primary Risk Factor |
|---|---|---|---|
| Fire Brick (Kiln-fired) | Extreme | Moderate | Requires refractory mortar |
| Standard Concrete Pavers | Low | High | Thermal cracking/Spalling |
| Lava Rock (Infill) | High | Excellent | Traps debris over time |
| Decomposed Granite | Moderate | High | Erosion/Washout |
Gas vs. Wood: Thermal Dynamics
Choosing between a wood-burning or gas-fueled pit dictates your entire irrigation and safety strategy. Wood-burning pits generate higher peak temperatures and unpredictable embers, requiring a larger non-combustible zone. Gas pits require ventilation ports to prevent the accumulation of heavier-than-air propane gas, which can lead to a catastrophic explosion if trapped in a hollow base.
If you go with gas, the plumbing must be high-density polyethylene (HDPE) or coated copper, buried at least 18 to 24 inches deep depending on local code. I’ve seen landscaping companies run gas lines just 6 inches deep to save time. Then the homeowner decides to do some yard cleanup or aerates their lawn, and suddenly they’re smelling rotten eggs. It’s a death trap. Wood pits, on the other hand, need a steel liner. Never build a fire directly against your decorative stone. The heat will cause the stone to undergo thermal shock, leading to