
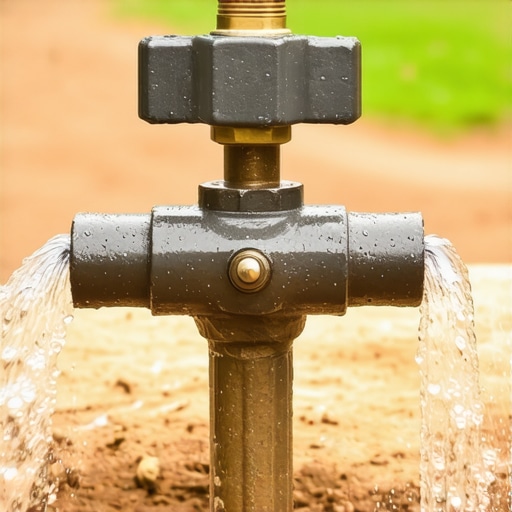
The Anatomy of a Failed Irrigation Valve: A Forensic Diagnosis
An irrigation valve fails to shut off when the differential pressure between the top and bottom chambers is lost, typically caused by a ruptured EPDM diaphragm, sediment in the pilot hole, or a malfunctioning solenoid coil. This mechanical failure prevents the valve from seating correctly, leading to wasted water and saturated soil. Every drop of water that bypasses a failed seal is a direct hit to your utility bill and the health of your turf. If you are dealing with a zone that stays on even after the controller is powered down, you are not looking at a computer glitch; you are looking at a hydraulic physics problem. It will rot your grass if you don’t act. Don’t skip the diagnostic steps.
I always drill into my new crew members: if you don’t understand the hydraulic pressure balance inside that plastic housing, you’re just a parts changer, not a technician. Last summer, we had an apprentice who spent four hours replacing a controller because he thought the ‘brain’ was stuck. I walked over, opened the valve box, and found a single grain of coarse sand lodged in the diaphragm’s weep hole. That one grain of sand defeated a $300 piece of electronics. In this industry, the smallest debris is the biggest enemy. If you don’t clean the valve box before you open it, every piece of grit is a potential failure point for your next sod install. We do not do ‘good enough’ work. We do work that lasts twenty years.
“The most common cause of non-electrical irrigation valve failure is particulate matter obstructing the bypass port, preventing pressure equalization.” – Irrigation Association Standards
The Physics of the Diaphragm and Solenoid
To fix the valve, you must first respect how it works. Most residential valves are ‘normally closed’ globe valves. They rely on water pressure to stay shut. When the controller sends 24 volts to the solenoid, it creates a magnetic field that lifts a small metal plunger. This allows water to escape from the chamber above the diaphragm, reducing the pressure. The higher pressure underneath then pushes the diaphragm up, allowing water to flow to your sprinklers. When the power cuts, the plunger drops, water refills the upper chamber, and the pressure pushes the diaphragm back down to seal the valve. If that seal isn’t perfect, the zone won’t stop. It is that simple.
How much does it cost to replace an irrigation valve?
A standard 1-inch inline irrigation valve costs between $20 and $50 for the part itself, while professional labor typically ranges from $150 to $300 depending on the complexity of the landscaping and the depth of the valve box. If the valve is buried under thick roots or involves manifold repairs, costs can escalate. I tell people to buy professional-grade valves like the Rain Bird DV or Hunter PGV series. Avoid the cheap, thin-walled valves found at big-box hardware stores. They warp under high static pressure and have inferior gaskets that fail after two seasons of freeze-thaw cycles.
| Failure Symptom | Likely Root Cause | Technical Resolution |
|---|---|---|
| Zone stays on with timer off | Debris in pilot hole / Torn Diaphragm | Disassemble valve and flush debris |
| Constant weeping from heads | Worn valve seat or cracked body | Replace internal assembly or entire valve |
| Valve hums but won’t open | Faulty solenoid or low voltage | Test solenoid ohms (target 20-60Ω) |
| Water spraying from solenoid | O-ring failure or loose housing | Tighten solenoid or replace O-ring |
Step-by-Step Restoration Protocol
Before you touch a screwdriver, shut off the main water supply to the irrigation system. If you skip this, you will get a face full of 60 PSI water the moment you loosen the bonnet screws. Once the water is off, perform a thorough yard cleanup around the valve box. Use a shop vac to remove mud and silt. You do not want a single speck of dirt falling into the valve while it is open. 1. Unscrew the solenoid and check the plunger. If the plunger is stuck or the rubber tip is indented, replace the solenoid. 2. Remove the bonnet screws in a star pattern to prevent warping the plastic. 3. Inspect the diaphragm. Look for pinholes or tears. Even a microscopic hole will prevent the valve from closing. 4. Clean the valve seat. Use a clean cloth to wipe the plastic rim where the diaphragm sits. Any calcification here will cause a leak. 5. Reassemble carefully, ensuring the spring is centered and the diaphragm is not pinched.
“Proper irrigation system maintenance requires a minimum operating pressure of 20 PSI to ensure valve diaphragms seat correctly and prevent internal weeping.” – Texas A&M AgriLife Extension
Why is my sprinkler zone running when the timer is off?
If the zone continues to run even when the controller is unplugged, the issue is strictly mechanical, usually involving a mechanical bleed screw left open or a failed internal seal. If the water stops only when you unplug the controller, you have an electrical fault or a controller ‘smart’ feature that is overriding your schedule. Most of the time, it’s a piece of mulch or sand trapped inside the valve. This is why we insist on high-quality filtration if you are pulling water from a well or pond. Without a 100-mesh filter, your valves are on a countdown to failure.
Impact on New Turf and Long-term Landscaping
When we perform a sod install, the irrigation must be surgical. A valve that won’t shut off will create a marshy anaerobic environment. The grass roots will suffocate from a lack of oxygen, and you will see the turf turn a sickly yellow-brown. This is often mistaken for a need for more fertilizer, but adding nitrogen to water-logged soil only accelerates the rot. You must fix the valve before you lay the sod. A properly functioning system is the backbone of any professional landscape. Don’t let a $15 diaphragm ruin a $5,000 project. Check your valves every spring.
- Tools Needed: Multimeter, Phillips screwdriver, needle-nose pliers, shop-vac.
- Inspection Point: Check the solenoid wires for corrosion or ‘grease nut’ failure.
- Safety Check: Always call 811 before digging if you need to replace the entire valve manifold.
- Maintenance Tip: Cycle your valves manually once a month to prevent mineral buildup on the plunger.