
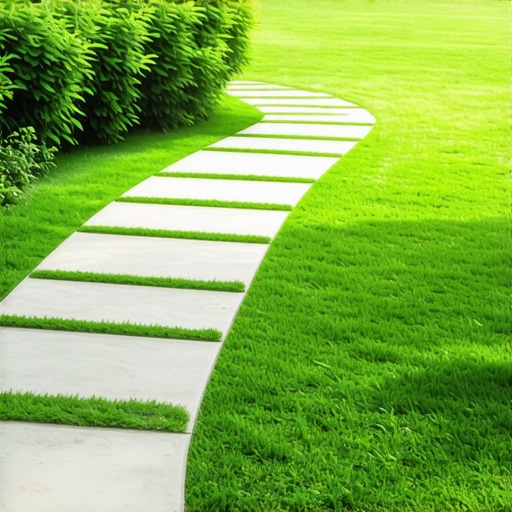
The Science of Soil Saturation and Path Failure
To design a backyard path that never gets muddy, you must focus on sub-grade excavation, geotextile separation, and a compacted aggregate base. Proper drainage relies on a 2% slope and open-graded stone to manage hydrostatic pressure, ensuring water moves through the system rather than pooling on the surface. If you ignore the subsurface physics, you are just building a decorative trench for mud. I recently got called out to tear up a $30,000 patio and walkway that was sinking because the previous contractor thought ‘landscape fabric’ from a big-box store was a substitute for a real 4-inch compacted base of 2A modified stone. Within one season, the heavy clay soil migrated into the stone, the void spaces clogged, and the entire path became a literal swamp. We had to excavate 12 inches deep just to find stable ground. If you do not fix the soil grading first, every plant or stone you put in the ground is just expensive compost. This is a common failure in amateur landscaping projects where the focus is on the surface rather than the engineering below.
“A retaining wall or paved path doesn’t fail because of the stone; it fails because of the water trapped behind or beneath it.” – Hardscape Engineering Axiom
How much modified gravel do I need for a path base?
For a standard 3-foot wide path, you need roughly 1 ton of modified gravel per 10 linear feet to achieve a 4-inch compacted depth. This calculation accounts for a 20% compaction rate when using a plate compactor to reach 95% Standard Proctor Density. Do not guess on this; use a calculator.
The Blueprint: Excavation and Sub-Grade Preparation
The first step in any path build is a thorough yard cleanup. This isn’t just raking leaves; it is the removal of all organic matter, including turf, roots, and ‘black dirt’ (topsoil). Topsoil is spongy and holds water. You must dig until you hit the mineral sub-soil—usually clay or till. For a mud-free path, your excavation depth should be 8 inches. This allows for 4 inches of sub-base, 2 inches of bedding material, and 2 inches of paver or stone. If you leave a single inch of organic matter, it will decompose, create a void, and your path will settle. Check your irrigation lines now. If you have sprinkler heads within two feet of the path, they must be capped or moved. Constant saturation from a poorly aimed head will undermine the base of your walkway faster than a flood. Use a transit level to ensure the sub-grade is pitched away from your home’s foundation. A 2% slope (1/4 inch of drop per foot of width) is the industry standard. Failure to pitch the sub-grade means water will sit in the ‘bathtub’ you just dug, liquefying the soil and creating the very mud you’re trying to avoid.
What is the best material for a walkway that drains well?
The best material for a draining walkway is #57 crushed stone or open-graded aggregate, which provides a 40% void space for water infiltration. Unlike pea gravel, which acts like marbles and never stabilizes, angular crushed stone interlocks under compaction while remaining permeable.
Material Selection and The Geotextile Barrier
The secret weapon of a veteran hardscaper is non-woven geotextile fabric. This is not the thin weed barrier used in flower beds. This is a heavy-duty fabric that acts as a separator between the native soil and your clean gravel. It allows water to pass through but prevents soil ‘fines’ from migrating up into your stone. Without this, your gravel will eventually be swallowed by the earth.
| Material Type | Drainage Rating | Stability Factor | Best Use Case |
|---|---|---|---|
| Crushed Limestone (2A) | Moderate | Very High | High-traffic paver paths |
| #57 Clean Stone | Excellent | High | Areas with high water runoff |
| Pea Gravel | Excellent | Low | Low-traffic, rustic paths only |
| Decomposed Granite | Low | High | Arid climates with low rainfall |
Avoid rounded stones like river rock or pea gravel for the structural base. They do not lock together. You want 3/4-inch minus angular stone. When you hit it with a plate compactor, the jagged edges bite into each other, creating a bridge that can support thousands of pounds without shifting.
“Subsurface drainage systems must be designed to handle the peak flow of a 10-year storm event to prevent soil liquefaction under hardscape elements.” – Penn State Agricultural Extension
The Installation Process: Layer by Layer
Once your trench is dug and your fabric is laid, it is time for the base. Do not dump all 4 inches at once. Install in 2-inch ‘lifts.’ Spread the stone, rake it level, and use a vibratory plate compactor. The tamper should literally bounce off the compacted base when it is finished. If the ground feels soft, you have high moisture content in the soil and need to wait for it to dry or add more stone. After the base is set, you can install your sod install around the edges. This is critical for stabilization. Fresh sod acts as a living border that prevents erosion from washing dirt back onto your clean path. Ensure the sod is tucked tightly against your edge restraints.
- Step 1: Excavate 8 inches deep and 6 inches wider than the desired path.
- Step 2: Install 8-ounce non-woven geotextile fabric across the entire trench.
- Step 3: Add 4 inches of #57 or 2A modified stone in two lifts, compacting each.
- Step 4: Set edge restraints (aluminum or heavy-duty plastic) to prevent lateral shifting.
- Step 5: Lay your surface material (flagstone, pavers, or decorative gravel).
- Step 6: Backfill edges with topsoil and high-quality fescue or bermuda sod.
Managing Hydrostatic Pressure and Runoff
Mud is simply soil plus excess water with nowhere to go. If your path is at the bottom of a slope, a simple gravel walkway won’t cut it. You need a French drain integrated into the path design. This involves a perforated pipe buried in the center of your stone base that carries water to a daylight exit or a dry well. When we do a high-end landscaping job in a valley, we always over-engineer the drainage. It is cheaper to buy $100 worth of PVC pipe now than to excavate a failed path in three years. Also, consider the ‘finish’ of your path. If using pavers, use polymeric sand in the joints. This sand hardens like concrete but remains flexible, preventing water from seeping directly into the bedding sand while keeping weeds at bay. It will rot if you use regular play sand. Don’t skip this. A mud-free path is a dry path. Keep your irrigation zones tuned so they aren’t dumping 2 inches of water a week on your hardscape. If you follow these engineering steps, your path will be solid enough to drive a skid-steer over, and your boots will stay dry even in a monsoon.