
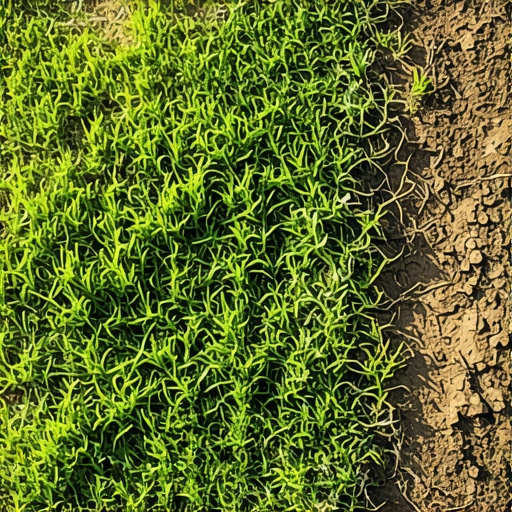
Why Your New Sod Isn’t Rooting Properly
I am tired of seeing homeowners flush thousands of dollars down the drain because they treat sod installation like laying a rug. It is not a rug. It is a living, breathing biological system that requires a functional root-to-soil interface to survive. If your grass looks like a checkerboard of brown squares three weeks after install, you have a structural failure in your landscaping strategy. Most ‘mow-and-blow’ outfits will tell you to just water it more. They are wrong. Over-watering a failing lawn often just rots the remaining rhizomes before they can even think about anchoring.
The Anatomy of a Failed Sod Installation
When new sod fails to establish, the culprit is usually soil compaction, air pockets, or hydrophobic site conditions that prevent capillary action between the native soil and the sod peat. If the roots cannot penetrate the first half-inch of the subgrade, the plant will eventually succumb to desiccation or nutrient lockout.
I recently got called out to a property to perform a forensic autopsy on a $30,000 backyard project. The homeowner was furious. They had 8,000 square feet of premium Fescue that was literally peeling up like a dead scab. I stuck my soil probe in, and it didn’t even go two inches deep. The previous contractor had cleared the yard cleanup debris but failed to address the bulk density of the clay underneath. They had basically laid the sod on top of a parking lot. No amount of irrigation can fix a soil structure that is as hard as concrete. We had to rip the whole thing up, bring in a Harley rake, and incorporate four inches of organic compost just to give those roots a fighting chance. It was an expensive lesson in grading and soil physics.
“Soil compaction is the single most common cause of turfgrass failure in new residential landscapes. When pore space is eliminated, gas exchange stops, and roots literally suffocate.” – Agricultural Extension Agronomy Manual
The Science of the Root-Soil Interface
The first 14 days of a sod install are purely about auxin production and root initiation. You are trying to move the plant from relying on its own stored carbohydrates to pulling nutrients from your native soil. If there is a layer of thatch or 100% clay soil beneath the sod, the roots hit a physical wall. This is known as root girdling at the micro-level. The roots grow horizontally along the surface instead of vertically. When the sun hits 95 degrees, those horizontal roots bake. They have no thermal protection. You need vertical penetration of at least 4 inches within the first month.
How much modified gravel do I need for a patio base?
While this article focuses on sod, if your landscaping includes hardscape, you need 6 inches of modified gravel (2A or CR6) for a standard paver patio. This base must be compacted in 2-inch lifts to reach 95% Standard Proctor Density. Anything less, and your sod install will eventually be undermined by settling or hydrostatic pressure from the patio runoff.
“A retaining wall doesn’t fail because of the stone; it fails because of the water trapped behind it.” – Hardscape Engineering Axiom
The Soil Compaction Crisis
Most sod install failures happen because of the site prep. In modern construction, heavy machinery packs the earth until it has the density of a brick. If your bulk density is over 1.6 g/cm3, roots stop growing. Period. You must scarify the top 4 to 6 inches of soil. I don’t mean a light scratch with a rake. I mean a rototiller or a skid steer with a power rake. You need to break the capillary fringe so that irrigation water actually moves downward through the profile instead of sheeting off.
| Turf Variety | Rooting Speed | Required Soil Temp | Water Demand (Establishment) |
|---|---|---|---|
| Tall Fescue | Medium (14-21 days) | 60-75 F | High (1 inch per day) |
| Bermuda Grass | Fast (7-14 days) | 75-90 F | Moderate |
| Kentucky Bluegrass | Slow (21-28 days) | 55-70 F | Very High |
Irrigation Incompetence: The 1-Inch Rule
Successful irrigation for new sod is about saturation, not just wetting the blades. You must keep the sod pad and the top 2 inches of native soil consistently moist but not anaerobic. Light, frequent watering for the first week is mandatory. However, by week two, you must transition. You need to force the roots down. You do this by watering deeply and infrequently. If you keep the surface wet 24/7, the roots have no reason to travel deep into the profile for water. They stay shallow. They stay weak.
What is the best fertilizer for new sod?
You need a starter fertilizer with a high middle number—Phosphorus (P). While Nitrogen drives green growth, Phosphorus is the engine for adenosine triphosphate (ATP) production, which fuels root development. Look for a ratio like 10-20-10. Do not use high-nitrogen ‘turf builders’ on new sod; you will burn the tender root tips and dehydrate the plant through osmotic stress.
The Critical Sod Installation Checklist
- Soil Test: Check your pH levels. If you are below 6.0, your phosphorus is locked up and useless.
- Debris Removal: Perform a thorough yard cleanup. Sticks and rocks create air pockets.
- Grading: Ensure a 2% slope away from foundations. Standing water kills sod through hypoxia.
- Rolling: Use a water-filled roller after laying the sod. This is non-negotiable. Root-to-soil contact is everything.
- Edge Sealing: Tuck your edges. Exposed edges dry out first and lead to seam failure.