
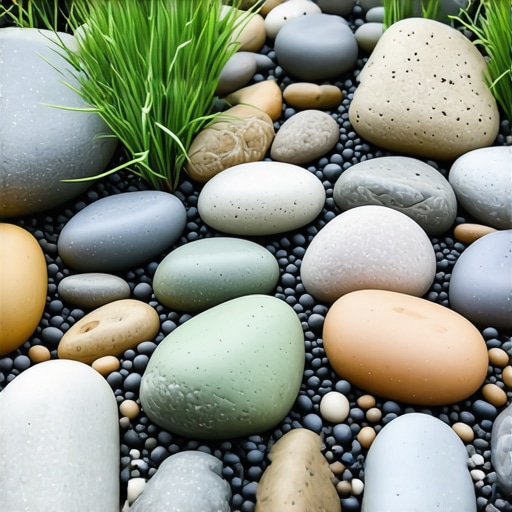
The Death of the Thirsty Lawn and the Rise of Rock Engineering
The era of the suburban green carpet is ending. I have spent two decades watching homeowners dump thousands of gallons of water and pounds of synthetic nitrogen into sandy loam just to keep a struggling patch of fescue alive. It is a biological battle you will eventually lose. Professional zero-water landscaping is not just throwing gravel over the dirt. It is a complex engineering task involving soil grading, hydrostatic pressure management, and material density calculations. When you eliminate irrigation and traditional sod install practices, you are moving from horticulture to civil engineering. The goal is a landscape that survives on ambient precipitation alone by utilizing the thermal and protective properties of local rocks.
The Hardscape Autopsy: A $30,000 Failure
I recently got called out to tear up a $30,000 patio that was sinking because the previous contractor used ‘clean’ river rock as a base instead of a 3/4-inch modified gravel with fines. The homeowner thought they were being eco-friendly by avoiding concrete. Instead, they created a giant French drain that funneled water directly under their foundation. The rocks shifted because there was no angular friction to lock them in place. This is why landscaping requires more than a truck and a shovel. You have to understand how the earth moves when the rain finally hits. We had to excavate two feet of saturated clay, install a non-woven geotextile fabric with a 140-pound grab tensile strength, and rebuild the entire structural profile from the subgrade up. It was a costly lesson in why physics beats aesthetics every time.
Phase One: Engineering the Subgrade and Drainage
Successful zero-water landscapes rely on a perfectly executed subgrade that directs every drop of water away from structures while preventing soil erosion beneath the rock layer. You must achieve a 2 percent slope away from the home. Do not guess. Use a laser level. Before you even think about yard cleanup or stone delivery, call 811. Utility lines are often shallower than you think, especially in older neighborhoods with settled soil. If you nick a gas line while grading your swale, your ‘cost-saving’ DIY project becomes a municipal emergency. The soil must be compacted to 95 percent Proctor density before any rock touches the ground. This prevents the settling that leads to ‘potholes’ in your rock garden.
| Rock Type | Angularity | Drainage Rating | Primary Use Case |
|---|---|---|---|
| Crushed Basalt | High | Excellent | Structural base and pathways |
| River Pebbles | Low | Moderate | Decorative accents only |
| Decomposed Granite | Extreme | Good | Compacted walkways (Xeriscape gold) |
| Lava Rock | Medium | Poor (Water retention) | Heat-tolerant planting beds |
How much modified gravel do I need for a patio base?
To calculate your modified gravel needs, multiply your total square footage by the desired depth in feet (usually 0.33 for a 4-inch base), then divide by 27 to get cubic yards. Add a 15 percent ‘compaction factor’ to ensure you don’t run short when the vibratory plate tamper starts hitting. For a zero-water rock bed, a 3-inch depth of decorative stone is the industry standard. Less than that and the sun will degrade your weed barrier. More than that and you are just wasting money on tonnage you will never see. Heavy rocks do not move. Small rocks migrate. Choose wisely.
The Critical Role of Geotextiles over ‘Big Box’ Weed Fabric
Do not buy that thin, plastic-wrapped weed barrier from a big-box store. It is garbage. It will tear within six months. Professionals use 4-ounce or 6-ounce non-woven needle-punched geotextile. This material allows water to permeate into the soil at a rate of roughly 100 gallons per minute per square foot, which prevents the ‘bath tub effect’ during heavy storms. It also separates the local rock from the native soil. Without this separation, your expensive stone will eventually sink into the mud, and the native soil will migrate to the surface. It is a slow-motion disaster. Use 6-inch steel sod staples every 12 inches along the seams. Overlap your seams by at least 12 inches. Do not skip this. If you do, the weeds will win within two seasons.
“A retaining wall doesn’t fail because of the stone; it fails because of the water trapped behind it.” – Hardscape Engineering Axiom
What are the best local rocks for landscaping without water?
The best local rocks for a zero-water setup are those native to your specific geological basin, such as decomposed granite, limestone screenings, or crushed volcanic rock. Native stones match the local soil pH and do not introduce foreign minerals that can alter the chemistry of your remaining drought-tolerant plants. Using local stone also slashes transportation costs and reduces the carbon footprint of your landscaping project. In high-wind areas, avoid pea gravel. It moves. Use 1-inch to 3-inch angular riprap or river rock to ensure the bed stays put during a storm. Darker rocks like basalt will absorb heat, which is great for killing weeds but can stress the root flares of nearby trees. Lighter rocks reflect heat, keeping the ground cooler.
Installation: The Ground-Up Build Process
Start with a radical yard cleanup. Remove every blade of grass. If you leave organic matter under your rock, it will rot, create anaerobic pockets, and cause the ground to sink.
“Soil compaction is the foundation of all hardscape longevity; without it, you are building on a sponge.” – Penn State Agricultural Extension
Once the site is clear, excavate to your required depth. Check your grade. Lay your geotextile fabric. When you spread your rock, do it in stages. Do not just dump a 10-ton pile in one spot. This will crush your carefully prepared grade. Spread it manually with a heavy-duty rake. The rock should feel solid underfoot. If it feels ‘squishy,’ you haven’t used enough material or your subgrade is failing. For pathways, use decomposed granite (DG) with a stabilizer. Water it in and tamp it down. It should be hard as concrete but remain permeable. This is the hallmark of a pro-grade xeriscape.
- Step 1: Clear all organic debris and existing sod install remnants.
- Step 2: Grade the area at a 2% slope for drainage.
- Step 3: Compact subgrade with a vibratory plate.
- Step 4: Install professional-grade non-woven geotextile.
- Step 5: Spread local rock at a minimum 3-inch depth.
- Step 6: Install metal edging to prevent rock migration.
The Maintenance Horizon: Life After Grass
There is no such thing as a ‘no-maintenance’ yard. Even a rock garden needs a leaf blower once a month. Organic matter like leaves and dust will settle in the gaps between the stones. If you let that debris sit, it turns into compost. Weeds will grow in that compost, right on top of your fabric. This is the ‘sediment bridge’ effect. Blow it out. Keep it clean. Every three years, you may need to add a ‘refresh’ layer of 1/2-inch stone to account for settling. Your irrigation pipes should be capped or converted to a low-flow drip system for your few remaining native shrubs. Watch for ‘volcano mulching’ if you have trees. Never pile rocks against the trunk. It will rot the bark. Keep the root flare visible. A well-built rock landscape will last 20 years. A hack job will last two. Do it right the first time.