
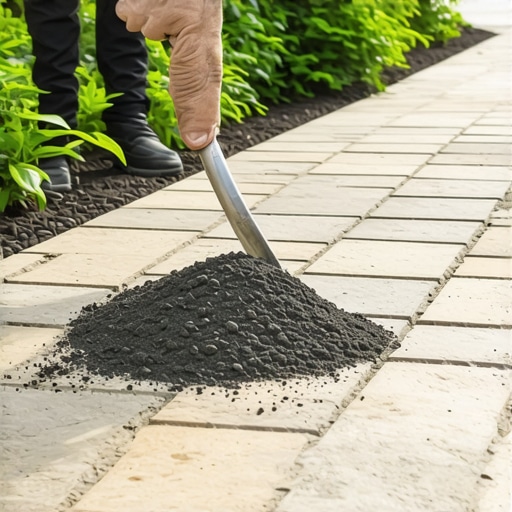
Why Do Weeds Grow Between Pavers?
Weeds grow between pavers because airborne seeds land in the organic debris that accumulates in the joints, rather than pushing up from the soil below. High-performance polymeric sand creates a hardened, semi-flexible seal that prevents seed germination and resists erosion from irrigation or heavy rainfall.
The $30,000 Hardscape Autopsy
I recently got called out to tear up a $30,000 patio that was sinking because the previous contractor skipped the engineering phase. The homeowner was complaining about ‘weeds,’ but the weeds were just a symptom of a total structural collapse. When we pulled the first few stones, the autopsy was clear: they had used cheap play sand and zero drainage stone. The base was a mushy mess of native clay. Without a proper modified gravel base and stabilized joints, the patio was basically a very expensive sponge. It didn’t just look bad; it was dangerous. The hydrostatic pressure had nowhere to go, so it heaved the stones and opened massive gaps for opportunistic weeds to take hold. Don’t be that guy. If you don’t fix the engineering, the aesthetics don’t matter.
“A retaining wall doesn’t fail because of the stone; it fails because of the water trapped behind it. The same logic applies to horizontal pavements: moisture management starts with the joint.” – Hardscape Engineering Axiom
The Ground-Up Build: Engineering a Weed-Free Surface
Success in any landscaping project starts 80% before the first paver is laid. You need to understand the sub-grade. If you are working in heavy clay, you need more excavation depth than if you’re on sandy loam. For a standard patio, I demand at least 6 inches of compacted 21A or 3/4-inch modified gravel. We don’t just dump it; we do it in 2-inch lifts. If you try to compact 6 inches at once, you’ll never hit the 98% Proctor density required for a stable surface. The tamper should literally bounce off the ground when it’s ready. If it feels soft, keep going. It will settle later if you don’t. Once that base is a rock, we move to the 1-inch bedding layer of coarse sand. This is not for leveling; it’s for seating the stones. Don’t use stone dust for this layer; it holds too much water and will cause your pavers to heave during the first freeze-thaw cycle.
How much modified gravel do I need for a patio base?
To calculate the modified gravel needed, multiply the square footage of your patio by the depth of the base (usually 0.5 feet for 6 inches), then divide by 27 to get cubic yards. Always add 20% for compaction to ensure you have enough material to reach the required density.
Selecting the 2026 Standard of Polymeric Sand
Not all sands are created equal. The 2026-grade polymeric sands utilize advanced chemical binders that are more resistant to ‘hazing’ and offer better permeability. We are looking for high-performance resins that can handle joints up to 4 inches without cracking. Cheap box-store sand uses basic polymers that wash out after a season of heavy irrigation. Professional grade sand is engineered to remain flexible. It needs to breathe. If the sand is too rigid, it will crack under the thermal expansion of the stones. We need a balance of PSI (pounds per square inch) strength and elasticity.
| Material Type | Durability (Years) | Weed Resistance | Permeability |
|---|---|---|---|
| Regular Masonry Sand | 0.5 – 1 | Low | High |
| Standard Polymeric Sand | 3 – 5 | Medium | Low |
| 2026 Advanced Polymers | 8 – 12 | Extreme | Optimized |
The Forensic Application Process
Applying sand is where most DIYers and ‘mow-and-blow’ hacks fail. The surface must be bone dry. If there’s even a hint of moisture from a recent yard cleanup, the polymers will activate on top of the stone, creating a white, foggy film called haze. That’s a nightmare to remove. Brush the sand into the joints until they are full, then run a plate compactor over the pavers. This is a critical step. The vibration settles the sand, filling the voids from the bottom up. After the first pass, you’ll see the joints have dropped. Fill them again. Don’t skip the second compaction. Once the joints are filled to 1/8 inch below the chamfer (the beveled edge of the stone), use a leaf blower to remove EVERY speck of dust from the surface. If you see dust when you start wetting, you’re going to have a permanent stain.
“Joint sand stabilization is the primary defense against the ingress of water into the sub-base, which is the leading cause of pavement deformation.” – ICPI Technical Manual
Can I apply new polymeric sand over old sand?
You cannot simply pour new polymeric sand over old, failing sand; you must first remove at least 1.5 inches of the old material using a pressure washer. Partial layering leads to delamination where the new sand fails to bond, resulting in rapid weed growth and washouts.
The Activation Phase: Water is the Catalyst
Wetting the sand is the point of no return. You want a fine mist, not a jet. Start at the lowest point of the patio and work your way up. You are looking to saturate the joint without washing the sand out. I tell my crew: ‘We are hydrating, not drowning.’ If you see white bubbles, you’ve put down enough water. Let it soak for 15 minutes, then hit it again. This second pass ensures the water reaches the bottom of the joint to activate the binders throughout the entire depth. If you only wet the top, you get a ‘crust’ that will flake off in a month. After wetting, make sure the patio is clear of any standing water. Use a blower to push puddles off the stone if necessary.
Maintenance and Long-Term Stability
Even the best 2026 polymeric sand requires a clean environment. If you do a sod install adjacent to your patio, keep the soil off the stones. Organic matter is the enemy. Regular yard cleanup—specifically blowing off leaves and dirt—prevents the ‘soil bridge’ that allows weeds to bypass the sand. Deep, infrequent watering of your lawn is also better for your patio than daily light irrigation, as it reduces the constant moisture levels at the paver edge. Watch for settling. If a stone moves, the seal is broken. Fix it immediately. Hardscaping is an investment in civil engineering. Treat it like one.
- Ensure pavers are 100% dry before sand application.
- Compact the pavers into the sand to eliminate air pockets.
- Clean all dust off the surface before adding water.
- Use a shower setting on your nozzle; never a stream.
- Keep traffic off the patio for at least 24 to 48 hours.