
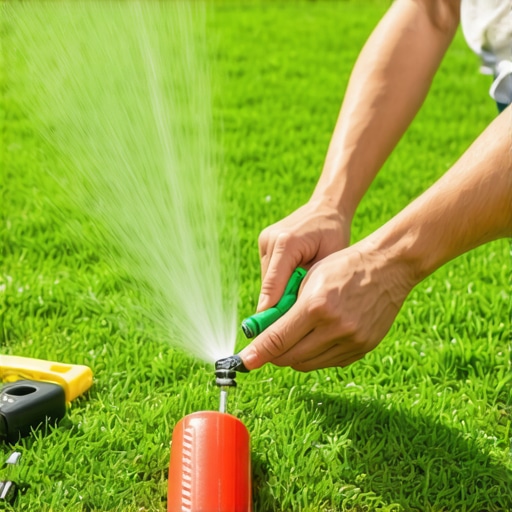
The Anatomy of a Failed Pop-Up: A Forensic Analysis
A sprinkler head that stays stuck in the ground is often the result of compacted soil debris, a cracked riser seal, or insufficient dynamic water pressure. Effective repair requires flushing the lateral line and inspecting the internal spring tension to ensure the riser clears the turf canopy. If you ignore this, you end up with dry patches that look like a scorched earth policy. Your sod install becomes a waste of capital.
I always drill into my new crew members: if you don’t fix the soil grading first, every plant you put in the ground is just expensive compost. I saw it last week on a site where a previous contractor buried the irrigation heads four inches deep in heavy clay during a sloppy yard cleanup. They thought the pressure would just push the dirt out. It did not. Instead, the clay entered the wiper seal and ground the plastic riser into a serrated mess. It failed in three days. This is what happens when you prioritize speed over soil physics. A sprinkler head is a precision tool, not a hydraulic jack.
“Irrigation system efficiency is fundamentally limited by the mechanical integrity of the delivery components; a single failed wiper seal can reduce lateral pressure by 15 percent.” – Agronomy Irrigation Standards Manual
When a head refuses to rise, we start with a forensic autopsy. Is it mechanical friction or a pressure drop? Mechanical friction happens when sand or grit enters the gap between the riser and the cap. This is common after a fresh sod install where loose soil hasn’t settled. If the riser feels gritty when you pull it up manually, the seal is compromised. Pressure drops are different. If multiple heads in a zone are failing to pop, you have a leak in the lateral line or a failing solenoid valve. It is basic hydraulics. You need enough PSI to overcome the spring tension. If the water is escaping through a cracked pipe, the riser stays down.
How do you clean a sprinkler head without digging it up?
Cleaning a head without excavation involves unscrewing the top cap while the system is off and manually lifting the riser to flush debris with a low-pressure hose. This method only works if the grit is localized to the cap and hasn’t migrated into the lower canister threads. Use a thin blade to scrape mineral deposits from the riser shaft. Do not use oil-based lubricants. They attract dirt. It will seize up again.
| Failure Symptom | Mechanical Cause | Remediation Strategy |
|---|---|---|
| Gritty Movement | Sand/Grit in Wiper Seal | Disassemble and High-Flow Flush |
| No Pop-Up (Dry Zone) | Broken Lateral Pipe | Pressure Test and Excavation |
| Partial Rise (Leaking) | Worn O-Ring / Seal | Replacement of Internal Assembly |
| Head Buried in Thatch | Poor Grading / Over-mulch | Install Riser Extension |
We see a lot of failures during yard cleanup. People run heavy mowers over heads that haven’t fully retracted. This bends the internal spring. A bent spring creates lateral friction. The head might go up, but it won’t go down. Then the mower clips it. Now you are replacing the whole body. It is a cycle of neglect. You must check your heads every spring. Look for the ‘mulch volcano’ effect. If you have piled three inches of wood chips over your irrigation, you have killed the system. Water won’t reach the roots. It just sits in the mulch and rots your plants.
Why does my sprinkler head pop up but not spray?
When a head pops up but fails to spray, the internal filter basket is likely clogged with algae or mineral scale. This occurs frequently in systems using well water or reclaimed water sources. To fix this, unscrew the nozzle, extract the plastic filter, and scrub it with a stiff brush to restore flow. Check the nozzle orifice for tiny pebbles. Even a grain of sand can disrupt the spray pattern. It ruins the distribution uniformity.
“A retaining wall doesn’t fail because of the stone; it fails because of the water trapped behind it, much like an irrigation head fails due to the debris trapped within it.” – Hardscape Engineering Axiom
- Step 1: Clear all debris around the head using a hand trowel.
- Step 2: Check the height. The cap should be flush with the soil, not the grass blades.
- Step 3: Inspect the wiper seal for cracks or brittleness.
- Step 4: Flush the system without the nozzle to clear the lines.
- Step 5: Re-install and check for 100 percent head-to-head coverage.
Landscape professionals know that soil compaction is the silent killer of irrigation. In high-traffic areas, the soil around the head packs down. This pinches the PVC. It can even tilt the head. A tilted head sprays at the wrong angle. It creates runoff. You are paying to water the sidewalk. That is a waste of resources. Use a swing joint when you install new heads. It allows for movement without breaking the pipe. It is the only way to do it right. Anything else is amateur hour. Do not skip the pressure check. If your system runs at 60 PSI and your heads are rated for 30, you are misting. The wind carries the water away. It never hits the ground. Use pressure-regulating heads to keep the droplets heavy and the roots happy. It is science. Follow it.