
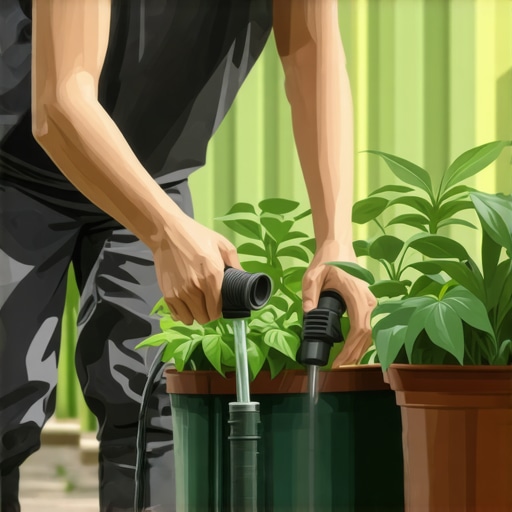
The Engineering Mindset: Why Most Planter Irrigation Fails
Professional low-voltage drip irrigation for containers requires a mastery of hydrostatic pressure and flow dynamics rather than just plugging plastic tubes into a hose bib. To install a functional system, you must integrate a pressure regulator, backflow preventer, and distribution tubing connected to individual pressure-compensating emitters, ensuring precise water delivery regardless of elevation changes. I always drill into my new crew members: if you don’t fix the soil grading and drainage first, every plant you put in the ground is just expensive compost. Irrigation is not a substitute for proper soil physics. Most homeowners think they can just run a line and be done with it. They ignore the friction loss in 1/4-inch microtubing. They ignore the salt buildup in container substrates. I have seen more root rot caused by poorly timed drip systems than I have seen plants die from drought. A professional install treats every planter as a unique micro-environment with specific transpiration rates. We are building a life-support system, not a garden ornament.
The Core Components of a High-Performance System
Successful container irrigation starts at the manifold where water pressure is reduced to a manageable 25 PSI to prevent component blowout. You need a filter to stop sediment from clogging tiny emitter orifices and a timer that supports multiple short cycles to prevent runoff. The math is simple: if your planter can only hold 0.5 gallons of water before it starts draining out the bottom, running a 1 GPH emitter for an hour is a waste of 0.5 gallons. It also leaches nutrients. We use 1/2-inch poly tubing for the main supply run and 1/4-inch UV-resistant vinyl for the leads. Don’t buy the cheap stuff from big-box stores. It will crack in two seasons under the sun. We use professional-grade components that are rated for 10 plus years of service in harsh environments.
“Drip irrigation systems should be designed to apply water at a rate that does not exceed the infiltration rate of the soil or growing media.” – USDA Irrigation Engineering Manual
How much pressure do I need for a drip system?
A standard drip irrigation system functions optimally between 15 and 30 PSI, necessitating a pressure regulator if your home water pressure exceeds 40 PSI. High pressure causes microtubing to pop off fittings and leads to inconsistent flow rates across the line. This is a common failure point I see during yard cleanup and system audits. We install a 25 PSI regulator at the source to protect the integrity of the emitters and ensure the poly tubing doesn’t stretch or burst. If you are running lines up to a balcony or elevated terrace, you have to account for head loss. You lose about 0.433 PSI for every foot of elevation gain. If your planters are 20 feet up, that is a 8.6 PSI drop right there. You have to overcompensate at the source or use high-efficiency pumps.
| Component | Purpose | Specification |
|---|---|---|
| Pressure Regulator | Prevents fitting blowouts | 20-30 PSI |
| Backflow Preventer | Protects potable water | Required by Code |
| PC Emitters | Constant flow rate | 0.5, 1.0, or 2.0 GPH |
| Poly Mainline | Primary water transport | 1/2 inch UV-Rated |
| Goof Plugs | Fixes mispunched holes | Standard 1/4 inch |
The Step-by-Step Installation: Sub-Surface Infrastructure
The installation of a low-voltage drip system involves laying a 1/2-inch mainline along the perimeter of the landscape and using a hole punch to insert 1/4-inch distribution lines for each individual planter. This process must be clean, precise, and organized to avoid future leaks or pressure drops. We start by mapping the layout. We don’t just throw pipe on the ground. We trench the mainlines at least 6 inches deep if they are crossing lawn areas to avoid damage during a sod install or aeration. For planters, we hide the lines behind the pots or inside the drainage holes. Every connection is checked for a physical ‘click.’ If the fitting isn’t seated, it will fail when the sun heats the plastic and the pressure spikes. We use pressure-compensating (PC) emitters. These have a silicone diaphragm that maintains a steady flow even if the pressure fluctuates between 10 and 50 PSI. It is the only way to ensure the last pot on the line gets the same amount of water as the first one.
- Flush the mainline for 5 minutes before adding emitters to remove debris.
- Use two stakes per planter to secure microtubing in place.
- Install a manual flush valve at the end of every 1/2-inch run.
- Check the soil moisture at the root ball, not the surface.
- Set timers for early morning to reduce fungal growth.
“A retaining wall doesn’t fail because of the stone; it fails because of the water trapped behind it.” – Hardscape Engineering Axiom
Can I run drip lines through my lawn?
You can run drip irrigation through a lawn, but it must be sleeved in PVC pipe or buried deep enough to clear power-raking and aeration equipment used during standard landscaping maintenance. Surface lines are a liability. During a yard cleanup, one wrong move with a string trimmer or a mower deck and your entire irrigation zone is compromised. We always advocate for dedicated irrigation trenches. This protects the low-voltage wires and the poly tubing from mechanical damage and UV degradation. If we are doing a sod install simultaneously, that is the perfect time to lay the infrastructure. It is cheaper to do it right once than to tear up a beautiful lawn later to fix a leak you can’t find.
Soil Microbiology and Hydrodynamics in Containers
Container soil, or potting media, behaves differently than native earth because it lacks capillary pull from the surrounding ground, meaning water moves downward rapidly through macropores. To combat this, we use inline drip emitters that create a wetted ‘ring’ around the plant rather than a single point of impact. This encourages the root system to expand. If you just drip in one spot, the roots will clump there, leading to a weak plant that can’t handle a hot afternoon. We also look at the cation exchange capacity (CEC) of the media. High-quality mixes hold onto the nutrients we’re pushing through the lines. If you use cheap soil, the drip system just washes the nitrogen out of the bottom of the pot. It’s a waste of money. We also install low-voltage moisture sensors in larger planters. These talk to the main controller and shut the system off if it rains. It’s about data, not guesswork. Don’t be the guy who waters his pots during a thunderstorm. It makes you look like an amateur. Maintenance is the final piece. Every spring, we pull the emitters and soak them in a mild acid solution to clear calcium deposits. Hard water is the silent killer of drip systems. If you skip the maintenance, the system will be dead in three years. Do it right, or don’t do it at all. It’s that simple.