
The Science of Root-to-Soil Interface
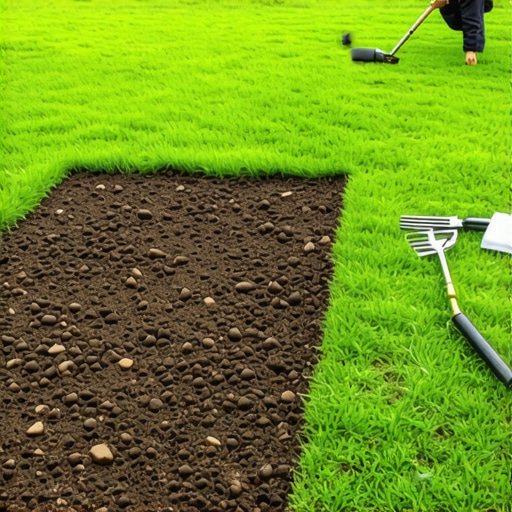
To ensure new sod knits within seven days, you must focus on capillary action and root-to-soil contact by preparing a 6-inch tilled soil bed amended with organic matter and balanced to a pH of 6.5. This foundation allows adventitious roots to penetrate the soil interface immediately without encountering bulk density barriers.
I always drill into my new crew members: if you don’t fix the soil grading first, every plant you put in the ground is just expensive compost. I’ve seen kids fresh out of high school think they can just roll out grass like a bedroom carpet. They forget they are dealing with a living, breathing biological system. If that soil isn’t friable—meaning it crumbles under pressure rather than smearing—the roots will just sit in the sod layer, starve for oxygen, and eventually succumb to pythium blight. You have to respect the dirt. If you treat soil like dirt, your yard will look like trash. We engineer the soil; we don’t just ‘prep’ it. This requires understanding the Cation Exchange Capacity (CEC) and how it dictates nutrient availability to the nascent root system during the first critical 168 hours post-install.
“A successful turfgrass stand is 90% dependent on the physical properties of the soil profile, specifically the balance between macro-pores for aeration and micro-pores for water retention.” – Penn State Center for Turfgrass Science
How much topsoil do I need for new sod?
For a standard sod install, you require a minimum of 4 to 6 inches of screened topsoil or a sandy loam mix to provide adequate pore space for root respiration. Calculating this involves measuring the square footage and multiplying by the depth in feet; for example, 1,000 square feet at a 4-inch depth requires approximately 12.3 cubic yards of material.
Do I need to till before laying sod?
Tilling is mandatory for landscaping projects involving sod because it breaks up sub-surface compaction and integrates amendments like elemental sulfur or lime. Without tilling to a depth of 6 inches, you create a ‘perched water table’ effect where the roots refuse to cross the boundary between the sod’s nursery soil and your yard’s compacted native clay.
The Soil Physics of Successful Sod Installation
When we talk about yard cleanup and prep, we are really talking about mechanical engineering. You are creating a hydraulic bridge. If there is a gap—even a microscopic one—between the sod and the earth, the roots will desiccate. This is why the irrigation schedule in the first week is so volatile. You aren’t just watering the grass; you are maintaining turgor pressure within the plant cells so they have the energy to push new growth into the substrate. We use water-filled rollers to apply specific pounds per square inch (PSI) to the surface, forcing the air out and the roots down. If you skip the roller, you are essentially gambling with the homeowner’s 5-figure investment.
| Soil Type | Primary Amendment | Target Bulk Density | Water Retention Strategy |
|---|---|---|---|
| Heavy Clay | Expanded Shale / Gypsum | 1.30 g/cm³ | Core Aeration + Sand Top-dress |
| Sandy Loam | Screened Compost | 1.50 g/cm³ | Wetting Agents (Surfactants) |
| Silts | Perlite / Organic Matter | 1.40 g/cm³ | Managed Drainage (French Drains) |
Nutrient Loading and the Chemical Start
Most DIYers throw down a bag of 10-10-10 and call it a day. That’s a mistake. New sod needs Phosphorus (P) for root development, but it needs it in a plant-available form at the root zone, not sitting on top of the blades. We use a starter fertilizer with a high middle number, but we also check the Soil pH. If your pH is at an 8.0, all that phosphorus is chemically locked up and useless. You might as well be throwing pebbles at the grass. We aim for that 6.5 sweet spot where the microbiology—the mycorrhizae—can thrive and form a symbiotic relationship with the new roots. This is landscaping at a molecular level.
“Root initiation in newly transplanted sod is inhibited when soil compaction exceeds 1.6 g/cm³, as the physical resistance of the soil pores prevents the elongation of the primary root radicle.” – Agronomy Journal Standards
The irrigation must be precise. Over-watering is just as lethal as under-watering. If the soil is saturated to the point of anaerobic conditions, the roots will rot in 48 hours. We look for ‘field capacity’—the amount of soil moisture or water content held in the soil after excess water has drained away. Don’t be a hack. Use a rain gauge. It’s a simple tool that saves thousands of dollars in wasted turf.
The 7-Day Precision Management Checklist
- Day 0 (Installation): Saturate the soil to a depth of 4 inches immediately after rolling. No exceptions.
- Day 1-3: Three short cycles of irrigation daily (10:00 AM, 1:00 PM, 4:00 PM) to maintain surface moisture.
- Day 4: Attempt the ‘Tug Test.’ If the sod lifts easily, increase the afternoon water cycle.
- Day 5: Introduce a seaweed extract or humic acid application to stimulate lateral root branching.
- Day 6: Reduce frequency but increase duration to force roots to ‘chase’ the water deeper.
- Day 7: Final inspection. If the sod resists lifting, the knitting process is successful. Reduce water to once daily.
The Mechanical Finish: Why Grading Matters
If you have standing water, you have a dead lawn. During the yard cleanup phase, we utilize a Harley Rake or a power box rake to create a perfectly level plane with a 2% slope away from the foundation. This isn’t just about aesthetics; it’s about hydrostatic pressure. Water must move through the soil, not sit on top of it. A sod install on a poorly graded yard will result in ‘puddling’ which leads to localized dry spots elsewhere as the water migrates. It’s a physics problem that requires a mechanical solution. Fix the grade, or don’t lay the sod. It is that simple. Don’t let a ‘mow-and-blow’ contractor tell you otherwise. They won’t be there when the fungus takes over in July.