
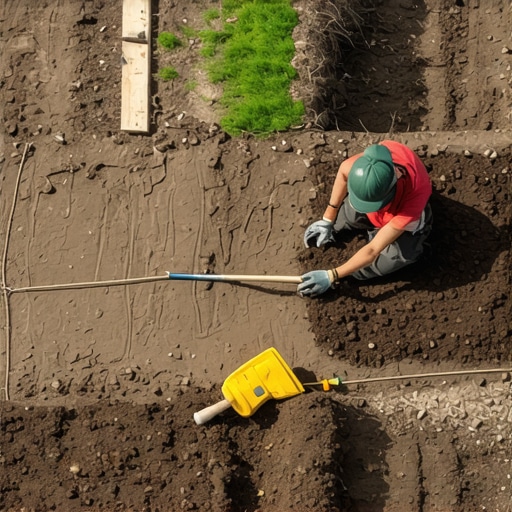
Gravity is the primary enemy of every landscape project, and laying turf on an incline is a direct battle against soil shear strength and hydrostatic pressure. I always drill into my new crew members: if you don’t fix the soil grading first, every plant you put in the ground is just expensive compost. I have seen too many rookies slap sod onto a 30-degree incline without prep, only to watch a heavy rain peel the entire hillside back like a wet rug. Professional sod installation on a slope requires more than just green-side-up thinking; it requires an understanding of structural engineering and root biology.
The Engineering Logic of Slope Stabilization
To lay sod on a slope effectively, you must install the rolls perpendicular to the incline in a staggered brick pattern and secure each piece with biodegradable sod staples or wooden stakes. This prevents gravity and hydrostatic pressure from shifting the turf before the roots can penetrate the subsoil and create a natural anchor. Without mechanical fastening, the weight of the water-saturated sod will exceed the friction holding it to the grade.
Before the first roll touches the dirt, you need a thorough yard cleanup. This isn’t just about raking leaves. You need to strip every weed, rock, and dead organic matter layer that could create a slip plane. If you leave a layer of dead thatch under your new sod, you are essentially greasing the slide. We use a sod cutter to get down to the bare mineral soil. Then, we check the pH. Most turfgrasses thrive in a 6.0 to 7.0 range. If your soil is heavy clay, which is common in many regions, the compaction will prevent root penetration, leading to shallow-rooted turf that slides at the first sign of a summer storm.
“A slope steeper than a 3:1 ratio requires mechanical stabilization or specialized vegetation to prevent surface erosion and soil mass failure.” – USDA Natural Resources Conservation Service
How many sod staples do I need per roll?
For a standard slope, you need a minimum of 3 to 5 staples per piece of sod. On extreme inclines, we increase this to 6 or 8. You must drive the staples flush with the soil surface to avoid mower damage later, but not so deep that they crush the crown of the grass. Focus your staking on the uphill edge of each piece. This is the critical point where water can get underneath the roll and lift it. If the top edge stays down, the rest of the roll usually follows suit.
| Slope Steepness | Staple Frequency | Pattern Type | Irrigation Strategy |
|---|---|---|---|
| Low (1-10%) | 2 per roll | Standard | Regular |
| Moderate (10-25%) | 3-4 per roll | Staggered Brick | Cycle and Soak |
| High (25%+) | 5-8 per roll | Staggered with Netting | Micro-Drip or Mist |
The Staking Protocol: Securing the Green
The actual mechanics of staking sod involve driving fasteners at an angle against the slope. Think of it like pitching a tent. You want the stake to resist the downward pull. We prefer 6-inch biodegradable stakes made of cornstarch or wood. Metal staples work, but they stay in the ground forever and can become a hazard if the soil erodes. A wooden stake provides more surface area and friction against the soil particles. Once the roots take hold, usually within 21 to 28 days, the stake is no longer needed. The biological anchor takes over from the mechanical one.
Avoid the common mistake of placing stakes in a straight line. This creates a perforated line in the soil that can actually encourage a clean break and a slide. Use a random or staggered pattern. Each piece of sod must be butted tightly against its neighbor. Any gaps are channels for water. In the world of landscaping, water is a lazy traveler; it will always take the path of least resistance. If you give it a gap between sod rolls, it will turn that gap into a gully in one afternoon. Don’t leave gaps.
Can you lay sod over existing grass on a hill?
No. Never lay new sod over existing vegetation or weeds. The old grass will die and rot, creating a slimy, anaerobic layer between the new roots and the soil. This layer acts as a lubricant, making a slide almost certain. You must have direct soil-to-root contact for the capillary action of the soil to pull the roots downward. If the roots don’t move down within the first ten days, the project is a failure.
Irrigation Management on an Incline
Proper irrigation on a slope is a delicate balance of saturation and runoff. If you water too fast, the water simply runs off the top of the grass and erodes the soil at the bottom of the hill. We use a “cycle and soak” method. This involves running the irrigation for short bursts—maybe 5 minutes—and then letting it sit for 20 minutes to allow the water to percolate into the soil profile. Repeat this until the soil is moist 4 inches deep.
“Effective irrigation on sloped terrain must account for the infiltration rate of the soil to prevent surface runoff and subsequent sediment transport.” – Texas A&M Agrilife Extension
- Check soil moisture daily with a probe or a long screwdriver.
- Ensure the bottom of the slope isn’t becoming a swamp while the top stays bone dry.
- Hand-water the top edges, as they dry out the fastest due to wind and gravity pulling water downward.
- Avoid heavy foot traffic for at least three weeks.
- Mow on the highest setting for the first cut to avoid yanking the unrooted sod.
The first mowing is the true test. If the sod moves when you turn the mower, it isn’t ready. You need those rhizomes and stolons to knit together. Once they do, that hillside will be more stable than it ever was with just bare dirt or mulch. It will hold. Do the work once, do it right, and stop fighting gravity with hope instead of engineering.