3 Warrenton VA Mulching Fixes to Stop Garden Rot in 2026
The sky over Fauquier County often hangs heavy with the scent of damp earth and wood smoke. You stand on your back porch, coffee cooling in your hand, watching the gray mist settle over the boxwoods. It is a quiet beauty. But beneath that silence, something else is happening. The red clay soil, notorious for its stubbornness, is beginning to choke. The roots of your favorite azaleas are drowning in a slow-motion flood that you cannot see. This is the reality of our local weather—a cycle of saturation and stagnant air that turns a vibrant yard into a soggy grave for expensive greenery. Editor’s Take: To survive the coming seasons, homeowners must move beyond aesthetics and treat mulch as a biological defense system rather than a cosmetic rug.
3 Warrenton VA Mulching Fixes to Stop Garden Rot in 2026
Understanding the nature of Landscape maintenance Warrenton VA requires a shift in perspective. It is not about keeping things tidy for the sake of the neighbors; it is a psychological battle against the entropy of the Piedmont region. When people seek out Landscaping services in Warrenton VA, they often do so out of a deep-seated desire for order. We want our outdoor spaces to reflect a sense of peace that the modern world denies us. This connection to the land is primal. We plant, we prune, and we wait. But the psychology of gardening often ignores the invisible. We focus on the bloom, forgetting the fungus. Mulching services Warrenton VA should be viewed as the skin of the earth. Without it, the soil temperature fluctuates wildly, and the microbiome suffers. Sod installation Warrenton VA fails when the transition between the grass and the beds isn’t managed with physical barriers. It’s about creating a sanctuary that actually functions. Professional Landscaping services in Warrenton VA focus on this biological balance, ensuring that every layer added to the earth serves a purpose deeper than just looking sharp for a Saturday afternoon barbecue. The soil, hungry and depleted, needs that organic interaction to stay alive.
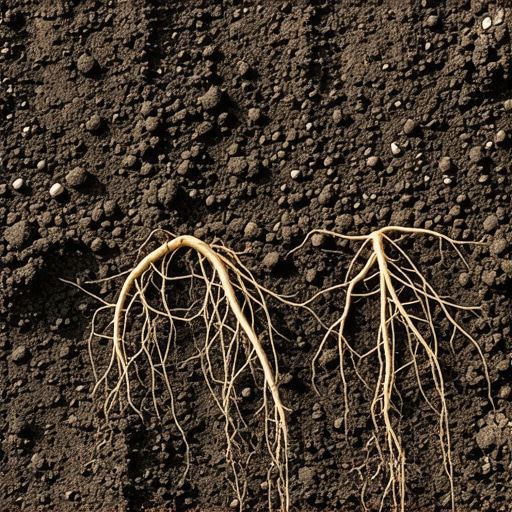
Reality is messy. I have seen the most expensive Tree and shrub planting Warrenton VA projects crumble within eighteen months because of ‘volcano mulching.’ This is where mulch is piled high against the trunk, creating a dark, moist habitat for rot and rodents. It feels like you are protecting the tree, but you are actually suffocating it. Hardscaping contractors Warrenton VA often have to come in after the fact to fix drainage issues that poor planting caused. The highs of a fresh yard are intoxicating—the smell of cedar, the crisp lines of a new stone path. The lows are the discovery of root rot in a thousand-dollar Japanese Maple. Sometimes, the Patio installation Warrenton VA looks perfect, but the runoff wasn’t calculated. The water pools. It sits. It breeds mosquitoes and ruins the lawn. You need to watch the water during a downpour. If it doesn’t move, your yard is in trouble. Retaining wall builders Warrenton VA provide more than just height; they provide the structural integrity required to keep the hillside from sliding into your foundation. The struggle is constant. It is a dance between the desire for a flat, usable space and the natural inclination of the Virginia hills to move and breathe.
A War Between Stone and Stem
There is an old-school approach that says more is always better. Pile on the bark. Build the wall higher. But modern Warrenton VA landscape design leans toward ecological intelligence. We are moving away from dyed mulches that leach chemicals into the groundwater and toward triple-shredded hardwoods that knit together, preventing erosion on those tricky slopes. Expectation says your yard should look like a magazine cover on day one. Reality says a healthy yard takes three years to truly find its rhythm. Lawn care services Warrenton VA are evolving. We are seeing a move toward native plants that require less intervention. When comparing approaches, the ‘set it and forget it’ mentality is the fastest way to lose your investment. You must be an active participant. Even the best Hardscaping contractors Warrenton VA cannot account for every shift in the local water table without regular check-ins. It is a partnership between the homeowner and the professional. The best results come when we respect the natural drainage patterns of the land rather than trying to force them into submission. According to a study by the Virginia Cooperative Extension, proper organic matter management can reduce water needs by up to sixty percent. This isn’t just theory; it is survival for your garden in an increasingly volatile climate.
Frequently Asked Questions from the Neighborhood
Does mulch really prevent all weeds? No. It suppresses them and makes the ones that do appear much easier to pull. How deep should the mulch be? Two to three inches is the sweet spot. Any more and you are blocking oxygen. When is the best time for Tree and shrub planting Warrenton VA? Late fall or early spring, giving the roots time to establish before the summer heat hits. What about the drainage near my new patio? Every Patio installation Warrenton VA should include a pitch of at least one inch for every ten feet to ensure water moves away from the house. Your yard is an living, breathing thing. It deserves a hand that understands its moods. If you are ready to stop the rot and start building a space that lasts, reach out to someone who knows the local soil. Let us look at your drainage and your mulch layers before the 2026 rains begin. Your garden will thank you for the care. [IMAGE_PLACEHOLDER]
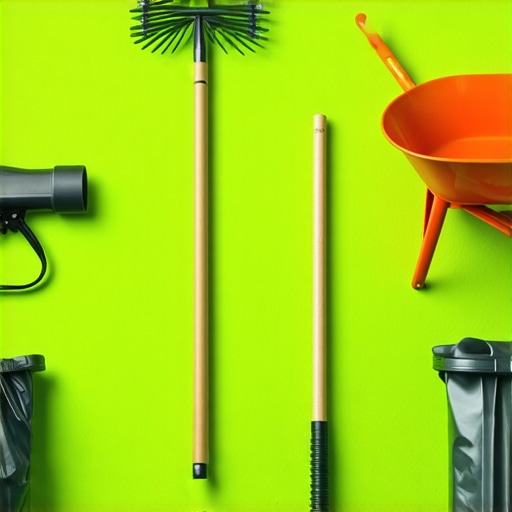
![5 Yard Cleanup Tools That Clear Wet Leaves in Minutes [2026]](https://urbanlandscapingx.com/wp-content/uploads/2026/03/5-Yard-Cleanup-Tools-That-Clear-Wet-Leaves-in-Minutes-2026.jpeg)
![3 Red Flags for Warrenton VA Retaining Wall Builders [2026]](https://urbanlandscapingx.com/wp-content/uploads/2026/03/3-Red-Flags-for-Warrenton-VA-Retaining-Wall-Builders-2026.jpeg)
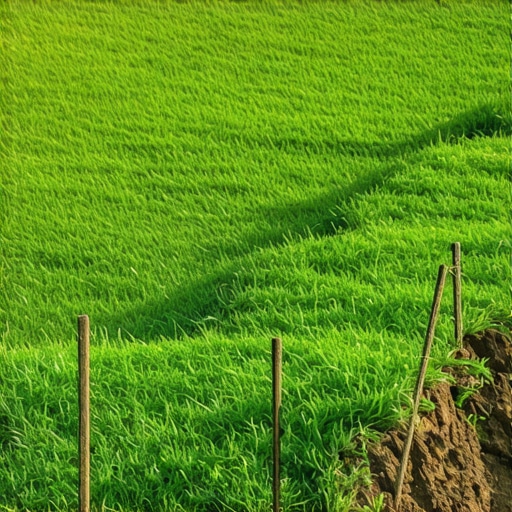
![3 Clay Soil Drainage Fixes to Stop 2026 Sod Rot [Pro Tip]](https://urbanlandscapingx.com/wp-content/uploads/2026/03/3-Clay-Soil-Drainage-Fixes-to-Stop-2026-Sod-Rot-Pro-Tip.jpeg)