
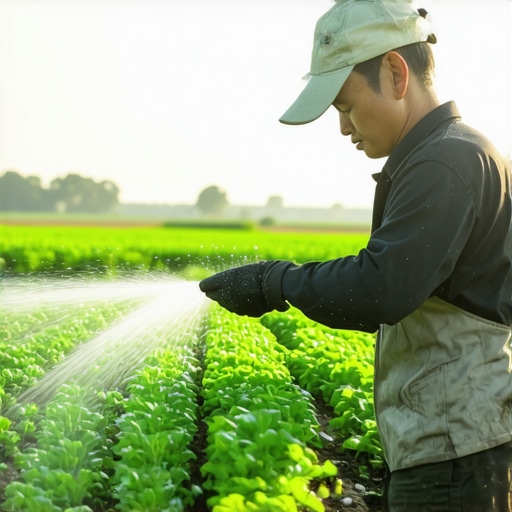
The Forensic Autopsy of a Failed 2026 Sod Project
I always drill into my new crew members: if you don’t fix the soil grading first, every plant you put in the ground is just expensive compost. Last season, I saw a homeowner lose $8,000 in Kentucky Bluegrass because they ignored the thermal physics of the sub-grade. They laid the sod on bone-dry, compacted clay in 90-degree heat. By noon, the roots were literally cooked. The soil reached a temperature of 115 degrees, acting like a heating element under the fresh turf. This wasn’t a lack of water after the fact; it was a failure of the Pre-Soak Rule. To prevent this, you must understand that sod is a living, breathing biological system currently under high metabolic stress. If the landing pad is dry, the sod dies. Period.
The Pre-Soak Rule: Why Dry Sub-Grade is a Death Sentence
The Pre-Soak Rule dictates that the sub-grade soil must be saturated to a depth of four inches at least 24 hours prior to sod install. This process creates a thermal buffer and ensures that the dry underlying soil does not wick essential moisture away from the new, shallow root system through capillary action. Most contractors skip this because it makes the site muddy, but skipping it is professional negligence. When you place a wet piece of sod onto dry dirt, the dry dirt acts as a sponge, pulling the water out of the sod’s 1/2-inch root mat. Within two hours, the root hairs begin to shrivel. This is called localized dry spot at the interface level, and no amount of top-watering can fix it once it starts.
“To ensure successful establishment, the soil must be moist but not saturated at the time of installation. Dry soils can pull moisture from the sod, leading to rapid desiccation of the root system.” – Penn State Extension, Center for Turfgrass Science
How long should you water before sod installation?
You should run your irrigation system for approximately 45 to 60 minutes per zone two days before the arrival of the grass. This allows the water to percolate through the soil profile without leaving standing puddles. You want the soil to be at field capacity, which means it holds the maximum amount of water possible against the pull of gravity. If you can’t push a screwdriver six inches into the ground with ease, your yard is not ready for sod. The soil needs to be soft enough to allow the new roots to penetrate the bulk density of the earth immediately.
Preparation Mechanics: Yard Cleanup and Soil Grading
Before the first pallet arrives, a professional yard cleanup must involve more than just raking leaves; it requires the removal of all hydrophobic organic matter and the mechanical aeration of the sub-grade. If you have old thatch or dead grass under your new sod, you are creating a barrier that prevents root-to-soil contact. This is often where the ‘mow-and-blow’ hacks fail. They don’t realize that a layer of dead grass acts like a waterproof membrane. We use power rakes to strip the site down to bare mineral soil. Then, we grade. If the grade isn’t sloping at a minimum of 2% away from the foundation, you’re just building a swimming pool under your lawn. This leads to hydrostatic pressure issues and anaerobic soil conditions where roots rot before they even start to grow.
| Soil Type | Pre-Soak Duration | Target Depth (Inches) | Wait Time Before Laying |
|---|---|---|---|
| Heavy Clay | 60-90 Minutes | 4.0 | 24 Hours |
| Sandy Loam | 30-45 Minutes | 6.0 | 12 Hours |
| Silty Clay | 50-70 Minutes | 5.0 | 24 Hours |
What is the best way to prep soil for new sod?
The best way to prep soil is to perform a soil test to check pH levels and then mechanically till the top 4 inches to reduce compaction. For most residential projects, we aim for a pH between 6.0 and 7.0. If the soil is too alkaline, we incorporate elemental sulfur; if it’s too acidic, we add lime. Don’t use cheap big-box fertilizers. We use a starter fertilizer with a high phosphorus ratio (the ‘P’ in N-P-K) to stimulate root elongation. Phosphorus is relatively immobile in the soil, so it must be worked into the top two inches of the ground before the sod is laid. Once the sod is down, you can’t get that phosphorus to the roots easily.
- Remove Debris: Every rock larger than a golf ball must go. Rocks create hot spots.
- Mechanical Aeration: Break the surface tension of the clay.
- Edge Definition: Cut clean 3-inch deep edges along all hardscapes.
- Leveling: Use a landscape rake to remove ‘bird baths’ or low spots.
- Pre-Hydration: Follow the Pre-Soak Rule to the letter.
Irrigation Calibration: The Engineering of Hydration
The irrigation system is the life support for your new landscaping, and most systems are poorly calibrated with uneven distribution uniformity. You cannot rely on a visual check. You need to perform a catch-can test. Place empty tuna cans around the yard and run the sprinklers for 15 minutes. If one can has half an inch of water and another is bone dry, your sod will die in patches. This is what we call checkered-board desiccation. For new sod in 2026, you aren’t just watering the grass; you are cooling the soil. During the first 14 days, you need to maintain evapotranspiration balance. This means 3 to 4 short watering cycles per day, specifically between 10:00 AM and 4:00 PM, to keep the temperature of the sod blades below the thermal stress threshold.
“Standard practice for hardscape and turf base layers requires a 95% Proctor density, yet for biological growth, we must balance compaction with macropore space for oxygen exchange.” – ICPI Technical Guidelines (Adapted)
How much water does new sod need per day?
New sod needs roughly 1/4 inch of water during each of its four daily watering cycles for the first week. Do not water at night. Night watering promotes Pythium blight and Rhizoctonia, fungi that love the warm, stagnant moisture of a new sod canopy. You want the blades to dry before sunset, but the root zone to remain consistently damp. After day 14, you should transition to deep, infrequent watering. We call this ‘training the roots.’ By watering deeply twice a week instead of lightly every day, you force the roots to chase the moisture deep into the soil. This makes the lawn drought-resistant for the following summer. It’s basic biology.
The Long-Term Maintenance Blueprint
Once the sod is knit into the soil—usually after the third week when you can no longer pull up the corners—you must adjust your landscaping strategy. The biggest mistake is mowing too early or too short. Set your mower to the highest setting. You want a tall canopy to shade the soil and reduce water loss through evaporation. If you scalp the lawn, you expose the tender crowns to the sun. It will rot. Keep your blades sharp; a dull blade tears the grass, creating an open wound that leaks moisture and invites pathogens. This isn’t just about aesthetics; it’s about the structural integrity of the plant. A healthy lawn in 2026 requires a holistic management approach, starting with the dirt and ending with the mower blade height. Stick to the science, skip the shortcuts, and your yard will survive the heat.