
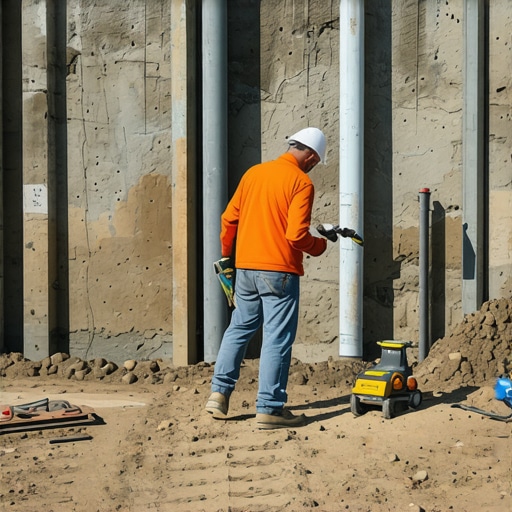
The Anatomy of a Failing Wall
To stop a retaining wall from bulging, you must mitigate hydrostatic pressure by installing a 4-inch perforated drain pipe (SDR-35 or equivalent) at the base of the wall’s backfill zone. This pipe, wrapped in geotextile fabric and surrounded by clean angular stone, provides a path of least resistance for subsurface water, preventing it from pushing against the masonry units and causing catastrophic structural failure.
I recently got called out to tear up a $30,000 patio and retaining wall system that was sinking and bowing because the previous contractor decided to save $200 on drainage pipe and aggregate. The wall was a three-foot-high segmental block system, but it looked like it was six months pregnant. When we cut into the backfill, we didn’t find the required clean stone; we found native heavy clay packed tight against the blocks. The ‘drainage’ was nonexistent. Every time it rained, that clay absorbed water, expanded, and applied thousands of pounds of pressure against the wall. It was a structural autopsy that could have been avoided with a simple piece of plastic and some common sense. This is what happens when you hire a mow-and-blow crew to do civil engineering. They see a wall; I see a dam. And a dam without a spillway is just a disaster waiting to happen.
“A retaining wall doesn’t fail because of the stone; it fails because of the water trapped behind it.” – Hardscape Engineering Axiom
The Physics of Hydrostatic Pressure
Let’s talk numbers. Saturated soil can weigh upwards of 120 pounds per cubic foot. In a typical yard cleanup or landscaping project, if you don’t account for the weight of water, you’re building on borrowed time. When water collects behind a wall, it creates hydrostatic pressure—a force that acts equally in all directions. If that water has nowhere to go, it pushes against the back of your wall blocks. Over time, this pressure causes the wall to ‘belly’ or bulge out. Eventually, the friction holding the blocks together fails. It will rot the structural integrity of your entire sod install and surrounding hardscape. Don’t skip the pipe.
[image_placeholder_1]
The Drainage Pipe Solution: SDR-35 vs. Corrugated
Not all pipes are created equal. Many ‘landscaping’ hacks use the cheap, thin-walled black corrugated pipe you find at big-box stores. It’s garbage. It crushes under the weight of the backfill and clogs with the slightest bit of silt. I demand my crews use SDR-35 perforated PVC. It has a higher crush rating and a smooth interior wall that prevents sediment buildup. When you lay it, the perforations MUST face down. You want the water to rise into the pipe from the bottom, not trickle in from the top. This forces the water to stay at the lowest possible point before being carried away.
| Material Type | Drainage Flow Rate | Crush Resistance | Best Application |
|---|---|---|---|
| SDR-35 Perforated PVC | High | Excellent | Structural Walls > 3ft |
| Schedule 40 PVC | Very High | Maximum | High-Traffic Driveways |
| Corrugated HDPE | Medium | Poor | Temporary Yard Drainage |
| #57 Clean Stone | Passive | N/A | Backfill Chimney Drain |
How much modified gravel do I need for a patio base?
For a standard paver patio or wall base, you need a minimum of 6 inches of compacted 2A modified gravel or 3/4-inch minus crushed stone. This isn’t just a suggestion; it’s the foundation of the entire system. You must compact this in 2-inch ‘lifts.’ If you throw 6 inches of gravel in a trench and run a plate compactor over the top, the bottom 4 inches will stay loose. The tamper should literally bounce off the compacted base when it’s ready. If it feels soft, keep going. Soil density is non-negotiable.
Does every retaining wall need a drain pipe?
If the wall is over 24 inches tall or if the land slopes toward the wall, yes, it needs a dedicated drainage system. Even small garden walls can benefit from a ‘weep hole’ system. In regions with heavy clay, the drain pipe is your only insurance policy against the freeze-thaw cycle. When wet clay freezes, it expands with enough force to crack concrete. A dry wall is a stable wall. Trust the math.
The Installation Process: The ‘Chimney’ Drain
We start by excavating a trench that is at least 12 inches wider than the block width. After setting our leveling pad, we lay the SDR-35 pipe. But the pipe is only half the battle. You need a ‘chimney’ of #57 clean, angular stone that extends from the pipe all the way up to within 6 inches of the surface. This stone must be separated from the native soil by a non-woven geotextile fabric. If you don’t use fabric, the soil will eventually migrate into the stone, clogging the gaps and rendering the drain useless. It’s a filtration system, not just a pile of rocks. This ensures that any irrigation runoff or rainwater is immediately captured and diverted.
- Step 1: Excavate the base and drainage trench.
- Step 2: Install non-woven geotextile fabric to line the entire backfill area.
- Step 3: Place the perforated pipe with holes facing DOWN.
- Step 4: Backfill with 3/4-inch clean angular stone (no ‘fines’).
- Step 5: Fold the fabric over the top of the stone before adding topsoil and sod.
Common Mistakes in Yard Drainage
I see it every day: homeowners using ‘dirt’ as backfill. Dirt holds water. Water creates pressure. Pressure breaks walls. Another mistake is forgetting the irrigation lines. If you have an underground sprinkler system, ensure the lines aren’t leaking behind the wall. A small leak can saturate the backfill in days, leading to a sudden collapse. Finally, ensure your wall has an ‘outlet.’ The drain pipe needs to ‘daylight’ somewhere—either at the end of the wall or piped into a lower part of the yard. If the water stays in the pipe, you haven’t solved anything; you’ve just built a very long straw. Don’t be a hack. Do it right the first time. It’s cheaper than doing it twice.