Why Your 2026 Sod is Drying Out at the Seams
You spent thousands on a sod install. You expected a thick, uniform carpet of green, but instead, you are looking at a brown, desiccated grid that looks like a giant waffle iron burned your yard. The seams are widening. The edges are curling like scorched parchment. This isn’t a mystery; it is a failure of horticultural engineering. When sod fails at the seams, it is usually a symptom of poor soil-to-root contact, moisture wicking, or a fundamental misunderstanding of irrigation physics. To fix it, we have to look deeper than the blades of grass. We have to look at the microbiology and the mechanical base of your lawn.
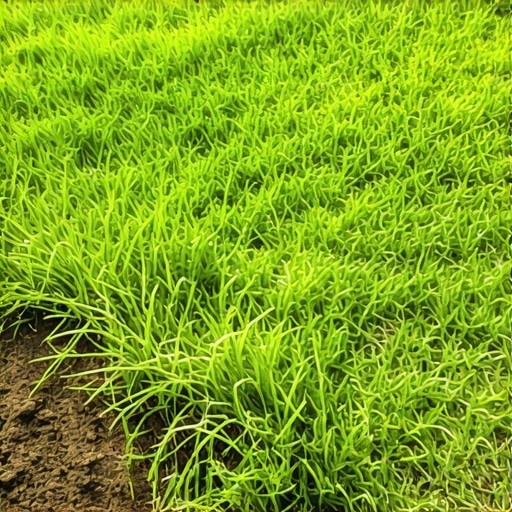
The Anatomy of a Sod Seam Failure
Sod seams dry out primarily because of thermal wicking from exposed edges and poor physical integration between the sod roll and the underlying substrate. When the edges of the rolls are not properly butted together or rolled with a heavy drum, air pockets remain trapped, causing root hair desiccation. I recently performed a hardscape autopsy on a high-end project where a $30,000 patio and surrounding turf were failing. The contractor had laid the sod over a compacted gravel base intended for pavers, leaving zero room for root penetration. The sod was essentially sitting on a hot plate. Within two weeks, the seams had opened up by nearly an inch because the grass was literally shrinking as it lost turgor pressure. It was a total loss. Don’t let your yard become a cautionary tale. If you don’t fix the soil grading and moisture retention first, every piece of turf you lay is just expensive compost.
“Establishing a successful turfgrass stand requires more than just water; it requires a physical bond between the sod’s organic mat and the mineral soil below.” – Penn State Center for Turfgrass Science
The Physics of Desiccation: Why Edges Die First
The edge of a sod roll is its most vulnerable point because it has the highest surface-area-to-volume ratio. This makes it a prime target for evapotranspiration. If the seams are not tightly compressed, the sun heats the soil at the gap, causing water to evaporate not just from the grass, but from the root zone itself. This is known as the wick effect.
How often should I water new sod?
New sod requires deep, infrequent watering after the initial two-week establishment phase, but during the first 10 days, you must keep the soil interface consistently moist. Aim for 1 inch of water per day, split into three short cycles to prevent hydrostatic runoff. You want the water to penetrate the top 4 inches of the subsoil to encourage roots to chase the moisture downward.
| Installation Factor | Mow-and-Blow Hack Approach | Professional Landscape Standard |
|---|---|---|
| Soil Prep | Raking the surface leaves | Tilling to 6 inches with organic compost |
| Seam Logic | Gaps left for ‘breathing’ | Staggered, tightly butted joints |
| Compaction | Walking on it with boots | 500lb water-filled steel roller |
| Fertilization | High-nitrogen cheap pellets | Starter fertilizer with high phosphorus (10-20-10) |
| Irrigation | ‘Wait for the rain’ | Calibrated MP Rotator nozzles |
The Critical Role of Sub-Soil Preparation
Successful landscaping is 80 percent preparation and 20 percent execution. If your yard cleanup didn’t include the removal of hydrophobic thatch or the remediation of heavy clay soil, your sod is doomed. In regions with high clay content, the soil can become as hard as concrete. When you lay sod on top of this, the roots cannot penetrate the mechanical barrier. They stay in the thin layer of peat the sod was grown in. This peat dries out ten times faster than the soil beneath it. You must use a core aerator or a tiller to break that surface tension before the sod install.
How much modified gravel do I need for a patio base?
If you are integrating turf with hardscaping, you need a minimum of 4 to 6 inches of compacted 21A modified gravel for the base, but ensure your irrigation lines are trenched at least 8 to 12 inches deep to avoid freeze-thaw damage or shovel punctures. Never let your gravel base extend under your sod zones.
“A retaining wall doesn’t fail because of the stone; it fails because of the water trapped behind it.” – Hardscape Engineering Axiom
The Master Sod Installation Checklist
- Soil pH Testing: Ensure your soil is between 6.0 and 7.0 pH. Use lime or sulfur to adjust.
- Pre-Irrigation: Wet the bare soil 24 hours before the sod install to lower ground temperature.
- Seam Staggering: Always lay sod in a brick-work pattern to prevent long runoff gullies.
- Mechanical Rolling: Use a water-weighted roller immediately after laying to eliminate air pockets.
- The Penny Test: You shouldn’t be able to slide a penny between the seams of a professional install.
Correcting the Wick Effect in Existing Turf
If your 2026 sod is already drying out at the seams, you need to act fast. You can remediate the gaps by top-dressing the seams with a 50/50 mix of screened topsoil and masonry sand. This fill material acts as an insulator, stopping the thermal wicking and giving the roots a medium to bridge the gap. Increase your irrigation frequency but decrease the duration. You want to keep those seams at field capacity until the edges knit together. Don’t use a high-nitrogen fertilizer on stressed grass; you will cause foliar burn. Stick to sea kelp extracts or humic acid to stimulate root growth without forcing vertical leaf extension. It will rot if you over-saturate it without proper drainage. Watch for standing water. If the water doesn’t infiltrate within 20 minutes, your soil compaction is too high. You might need to perform surgical aeration on the seams themselves. Precision matters. Don’t skip the details.