
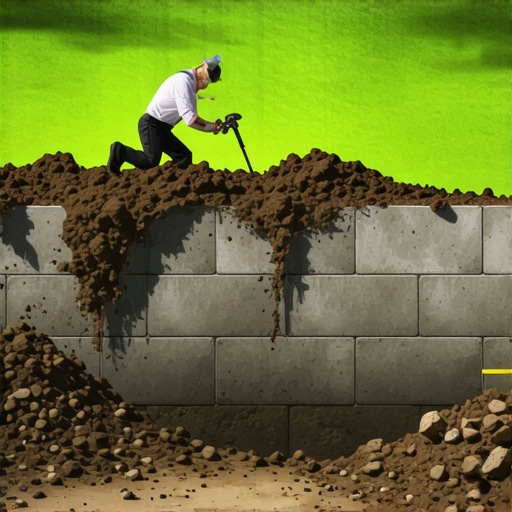
The Hardscape Autopsy: Why Walls Bleed Mud
I recently got called out to tear up a $30,000 patio that was sinking because the previous contractor thought he could defy physics. The wall was leaning at a 15-degree angle, and every time it rained, a slurry of brown silt pumped through the joints. This is a hardscape autopsy. The failure wasn’t the block; it was the invisible forces behind it. When a retaining wall spills soil, you aren’t looking at a masonry problem. You are looking at a drainage and engineering catastrophe. Soil is heavy, but wet soil is a weapon. If you don’t respect the hydrostatic pressure building up behind those stones, the wall will eventually succumb to gravity. It is inevitable. No amount of ‘pretty’ stone can mask a lack of structural integrity. Repairing this requires more than a shovel; it requires an understanding of soil mechanics and civil engineering principles.
The Core Reason Your Retaining Wall Is Failing
A retaining wall spills soil because hydrostatic pressure has exceeded the structural capacity of the wall, often caused by improper backfill and failed drainage systems. When water saturates the soil, it increases the lateral load significantly, forcing the wall to lean, crack, or ‘blow out’ at the base. It is a physics problem, not an aesthetic one.
Hydrostatic Pressure: The Silent Killer
Water weighs 62.4 pounds per cubic foot. When you have a heavy rain, and your backyard doesn’t have a proper sod install or grading to move water away, that water enters the soil behind your wall. If that soil is heavy clay, it expands. This expansion creates a massive amount of force. Without a clear path for that water to escape—through a French drain or weep holes—the pressure builds until the wall moves. Even a quarter-inch of movement can break the bond of your landscaping adhesive or crack a mortar joint. Once the wall moves, the soil behind it settles into the new gap, preventing the wall from ever returning to its original position. This is called ‘ratcheting.’ It happens every season. Each freeze-thaw cycle makes it worse. You cannot stop it with more glue. You stop it with drainage.
The Angle of Repose and Soil Creep
Every soil type has an ‘angle of repose’—the steepest angle at which the material remains stable without sliding. When you cut into a slope to build a wall, you are interfering with that natural stability. If your wall isn’t engineered to hold the ‘active wedge’ of soil, the earth will naturally try to return to its angle of repose. This results in soil creep. It’s a slow-motion landslide that puts constant, relentless pressure on your hardscape. If you see soil spilling over the top or through the gaps, your wall has already lost the battle against the active wedge.
“A retaining wall doesn’t fail because of the stone; it fails because of the water trapped behind it.” – Hardscape Engineering Axiom
The Materials That Actually Hold the Earth
Choosing the right materials for a wall is a matter of weight and friction. Most homeowners go to a big-box store and buy whatever is on sale. This is a mistake. Professional-grade segmental retaining wall (SRW) units are designed with a specific ‘lip’ or ‘pin’ system that creates a mechanical setback. This setback ensures that as the wall gets higher, it leans back into the hill, using the weight of the soil to help keep the wall in place. Furthermore, the backfill material is the most critical component. If you put the dirt you dug out back behind the wall, you have failed. You need clean, angular stone that allows water to drop straight down to your drain pipe.
Comparing Backfill Performance
| Material Type | Drainage Capability | Lateral Pressure Risk | Professional Recommendation |
|---|---|---|---|
| #57 Clean Angular Stone | Excellent | Very Low | Mandatory for 12″ behind wall |
| Bank-run Gravel | Moderate | Medium | Acceptable for base, not backfill |
| Native Clay Soil | Poor | Extremely High | Never use within 2 feet of wall |
| Sand | Good | High (Liquefaction risk) | Avoid in high-moisture zones |
How to Brace and Remediate a Failing Wall
Bracing a wall that is already spilling soil requires a forensic approach to stabilize the slope before the structural integrity is completely lost. You must first relieve the pressure by excavating the saturated soil behind the wall and replacing it with geotextile-wrapped drainage stone and a perforated pipe system. Adding ‘deadmen’ anchors or geogrid reinforcement is often necessary for walls over three feet tall to tie the face of the wall back into the stable soil mass.
Step-by-Step Remediation Process
- Excavate the Failure Zone: Dig out at least 24 inches of soil behind the wall. Go down to the level of the base.
- Install the Perforated Drain Pipe: Place a 4-inch perforated SDR-35 pipe at the bottom. Ensure it is sloped at a 1% grade to a daylight exit.
- Apply Geotextile Fabric: Line the trench with a non-woven geotextile. This prevents ‘fines’ (tiny dirt particles) from clogging your stone.
- Backfill with #57 Stone: Fill the trench with clean, angular stone. Do not use rounded pea gravel; it acts like ball bearings and offers no structural friction.
- Check the Irrigation: Ensure your irrigation lines aren’t leaking behind the wall. A small leak can liquefy the backfill in days.
- Compact the Base: If you are rebuilding, the base must be compacted to 95% Standard Proctor density. The tamper should literally bounce off the compacted base.
How much modified gravel do I need for a patio base?
For a standard patio or wall base, you need a minimum of 6 inches of compacted modified gravel (such as 21A or CR6). To calculate the volume, multiply the square footage by the depth (0.5 feet) and divide by 27 to get cubic yards. Then, multiply by 1.5 to account for compaction loss. Never skip the plate compactor. A hand tamper is a toy. Don’t use toys on $10,000 projects.
Why is my wall leaning after a heavy winter?
This is likely due to ‘adfreeze.’ When wet soil behind the wall freezes, it bonds to the back of the blocks. As the ground heaves upward and outward, it takes the wall with it. When the ice melts, the soil settles, but the wall stays pushed out. This is a direct symptom of poor drainage. If there was no water in the soil, there would be no ice to move the wall. Proper yard cleanup in the fall should include checking that your wall’s weep holes aren’t clogged with leaves or debris.
The Critical Role of Surface Grading
You can build the strongest wall in the world, but if your yard is graded to dump every gallon of roof runoff directly behind it, the wall will fail. This is where landscaping meets civil engineering. You need to create a swale or a berm at the top of the wall to divert surface water around the sides. Most people think the wall is there to stop water. It isn’t. The wall is there to hold soil. Water should never touch the back of your wall if you can help it. If you are doing a sod install, make sure the grade slopes away from the wall at a rate of at least 2 inches of drop for every 10 feet of distance. This simple step saves thousands in repair costs.
“Hydrostatic pressure is the most common cause of wall failure in residential hardscapes.” – National Concrete Masonry Association (NCMA)
In the end, a wall is only as good as what you can’t see. Don’t be the homeowner who pays for the same wall twice. Do the yard cleanup, fix the irrigation leaks, and ensure your drainage pipe is clear. If you see a bulge, act now. It won’t fix itself. Soil doesn’t un-swell. Gravity doesn’t take days off. Fix the drainage, or watch your investment slide into the driveway. It is that simple.