
The Biology of Waste: Why Your Sensor is the Most Critical Component
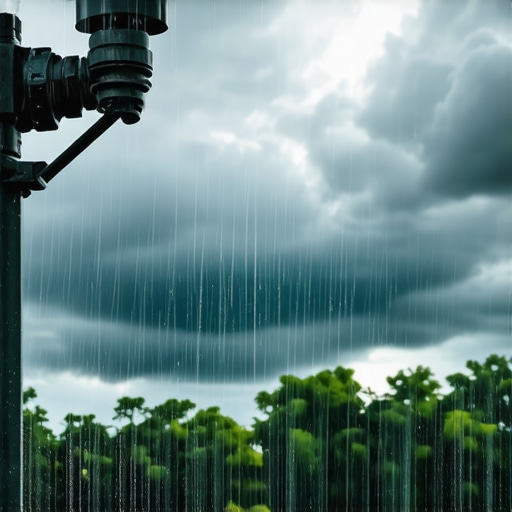
I always drill into my new crew members: if you don’t fix the soil grading and the sensor placement first, every plant you put in the ground is just expensive compost. I’ve walked onto too many properties where the irrigation is screaming at 5:00 AM in the middle of a torrential downpour. It makes my blood boil. It’s not just about the water bill; it’s about the fact that you are actively drowning your sod install and leaching every bit of nitrogen out of the landscaping you just paid thousands for. A failed rain sensor is a silent killer of turf health.
“A rain sensor is not an accessory; it is a mechanical governor required to prevent the transition from aerobic to anaerobic soil conditions during peak saturation events.” – Agricultural Irrigation Manual
The Mechanical Failure: Why Your Irrigation Thinks It’s Sunny
Rain sensor failure typically stems from clogged hygroscopic disks, corroded wiring, or battery depletion in wireless units, preventing the system from breaking the common wire circuit. When these disks—made of a cork-like material—fail to expand, the controller never receives the signal to suspend the watering cycle, leading to root rot and pathogenic fungal outbreaks like Pythium.
How much rain triggers a sensor?
Most modern 2026 sensors are adjustable, allowing you to set a threshold from 1/8 inch to 3/4 inch of rainfall. For heavy clay soils, I tell my clients to set it at the 1/8 inch mark. Clay holds onto water like a sponge; you don’t need a drop more once the sky opens up. If you have sandy loam, you might give it a bit more leeway, but 1/4 inch is the industry standard for a reason. It protects the soil pore space from becoming waterlogged. Don’t guess. Measure.
The Anatomy of Replacement: Wired vs. Wireless Technology
Choosing between a wired or wireless sensor for your 2026 upgrade depends on your property’s architecture and your tolerance for maintenance. Wireless units are easier for yard cleanup crews to avoid, but they require battery changes every 3-5 years. Wired sensors are bulletproof but require a physical connection to the controller’s 24-volt transformer terminals. Failure usually occurs at the splice point.
| Feature | Wired Sensor | Wireless (2026 Models) |
|---|---|---|
| Installation Time | 60-90 Minutes | 15-20 Minutes |
| Reliability | High (No battery) | Medium (Battery dependent) |
| Signal Range | Limited by wire length | Up to 800 feet (Line of sight) |
| Maintenance | Clean disks annually | Check battery & signal strength |
| Cost | Lower upfront | Higher upfront |
Step-by-Step Installation: Wiring and Mounting for Longevity
To replace a sensor, first, identify the Common Wire (usually white) in your controller. You are essentially installing a “kill switch.” If it’s a wired unit, you’ll run 18-gauge direct-burial wire from the sensor to the controller. Mount the sensor on an eave or fence line where it has an unobstructed path to the sky. Avoid mounting it near trees or under roof overhangs. If the sensor can’t see the rain, it can’t stop the clock. It’s that simple.
Where is the best place to mount an irrigation sensor?
The optimal location for an irrigation rain sensor is the highest point of the roofline or a sturdy fence post away from the irrigation spray pattern itself. Mounting a sensor where the sprinkler head hits it will create a false-positive shutoff, leaving your sod install bone dry even when it hasn’t rained. Ensure the sensor is clear of gutters that might overflow and give a deceptive reading of total rainfall. Precision matters.
“Saturation of the root zone for more than 48 hours leads to the total collapse of soil oxygen levels, inducing root-tissue necrosis in most C3 and C4 turfgrass species.” – Penn State Extension Agronomy
The Biological Cost: Why Storm-Irrigation Kills Your Sod
When irrigation runs during rain, it forces anaerobic conditions in the root zone, inviting Rhizoctonia and other soil-borne pathogens. Over-saturation displaces oxygen in pore spaces, effectively suffocating the turf and leading to root rot and turf decline. You aren’t just wasting water; you are killing the biology of the yard. I’ve seen $10,000 sod installs wiped out in a single wet July because the homeowner didn’t spend $100 on a functioning sensor. It’s negligence.
- Check the Hygroscopic Disks: If they look black or slimy, they are contaminated and won’t expand. Replace them.
- Test the Bypass Switch: Ensure your controller isn’t set to “Bypass,” which ignores the sensor entirely.
- Verify Signal Strength: For wireless units, use the diagnostic mode to ensure the receiver is talking to the transmitter.
- Inspect the Wire Path: Look for nicks from weed whackers or shovels during recent yard cleanup.
- Clear Debris: Spider webs and pine needles can trap the spindle and prevent it from moving.
Stop treating your yard like a hobby and start treating it like the complex biological system it is. A rain sensor is the brain of that system. Without it, you’re just a hack with a hose. Get the sensor fixed, calibrate the irrigation, and let the soil breathe. It will save your lawn. It will save your wallet. Don’t skip this. [IMAGE_PLACEHOLDER]