
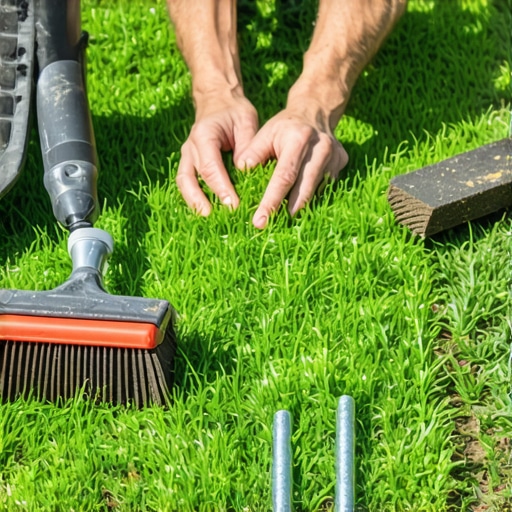
The Forensic Reality of Patchy Turf: Why Your Lawn is Failing
Walking onto a site with necrotic turf patches feels like performing a post-mortem on a failed ecosystem. You see the yellowing, the thinning blades, and the exposed soil, but the real story is subterranean. Most lawn failures aren’t just bad luck; they are the result of poor landscaping mechanics, specifically localized dry spots, fungal pathogens, or chemical mismanagement. If you ignore the underlying soil structure, you are just throwing money into a green-colored grave.
The Chemical Nightmare: A Case Study in Soil Sterilization
A homeowner called me in a panic after they completely torched their front lawn by applying a high-nitrogen, synthetic fertilizer during a drought-induced dormancy phase. They thought they were feeding the grass; instead, they spiked the soil’s salt index so high it literally sucked the moisture out of the roots through osmotic shock. The resulting yard cleanup was a disaster of orange, desiccated grass that looked like it had been hit with a flamethrower. We couldn’t just seed it; the soil chemistry was too toxic. We had to excavate, neutralize, and use sod install scraps from a larger project to plug the gaps and reintroduce life to the dead zones.
What is Sod Scrap Plugging?
Repairing lawn patches with sod scrap plugs is a technical remediation strategy where high-quality turf remnants from a primary sod install are transplanted into excavated 3-inch deep pockets of prepared soil to achieve instant density and bypass the high-failure rates of broadcast seeding in stressed environments. This method ensures 100% genetic matching with existing turf and utilizes the established root mat of the scrap to anchor into the new site quickly.
“Turfgrass health is a function of the root zone’s ability to facilitate gas exchange and water infiltration; without proper pore space, even the best sod will fail.” – Penn State Center for Turfgrass Science
How deep should I dig for sod plugs?
To ensure a successful transplant, you must excavate the patch to a depth of exactly 3 to 4 inches. This depth allows for the removal of the old root mass and any lingering fungal spores or chemical residues while providing enough space for a layer of nutrient-dense topsoil or compost. If you dig too shallow, the new plug will sit high, lead to mower scalping, and the roots will never dive into the subgrade. Irrigation becomes impossible because the water just runs off the high spot.
Why are my lawn patches not filling in?
Patches remain bare usually due to soil compaction or a thatch layer that has become hydrophobic. When the soil reaches a certain bulk density, roots cannot penetrate the earth, and water cannot reach the rhizosphere. You can throw all the seed you want at a compacted patch, but it will not germinate. You need to break the surface tension, physically remove the dead matter, and install a viable plug that can punch through the compaction layer.
Technical Material Comparison for Lawn Repair
| Repair Method | Labor Intensity | Success Rate | Time to Full Establishment |
|---|---|---|---|
| Sod Scrap Plugs | High | 95% | 14-21 Days |
| Broadcast Seeding | Low | 45% | 60-90 Days |
| Hydroseeding | Medium | 75% | 30-45 Days |
| Dormant Seeding | Low | 30% | 180 Days |
The Step-by-Step Remediation Protocol
Do not just drop a piece of grass on the ground and hope for the best. Follow this engineering-grade checklist to ensure your repair survives the first 2026 heatwave. Root-to-soil contact is the only metric that matters here.
- Excavation: Remove all dead material and soil to a 3-inch depth. The edges must be vertical, not sloped.
- Soil Amendment: Fill the bottom 1 inch with a mix of 70% sandy loam and 30% organic compost.
- Moisture Charge: Saturate the hole before placing the plug. This prevents the dry subsoil from wicking moisture away from the new roots.
- The Plug Install: Cut your sod install scraps to fit tightly. No gaps. Use a rubber mallet to tamp the plug until it is level with the surrounding grade.
- Hydration: Immediate irrigation is required. The plug should feel like a wet sponge for the first 7 days.
“A retaining wall doesn’t fail because of the stone; it fails because of the water trapped behind it. Similarly, a sod plug fails not because of the grass, but because of the air pockets trapped beneath it.” – Hardscape Engineering Axiom
Soil Physics and Irrigation Logic
Water management is where most contractors fail. For a new plug to take, you need deep, infrequent watering after the first week. We want the roots to ‘chase’ the water down into the soil profile. If you mist the surface every day, the roots stay in the top half-inch. They will cook the moment the sun hits 90 degrees. You need a minimum of 1 inch of water per week, delivered in two heavy sessions. This forces the sod install remnants to develop the vertical architecture needed for long-term survival. Don’t skip the yard cleanup of old clippings either; they just harbor Pythium blight in high-humidity windows. It will rot if you are lazy. Keep the site clean and the water deep.