
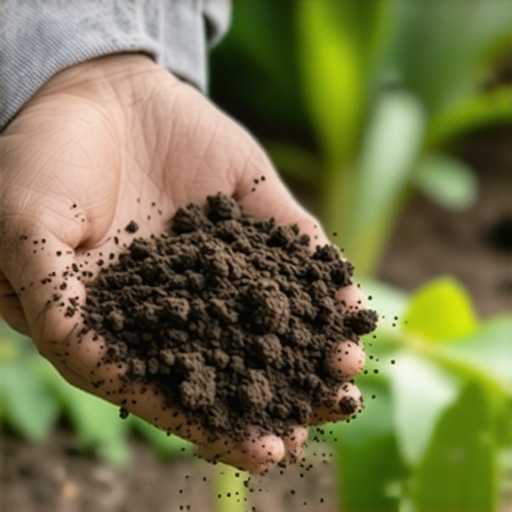
Understanding the Fundamentals of Soil Texture
Soil texture refers to the relative proportion of sand, silt, and clay particles in your earth, and it dictates every landscaping, irrigation, and sod install decision you will ever make. Knowing your texture allows you to manage water infiltration, nutrient retention, and compaction risks effectively.
I always drill into my new crew members: if you don’t fix the soil grading and understand the texture first, every plant you put in the ground is just expensive compost. I have seen too many rookies slap down five pallets of expensive Tall Fescue sod on top of unamended heavy clay. Within three months, that sod is a matted, anaerobic mess because the roots couldn’t penetrate the heavy plate-like structure of the clay particles. They didn’t test the texture. They didn’t prepare the base. They essentially laid a carpet over a parking lot and expected it to grow. Professionalism starts with the dirt. If you ignore the geology, the biology will fail every single time. It is that simple.
“Soil texture is the most fundamental physical property of soil, as it controls the water-holding capacity, aeration, and ease of tillage.” – Penn State Agricultural Extension
How much sand vs clay is in my yard?
Determining the percentage of sand, silt, and clay is the first step toward building a sustainable landscape. Sand particles are the largest, ranging from 0.05 mm to 2.0 mm, creating large macropores that allow for rapid drainage but poor nutrient holding. Silt particles are intermediate (0.002 mm to 0.05 mm), feeling like flour when dry. Clay particles are microscopic (less than 0.002 mm) and possess a massive surface area relative to their volume. This surface area is chemically active, holding onto cations like potassium and magnesium, but the small pore spaces lead to low oxygen levels if saturated. Your yard cleanup should always involve assessing these layers before you bring in new soil or amendments.
The 10-Minute Jar Test: The Professional Standard
The 10-minute jar test is a field-expedient method to determine soil texture by using sedimentation rates to separate particles based on their size and weight. By mixing soil with water and a dispersing agent, you can visually measure the distinct layers of sand, silt, and clay.
While the actual sedimentation takes 24 hours to complete fully, the setup and the initial readings only take 10 minutes of active work. You need a straight-sided glass jar, a tablespoon of non-sudsing dishwasher detergent (to break the ionic bonds between clay particles), and a sample of your soil. Strip away the organic matter (the duff layer) from the top 2 inches. Dig down 6 inches to get a representative sample of the root zone. Fill the jar one-third full of soil, add water until it is three-quarters full, and add your detergent. Shake it like you mean it for three minutes. Set it down. In 40 seconds, the sand will settle. Mark that line. In 2 hours, the silt will settle. Mark that line. In 24 hours, the water will clear (mostly), and the clay will have settled on top. The math is simple: (Layer Height / Total Height) x 100 equals your percentage.
| Soil Component | Particle Size | Drainage Rating | Nutrient Retention (CEC) |
|---|---|---|---|
| Sand | 0.05 – 2.0mm | High | Very Low |
| Silt | 0.002 – 0.05mm | Moderate | Medium |
| Clay | < 0.002mm | Very Low | High |
How does soil texture affect my irrigation schedule?
Irrigation efficiency is entirely dependent on the infiltration rate of your soil texture. Sandy soils may require 0.5 inches of water twice a week to maintain turfgrass, while heavy clay soils require deep, infrequent irrigation (perhaps 1 inch once a week) to prevent runoff and encourage deep root growth. If you apply water faster than the soil can absorb it, you are just wasting money on the sidewalk. This is called the Maximum Precipitation Rate. For clay, this might be as low as 0.2 inches per hour. For sand, it could be over 1 inch per hour. Adjust your controller accordingly or prepare for fungus.
“A retaining wall doesn’t fail because of the stone: it fails because of the water trapped behind it, which is often a result of misunderstood soil permeability.” – Hardscape Engineering Axiom
Adapting Your Yard Cleanup and Sod Install to Soil Results
Once you identify your soil texture, your yard cleanup and sod install protocols must change to address the specific physical limitations of your site. Heavy clay requires core aeration and the addition of organic matter to flocculate particles, while sandy soils require compost to build cation exchange capacity and water-holding ability.
Don’t just rake leaves and call it a day. If you have high clay content, your cleanup should include removing the thatch layer that prevents gas exchange. If you are prepping for a sod install, you must ensure the texture of the farm-grown sod matches the texture of your native soil as closely as possible. If you put sand-based sod on top of clay soil, you create a perched water table. The water will hit the clay layer, stop, and drown the new roots. It will rot. You must till the interface. Break that boundary layer. Make the soil a transition, not a wall.
Professional Checklist for Soil Preparation
- Remove all surface debris and weeds during the yard cleanup phase.
- Perform the jar test in at least three different areas of the property.
- Check for subsurface compaction using a penetrometer or a simple screwdriver test.
- Calculate the required soil amendments (e.g., gypsum for heavy clay or compost for sand).
- Grade the site to a 2 percent slope away from all foundations to manage hydrostatic pressure.
- Ensure irrigation heads are calibrated for the specific infiltration rate of your texture.
If you skip these steps, you are gambling. I have been in this game too long to trust luck. Science wins. Use the jar test. Know your dirt. Build it right the first time. The soil is the engine of the landscape. If the engine is seized, the rest of the car doesn’t matter. Focus on the microscopic reality of the yard. The results will follow.