
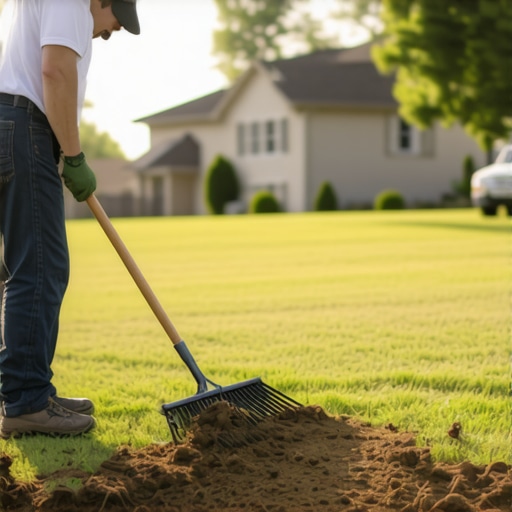
The Engineering Reality of Site Preparation
Fixing uneven dirt requires systematic rough grading, soil amendment, and fine grading to ensure a flat, nutrient-rich base. Proper preparation prevents hydrostatic pooling, root rot, and uneven settling, ensuring your sod installation establishes a deep root system within the first 14 days of placement. If you think you can just throw grass over a bumpy yard, you are mistaken. It will die. Air pockets between the sod and the soil—often called ‘sod bridging’—prevent root-to-soil contact, causing the turf to desiccate and die within 72 hours of installation.
The Apprentice Lesson: Dirt is Not Just Dirt
I always drill into my new crew members: if you don’t fix the soil grading first, every plant you put in the ground is just expensive compost. Last year, I saw a homeowner spend five figures on premium Zoysia sod only to lay it over a yard that looked like the surface of the moon. Within three months, the low spots were swamps of anaerobic bacteria and the high spots were scorched brown. We had to rip it all out. The problem wasn’t the grass; it was the two inches of deviation in the sub-grade. You cannot fix a drainage problem with grass. You fix it with a transit level and a Harley rake. Soil is a living engineering material. If the compaction isn’t uniform and the grade isn’t shedding water at a 1-2% slope away from the foundation, you are building a failure.
“Surface drainage is the most important part of any landscape installation. Water must be directed away from structures and managed to prevent soil saturation.” – Texas A&M AgriLife Extension
The Physics of Rough Grading
Rough grading is the heavy lifting of landscaping. You are looking for high spots that will scalp when the mower passes over them and low spots that collect water. Use a transit level. If you see a dip deeper than one inch over a ten-foot span, it needs correction. You must remove the existing vegetation first. Do not till it in. Tilling in weeds just plants them deeper and creates large air voids that lead to localized subsidence. Use a sod cutter or a skid steer to strip the site to bare mineral soil. Once stripped, you evaluate the hydrostatic pressure potential. Is the yard funneling water toward the basement? You need a swale. A swale isn’t a ditch; it is a wide, shallow depression that moves water without looking like an industrial drain. It requires a minimum 2% pitch to function. If you skip this, your irrigation system will just contribute to the swamp.
Soil Composition and Compaction Metrics
You cannot grade sand the same way you grade clay. Clay soils have high cation exchange capacity (CEC) but terrible drainage. Sand has the opposite problem. Most new construction sites are ‘dead’ soil—compacted red clay or fill dirt devoid of microbes. You need to incorporate at least two inches of screened topsoil or organic compost. But beware: too much organic matter leads to settling as the material decomposes. You want a compaction rating of roughly 85% on the Proctor scale. Too hard, and the roots can’t penetrate. Too soft, and the first time a heavy mower drives over it, you’ll have permanent ruts. We use a water-filled roller after grading to find the soft spots. If the roller sinks, that spot needs more fill and more packing.
| Soil Type | Grading Difficulty | Water Retention | Best Amendment |
|---|---|---|---|
| Heavy Clay | High (Sticky) | Extreme | Gypsum & Sand Mix |
| Sandy Loam | Low (Easy) | Moderate | Organic Compost |
| Silts | Medium | High | Aerate & Sand |
How do I level a yard for new sod?
Leveling for sod install involves a three-stage process: clearing, grading, and rolling. First, eliminate all existing debris and weeds using a non-residual herbicide or mechanical removal. Second, use a leveling rake or a landscape power rake to move soil from high points to low points, maintaining a consistent 1% slope. Third, use a 400-pound water roller to firm the surface. This reveals hidden air pockets. Repeat the filling and rolling until the surface is firm enough that a person walking on it leaves only a faint footprint. This is the only way to ensure the sod roots have 100% contact with the earth.
What is the best soil for a sod base?
The ideal base for most turfgrass species is a sandy loam with a pH between 6.0 and 7.0. You want a mix that is roughly 60% sand, 20% silt, and 20% clay. This provides the structural stability for grading while maintaining enough pore space for oxygen exchange. Oxygen is the most overlooked nutrient in yard cleanup and prep. If the soil is too compacted, the roots will suffocate. Before the truck arrives, take a soil sample. If your pH is 5.0, your grass will starve regardless of how much fertilizer you dump on it. Add lime now, before the sod goes down. It takes months to move through the soil profile; if you wait until the grass is down, you’re already behind the curve.
“Compaction layers within the top 6 inches of soil significantly reduce the infiltration rate of water and the gas exchange necessary for root respiration.” – USDA Soil Science Manual
The Irrigation Infrastructure Integration
Never lay sod before testing your irrigation. The dirt must be graded *before* the heads are set to their final height. If you set the heads first, you will either bury them or hit them with the rake. Once the rough grade is set, check your pressure and coverage. Ensure you have 100% head-to-head overlap. Dry spots in a new lawn are almost always an engineering failure in the irrigation layout, not a problem with the grass. Once the sod arrives, you have a 24-hour window. The soil should be damp but not muddy. Dry soil will suck the moisture right out of the new sod roots like a sponge, killing them before the first watering cycle even begins.
The Pre-Sod Checklist
- Remove all rocks larger than 1 inch.
- Cap or flag all irrigation heads and valve boxes.
- Grade soil 1 inch below the level of sidewalks and driveways (to account for sod thickness).
- Apply a high-phosphorus starter fertilizer (e.g., 10-20-10).
- Final roll to eliminate air pockets.
- Confirm delivery window; never have sod sit on a pallet for more than 12 hours.
Execution and the First 48 Hours
When the truck arrives, start at the longest straight edge. Butt the edges tight. Do not overlap. Overlapping creates humps that the mower will scalp. Think of it like laying hardwood floors. Stagger the joints. Once it’s down, roll it again. This is the most critical step. You must press the roots into the dirt. Water immediately. I don’t mean a light mist; I mean a deep soak that penetrates the sod and the first two inches of soil. For the first two weeks, the ground must stay consistently moist. This is the only time I will ever tell a client to over-water. You are keeping a transplant on life support until it can feed itself. Do not walk on it. Do not let your dog on it. Let the roots knit. If you graded it right, the water will sink in evenly. If you didn’t, you’ll see the puddles forming by the afternoon. At that point, it’s too late to fix the dirt.