The Winter Kill Autopsy: Why Your Lawn Does Not Wake Up in Spring
To prepare your lawn for winter survival, you must focus on carbohydrate storage, root resilience, and soil gas exchange. A failed lawn in April is rarely caused by the cold itself; it is the result of hydrostatic pressure, pathogenic fungi, and cellular dehydration caused by poor fall management. I recently saw a homeowner torch their entire three-acre lot by applying a high-nitrogen ‘winterizer’ during a heat spike. They thought they were helping. Instead, they forced new, tender growth that had zero cold tolerance. When the first frost hit, the cell walls literally exploded. It was a chemical nightmare that required a full sod install and months of soil remediation to fix. Most ‘mow-and-blow’ crews will just scatter some cheap urea and leave. That is not landscaping; that is professional negligence. You need a checklist built on agronomy, not marketing.
“Turfgrass winter hardiness is a complex trait influenced by genetics, environment, and management practices, particularly nitrogen and potassium levels.” – Pennsylvania State University Extension
Step 1: The Chemical Rebalancing (Soil Testing and NPK Optimization)
The first step in a professional yard cleanup involves soil pH testing and adjusting NPK ratios to ensure the plant has the necessary potassium for cell wall strength. Avoid high-nitrogen fertilizers that encourage top-growth; instead, focus on phosphorus and potash to stimulate deep root development before the ground freezes. Don’t guess. Measure. I see too many guys throwing 10-10-10 on everything. If your soil is already high in phosphorus, you are just contributing to runoff. You want a 1.0 lb of nitrogen per 1,000 square feet only if the grass is still actively growing. Once it slows, you shift your focus to potassium. Potassium acts like an antifreeze inside the plant cells. It regulates the osmotic pressure and keeps the crown of the grass from desiccating during dry, windy winter days. If your soil pH is below 6.0, your grass cannot even uptake the nutrients you are giving it. You are wasting money. Get a lab test from your local extension office. It is the only way to be sure.
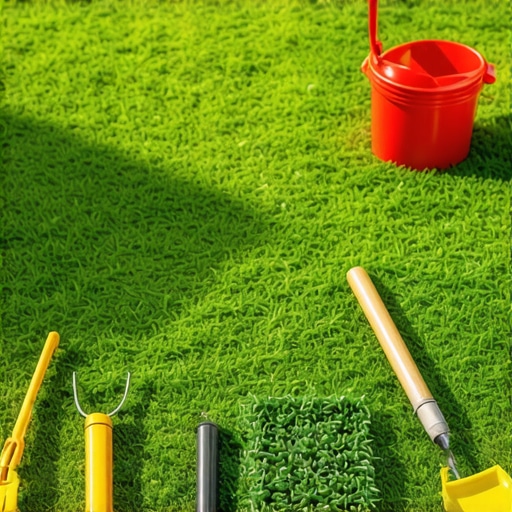
Step 2: Core Aeration and the Battle Against Compaction
Core aeration involves removing soil plugs 3 to 4 inches deep to relieve compaction and allow oxygen and nutrients to reach the rhizosphere. This process is critical for gas exchange and preventing thatch buildup, which acts as a breeding ground for winter pathogens like snow mold. Compacted soil is a death sentence. When the ground freezes, it expands. If your soil is already tight, that expansion crushes the delicate root hairs. I tell my crew: if you can’t push a screwdriver six inches into the dirt without a hammer, your grass is suffocating. We use hollow-tine aerators only. Do not use those spike aerators that just push the soil aside; they actually increase compaction around the hole. You need to physically remove the dirt. Leave the plugs on the lawn to break down; they contain microorganisms that help eat the thatch layer. This is the foundation of a real landscaping program. It allows the roots to dive deep, searching for that 1 inch of water they need weekly. Deep roots survive. Shallow roots die.
How much nitrogen does my lawn need before winter?
Your lawn typically requires 0.5 to 1.0 pound of soluble nitrogen per 1,000 square feet in late fall to facilitate carbohydrate storage in the roots. This application should occur when top-growth has slowed but the grass remains green, ensuring the nutrients are stored for early spring green-up rather than wasted on leaf growth.
Step 3: Irrigation Blowouts and Managing Hydrostatic Pressure
Preparing your irrigation system for sub-zero temperatures requires a high-volume air compressor to clear all residual moisture from the lateral lines and backflow preventer. Failure to do so leads to pipe bursts and valve failure due to the volumetric expansion of freezing water.
“Proper irrigation winterization is the only way to prevent freeze damage to backflow preventers and lateral lines.” – Irrigation Association Standards
I have seen $10,000 systems ruined because someone used a small shop compressor. You need at least 50 to 100 CFM (Cubic Feet per Minute) of air. High pressure (PSI) isn’t the goal; high volume is. If you crank the PSI too high, you will melt the plastic gears in your sprinkler heads. We keep it under 50 PSI but keep the volume high to ‘sweep’ the water out. Don’t forget the main shut-off valve. It should be insulated or buried below the frost line. If that main line cracks, you are looking at a massive excavation project in the spring that will ruin your sod install. It is an avoidable disaster. Drain the pump if you have one. Open the test cocks on the backflow. Don’t leave a single drop.
Step 4: The Final Cut and Sanitation
The final mow of the season should be staged down to a height of 2.0 to 2.5 inches to prevent leaf matting and the subsequent development of pink and gray snow mold. A shorter blade stands upright under snow load, whereas long grass collapses, creating a micro-climate for fungal mycelium to thrive. Most homeowners make the mistake of cutting it all off at once. That’s scalping. It shocks the plant. You should lower your mower deck by half an inch each week during your final yard cleanup. Also, get the leaves off the grass. A thick layer of maple or oak leaves blocks photosynthesis and traps moisture against the crown. I have seen entire lawns smothered to death in a single season because the owner thought leaves were ‘natural mulch.’ In a forest, sure. On a manicured lawn, they are a wet blanket of rot. Use a mulching mower if the layer is thin, but if it is thick, rake it and haul it away.
| Action | Target Metric | Benefit |
|---|---|---|
| Core Aeration | 3-4 inch depth | Oxygenates the rhizosphere |
| Nitrogen Application | 0.75 lb / 1000 sq ft | Root carbohydrate storage |
| Mowing Height | 2.5 inches | Prevents fungal matting |
| Irrigation Blowout | 50-80 CFM | Prevents freeze-cracking |
When should I schedule my irrigation blowout?
You should schedule your irrigation blowout at least two weeks before the first hard freeze in your region. In most northern climates, this means the window between late September and October. Waiting until the ground is frozen risks internal ice expansion that can crack poly-pipes and PVC fittings before the air can clear them.
The Professional Checklist Summary
- Soil Analysis: Check pH and adjust to 6.5-7.0 for optimal nutrient uptake.
- Mechanical Aeration: Remove plugs to reduce bulk density of the soil.
- NPK Adjustment: Use high-potassium blends for winter cellular protection.
- Irrigation Purge: Use high-volume air to clear all lines and valves.
- Height Management: Lower the mower blade incrementally to prevent matting.
- Debris Removal: Clear all leaf litter to prevent smothering and mold.
Landscaping is about anticipating the stresses of the next season. If you skip these steps, you are not saving money; you are just deferring the cost of a new sod install next May. The biology of the grass doesn’t care about your schedule. It only cares about the soil temperature and the available nutrients. Do the work now. Or pay me more to fix it later. It is that simple.
Comments are closed.