The Secret to Rapid Sod Establishment
The 48-hour rooting window is achieved by optimizing the Soil-Root Interface (SRI) through precise bulk density reduction and capillary moisture management to force cellular elongation in grass roots. It is not about luck; it is about engineering a biological environment where the plant has no choice but to seek water in the substrate. Most ‘mow-and-blow’ outfits just scrape the surface, but if you want roots to dive deep, you have to address the microscopic reality of the yard. I have seen too many homeowners treat sod like a carpet. It is not a carpet. It is a living, breathing biological transplant that is currently in a state of shock. A homeowner called me in a panic last July after they completely torched their front lawn by applying a massive dose of 20-0-0 high-nitrogen fertilizer in 95-degree heat. They thought they were helping the new sod. Instead, they chemically cauterized the tender root hairs. We had to strip the yard, remediate the soil with humic acid, and start from scratch. Don’t be that guy. Prep the soil right the first time.
The Soil Engineering Phase: Grading and Bulk Density
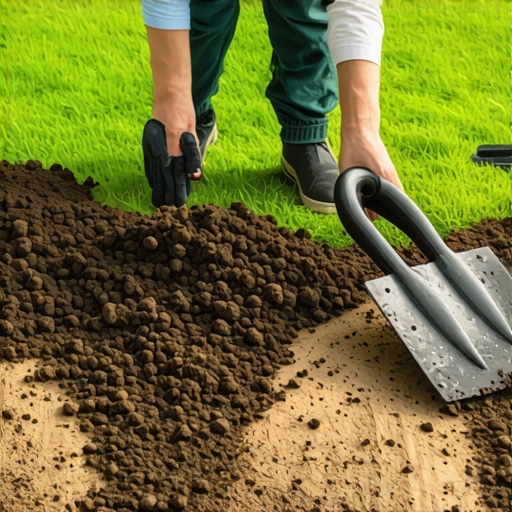
To prepare soil for sod, you must achieve a soil bulk density below 1.4 g/cm³ and a graded surface that directs water away from structures while preventing pooling. If your soil is as hard as a parking lot, new roots cannot penetrate the surface. They will simply mat horizontally on top of the ground, leading to a failed installation by the first heat wave. You need to excavate any debris—rocks larger than two inches, old construction lumber, and invasive weed mats. This is the ‘yard cleanup’ phase that most people skip. I tell my crew: if the soil doesn’t feel like a firm sponge under your boots, it is not ready. Use a power rake or a heavy-duty tiller to break the top 6 inches of soil. This introduces oxygen into the profile. Oxygen is the catalyst for root growth. [IMAGE_PLACEHOLDER]
“To ensure rapid rooting of sod, soil must be prepared to a depth of at least 4 to 6 inches to allow for adequate pore space and gas exchange.” – Penn State Center for Turfgrass Science
Chemical Calibration and NPK Ratios
Optimizing soil chemistry involves adjusting the pH level to 6.5 and applying a high-phosphorus starter fertilizer to stimulate the ATP energy cycle within the plant’s root system. Nitrogen is for the green tops; Phosphorus is for the white roots. You want the plant’s energy directed downward, not upward. If you apply too much nitrogen too early, you force the plant to grow blades it cannot support yet. I use a 10-20-10 or a 5-10-5 ratio for all new installs. This ensures the 48-hour window is met by providing the phosphorus needed for cellular division at the root tips. Check your Cation Exchange Capacity (CEC). If you have sandy soil, your nutrients are going to leach out before the grass can grab them. In those cases, I always mix in organic compost to act as a magnet for those ions.
Soil Amendment Comparison Table
| Material | Benefit | Application Rate (per 1,000 sq ft) |
|---|---|---|
| Fine Masonry Sand | Improves drainage in heavy clay | 2-4 Cubic Yards |
| Organic Compost | Boosts CEC and microbial life | 1-2 Cubic Yards |
| Pelletized Lime | Raises pH in acidic soils | 20-50 lbs |
| Elemental Sulfur | Lowers pH in alkaline soils | 5-10 lbs |
The 48-Hour Rooting Protocol Checklist
Establishing roots within two days requires a moisture-saturated subgrade, a compressed soil-to-root contact, and a hyper-local irrigation schedule that prevents the sod from drying out for even five minutes. Follow this sequence exactly:
- Pre-Hydration: Water the bare soil 24 hours before the sod arrival. You want the top 3 inches damp, not muddy.
- The Smooth Finish: Use a landscape rake to remove every bump. A 1-inch dip in the soil creates an air pocket. Air kills roots.
- The Rolling Mandate: Once the sod is down, use a water-filled roller. The roller should literally bounce off the ground if the soil is compacted correctly. This eliminates air pockets.
- Saturation Irrigation: Immediately after rolling, apply 1 inch of water. Check this by sticking your finger through the sod into the soil. It must be wet.
How much water does new sod need daily?
New sod requires four to six short irrigation cycles daily for the first 14 days to keep the root-soil interface at 70-80% saturation. Do not water for long periods; you will drown the roots and cause fungal rot. Aim for 5-10 minutes per zone at 8:00 AM, 11:00 AM, 2:00 PM, and 5:00 PM. This maintains the turgor pressure of the grass blades while providing the constant moisture required for root hair elongation.
Do I need to till before laying sod?
You must till the soil to a depth of 4 to 6 inches if the bulk density exceeds 1.6 g/cm³ to ensure adequate root penetration and water infiltration. Failing to till creates a ‘perched water table’ where water sits between the sod and the hard ground, causing the sod to slide or rot. If you can’t push a screwdriver 6 inches into the ground with one hand, you must till.
“The critical factor in sod establishment is the intimate contact between the bottom of the sod and the prepared soil surface.” – Texas A&M AgriLife Extension
Irrigation Logic and the Final Settling Period
Managing the hydrostatic pressure within the soil during the first week is the difference between a thriving lawn and a fungus-ridden mess. After the first 48 hours, if you have followed the prep protocols, you should feel resistance when you try to lift a corner of the sod. Those are the white root hairs anchoring in. At this point, you gradually reduce frequency and increase duration. You are training the roots to chase the water deeper into the profile. If you keep the surface soaked forever, the roots stay shallow. Shallow roots die in the winter. It is simple biology. Do not walk on the sod for at least 14 days. Your footprints will create depressions that collect water and lead to localized ‘scalping’ during the first mow. Landscaping is a game of patience and physics. If you get the physics of the soil right, the biology takes care of itself. Stop looking for shortcuts. Get a soil test, rent the tiller, and buy the good fertilizer. Your yard will thank you for the next twenty years.
Comments are closed.