
The Forensic Reality of Drip Irrigation Failure
The first sign of a failing drip system is rarely a total blackout; it is the subtle, agonizing decline of the most sensitive plants in your landscape. You might notice the leaf margins of a Japanese Maple turning brittle or the yellowing of new growth on a boxwood hedge despite your irrigation timer running like clockwork. To fix clogged drip emitters with a vinegar soak, you must remove the affected emitters and submerge them in a 5% acidity white vinegar solution for 12 to 24 hours to chemically dissolve the calcium carbonate and magnesium scale. This process restores the internal flow path and ensures that the specified gallons per hour (GPH) are actually reaching the root zone rather than being blocked by mineral calcification. Neglecting this maintenance leads to localized soil hydrophobicity and the eventual death of expensive nursery stock. I always drill into my new crew members: if you dont fix the delivery system first, every plant you put in the ground is just expensive compost. Irrigation is not a set-and-forget luxury; it is a mechanical system subject to the laws of chemistry and physics. When hard water sits in a poly pipe under the afternoon sun, the minerals precipitate out. This scale buildup is the silent killer of high-efficiency landscapes. I have seen entire $50,000 installations fail because the installer did not account for the local water hardness or failed to teach the owner how to maintain the emitters. You cannot expect a 1/8-inch orifice to stay clear forever when you are pumping liquid limestone through it.
“Water quality is the most significant factor affecting the performance and longevity of micro-irrigation systems. Mineral precipitation, specifically calcium carbonate, is the primary cause of emitter plugging in many regions.” – Agricultural Extension Service Guidelines
How do you know if a drip emitter is clogged?
You can identify a clogged drip emitter by performing a timed flow test where you catch the output in a measuring cup over one minute to see if it matches the rated GPH. Visually, look for white, crusty deposits around the orifice or notice if the soil surrounding the emitter remains dry after a full cycle. If you are running a 1.0 GPH emitter and you are only seeing a slow dampening of the surface, you have a partial blockage. This is often caused by the “tortuous path” design of the emitter becoming restricted. These paths are engineered to create turbulence to keep debris moving, but they are the perfect traps for mineral scale. In many cases, the blockage occurs at the internal diaphragm, which is designed to compensate for pressure changes. When scale builds up here, the diaphragm loses its elasticity and can either stick closed or, less commonly, stick wide open, causing a blowout of water that erodes the soil and wastes thousands of gallons.
| Cleaning Agent | Active Chemistry | Recommended Soak Time | Safety Level |
|---|---|---|---|
| White Vinegar | 5% Acetic Acid | 12-24 Hours | High – Food Safe |
| Citric Acid Powder | 10% Solution | 8-12 Hours | Medium – Acidic |
| Muriatic Acid | Hydrochloric Acid | 5-10 Minutes | Low – Hazardous |
| CLR or Commercial Descaler | Lactic/Gluconic Acid | 1-2 Hours | Medium – Chemical |
The Chemistry of the Vinegar Soak
The reason white vinegar is the industry standard for this task is its acetic acid content. Acetic acid reacts with calcium carbonate (the white crust) to create calcium acetate, water, and carbon dioxide. This chemical reaction is gentle enough not to degrade the plastic or the silicone diaphragms inside the emitters, unlike harsher acids that can make the plastic brittle over time. When you drop a clogged emitter into a vinegar bath, you will often see tiny bubbles forming. This is the carbon dioxide being released as the acid eats away at the scale. If you do not see bubbles, the clog might be organic (algae or bacterial slime) or physical (sand and grit). Physical debris cannot be dissolved; it must be flushed out under high pressure. This is why yard cleanup should always include a check of the irrigation filters. If your Y-filter is bypassed or torn, you are inviting grit into the lateral lines where it will eventually lodge in the emitters. No amount of vinegar will dissolve a grain of silica sand.
Can I run vinegar through my entire irrigation system?
While you can run a diluted vinegar flush through the main lines, it is far more effective to soak individual emitters because the contact time required to dissolve heavy scale is much longer than a standard irrigation cycle allows. To perform a system-wide flush, you would need to inject the acid through a venturi injector, which is often overkill for residential sod install projects or small flower beds. For most homeowners, the most effective remediation is to pull the emitters, soak them in a bucket, and flush the lateral lines with clean water while the emitters are off. This ensures that any loosened scale is blown out of the end of the line rather than being forced deeper into the next emitter. Don’t skip the line flush. If you clean the emitter but leave the scale in the pipe, you will be doing this again in two weeks.
“A retaining wall doesn’t fail because of the stone; it fails because of the water trapped behind it, and a drip system doesn’t fail because of the pump; it fails because of the mineral load in the distribution network.” – Hardscape and Irrigation Engineering Axiom
Step-by-Step Emitter Remediation Protocol
- Identify the non-functioning emitters by flagging dry spots during a test run.
- Carefully pop the emitters out of the 1/2-inch poly tubing or 1/4-inch distribution tubing.
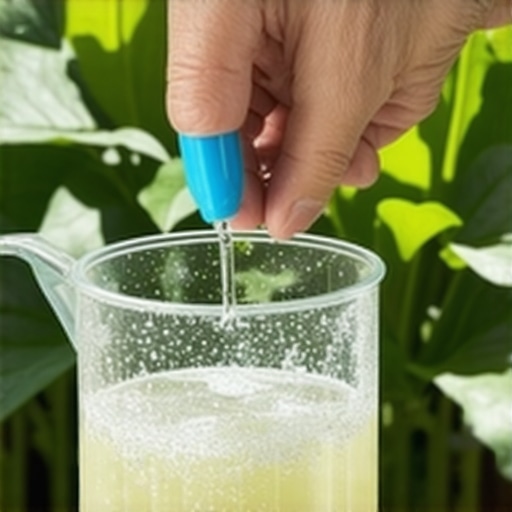
- Place the emitters in a plastic container and cover them completely with undiluted white vinegar.
- Wait at least 12 hours. For heavy calcification, a 24-hour soak is mandatory.
- Agitate the container periodically to help dislodge softened minerals.
- Rinse the emitters with fresh water and blow through them to verify the path is clear.
- Before re-installing, open the flush valves at the end of your lateral lines and run the water for 2 minutes.
- Push the emitters back into the tubing, ensuring a snug fit to prevent leaks.
During a professional yard cleanup, we don’t just blow leaves; we audit the life support system of the plants. If we find that the emitters are constantly clogging, we look at the source. Sometimes, the issue is not just minerals but also iron bacteria or algae. In those cases, a vinegar soak is only half the battle. You might need a chlorine shock or a better filtration system. For new sod install jobs, we always recommend a high-grade 150-mesh filter at the valve. This catches the particles before they reach the emitters. If your water comes from a well, your mineral load is likely three times higher than city water. In those environments, a semi-annual vinegar soak is not a suggestion; it is a requirement. You have to be proactive. Waiting until the plants are wilting means you have already lost the battle. The root system is already under stress, and in the heat of the summer, you might not be able to bring them back. It is a matter of civil engineering on a micro scale. You are managing hydrostatic pressure and flow rates to sustain biological life. If the orifice is 1.0 GPH, it needs to stay 1.0 GPH. Anything less is a failure of the landscape’s infrastructure.