
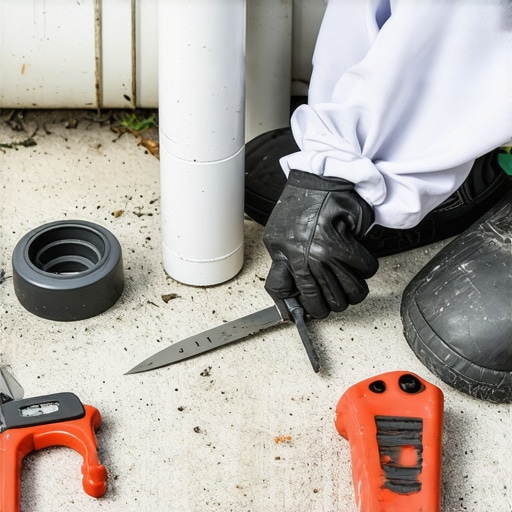
The Anatomy of a Failed Irrigation System
I recently got called out to tear up a $30,000 patio that was sinking because the previous contractor decided to bury a series of cheap, residential-grade valves directly in the dirt without an access box or proper drainage. The slow leak from a poorly cut PVC joint saturated the sub-base, turning the compacted gravel into a slurry. By the time the homeowner noticed the settling pavers, the structural integrity of the entire hardscape was compromised. This is why irrigation isn’t just about watering grass; it is about managing hydrostatic pressure and fluid dynamics. When we talk about replacing 2026 irrigation valves, we are talking about the heart of your landscaping. A single mistake in your PVC cutting technique or solvent weld will lead to a catastrophic failure that ruins your sod install and your bank account. Don’t be the guy who cuts corners. You need to understand the chemical and mechanical reality of your pipes.
How do I replace 2026 irrigation valves properly?
To replace 2026 irrigation valves, you must first excavate the manifold area, use a ratcheting PVC cutter for a perfectly square edge, and ensure all pipe ends are deburred and primed before applying medium-bodied solvent cement to create a chemical weld capable of withstanding 150 PSI. Most failures occur because of jagged cuts or debris entering the valve diaphragm during the yard cleanup or repair process.
The Planning Phase: Why Precision Matters
Before you touch a shovel or a saw, you have to understand the hydraulic load of your system. A 2026 valve is a workhorse, but it is only as good as the manifold it sits on. When performing a yard cleanup, it is common to find these valves buried under three inches of mulch and silt. This traps moisture against the solenoids and leads to premature electrical failure. We always start by clearing a three-foot radius around the valve box to prevent soil contamination during the cut. Irrigation is a clean-room operation performed in a dirty environment. If a single grain of sand gets into that valve seat during the install, the valve won’t close, and you’ll be staring at a swampy mess on your new sod install within forty-eight hours.
“A pressure-vacuum breaker or a double-check valve assembly is only effective if the downstream manifold is constructed with zero-leak tolerances to prevent back-siphonage of contaminants into the potable water supply.” – Irrigation Association Technical Manual
What is the best tool for cutting PVC pipe?
The best tool for cutting PVC pipe in a tight irrigation trench is a ratcheting PVC cutter because it provides a clean, square cut without producing the plastic burrs and shavings that a hacksaw creates, which can clog irrigation emitters. For pipes larger than two inches, a dedicated wheel-type plastic tubing cutter is preferred to ensure the pipe end remains perfectly round for the solvent weld. Avoid using power miter saws in the field as they often melt the plastic edges, compromising the chemical bond of the primer.
The Engineering of a Perfect PVC Cut
PVC (Polyvinyl Chloride) is not a static material; it expands and contracts with temperature. When you are working on a landscaping project, the sun is your enemy. If you cut your pipe in 90-degree heat and glue it immediately, the material is at its most expanded state. As the ground cools, that pipe will shrink, putting massive tension on your new valve manifold. I tell my crew to always cut the pipe slightly long and use a chamfering tool. A square cut is non-negotiable. If your cut is at an angle, the pipe won’t bottom out in the socket of the valve or fitting. This leaves a gap where the solvent cement is the only thing holding the pressure. That is a recipe for a blowout. Use a ratcheting cutter. It applies even pressure around the circumference of the pipe, reducing the risk of longitudinal cracking, especially in older Schedule 40 pipes that have become brittle from UV exposure.
| Cutter Type | Best Use Case | Pros | Cons |
|---|---|---|---|
| Ratcheting Cutter | 1/2″ to 1-1/4″ PVC | One-handed, no shavings | Can crack old, brittle pipe |
| Hacksaw | Large diameter/Tight spots | Versatile, cheap | Leaves massive burrs, messy |
| Wire Saw | Deep in trenches | Fits anywhere | Hard to get a square cut |
| Wheel Cutter | New installations | Perfectly square | Requires full rotation space |
The Solvent Welding Process
You aren’t just “gluing” pipes together. You are performing a solvent weld. The primer softens the top layer of the PVC, and the cement dissolves the two surfaces so they fuse into a single piece of plastic. When replacing 2026 valves, you must use purple primer. Not because it works better than clear, but because it proves to the inspector (and to me) that the surface was chemically prepared. Apply the primer to the pipe and the inside of the valve socket. While it is still wet, apply a thin, even layer of medium-bodied cement. Push the pipe into the valve with a quarter-turn to disperse the cement and hold it for thirty seconds. If you let go too soon, the tapered socket will actually push the pipe back out, creating a weak joint. It will leak. Don’t skip the wait time.
“Solvent welding is a process that requires a specific interference fit; the pipe must reach the bottom of the fitting socket to ensure structural integrity under surge pressures.” – ASTM D2855 Standard Practice
How long should PVC glue dry before turning on the water?
For standard residential irrigation pressures up to 50 PSI, you should wait at least two hours at temperatures above 60 degrees Fahrenheit before pressure testing the system, though a full 24-hour cure is recommended before the system is put into a regular high-frequency watering cycle. If the temperature is below 40 degrees, the cure time must be doubled to ensure the solvent has fully evaporated and the plastic has fused. Rushing this process is the number one cause of blown-out valve manifolds.
The Valve Replacement Checklist
- Check Pressure: Ensure the static pressure doesn’t exceed 80 PSI; otherwise, install a pressure regulator.
- Flush the Line: Always run water through the supply line before attaching the new valve to clear debris.
- Identify Direction: 2026 valves are directional; check the arrow for water flow before gluing.
- Use Teflon Tape: For threaded connections, use thick pink or gray tape; avoid pipe dope which can degrade plastic.
- Support the Manifold: Use bricks or plastic supports under the valves so the weight of the water doesn’t stress the PVC joints.
- Waterproof Connectors: Use grease-filled wire nuts for all solenoid connections to prevent corrosion.
Maintaining the System Post-Install
Once the new 2026 valves are in, don’t just bury them and forget them. This is part of long-term landscaping management. Backfill the area with pea gravel around the valve box to allow for drainage. If you just dump native clay back in, the first heavy rain will turn that box into a mud pit, making future repairs impossible. When you perform your seasonal yard cleanup, pop the lids. Check for weeping around the solenoid or the bonnet. Replacing a diaphragm is a five-minute job; replacing a whole valve because you ignored a leak is a half-day headache. Your sod install depends on consistent, timed watering. If those valves fail because you did a sloppy job with the PVC cutting, your grass will be the first thing to tell you. It will die. Do it right the first time so you don’t have to do it again in six months. The “settling in” period for a new irrigation manifold takes about a week of pressure cycles. Watch it closely during this time. If the ground stays dry, you’ve done your job as a craftsman.