
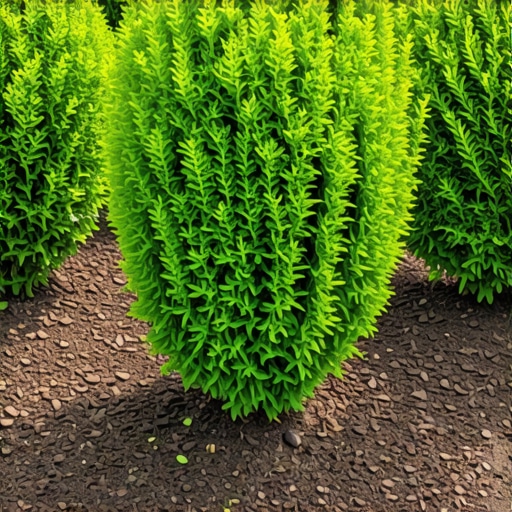
The Fatal Flaw of Standard Bagged Mulch in New Landscaping
Standard mulch, specifically the cheap, dyed varieties found at big-box retailers, often acts as a biological barrier that prevents root establishment, causes nitrogen drawdown, and creates hydrophobic soil conditions that kill new shrubs and ornamental plantings within the first 18 months of installation.
I always drill into my new crew members: if you don’t fix the soil grading and chemistry first, every plant you put in the ground is just expensive compost. Most homeowners think they are doing their landscaping a favor by dumping four inches of ‘Midnight Black’ or ‘Red Sunset’ mulch around a fresh sod install or new shrubbery. They aren’t. They are effectively suffocating the plant’s root flare and inviting pathogens to a buffet. I’ve spent twenty years digging up dead $300 specimens that were literally drowned by the very mulch meant to protect them. It is a slow, structural failure of the plant’s biological engine.
“A mulch layer that exceeds 4 inches can limit soil oxygen, leading to root decline and the production of anaerobic conditions that promote the growth of nuisance fungi.” – Penn State Extension: Horticultural Standards
The Chemical Reality of Nitrogen Robbery
When you use standard mulch—which is often composed of raw sapwood rather than aged bark—the decomposition process begins immediately. Microorganisms in the soil start breaking down the high-cellulose content of the wood. To do this, they require massive amounts of nitrogen. Instead of the irrigation water delivering nitrogen to your new shrubs, the bacteria in the mulch strip the nitrogen from the top three inches of soil. This is known as nitrogen immobilization. Your plants will turn a sickly yellow-green. It’s not a lack of fertilizer; it’s a theft of resources.
How much mulch is actually required for healthy growth?
For newly installed shrubs and landscaping projects, a layer of 2 to 3 inches of aged arborist wood chips or triple-shredded hardwood bark is the maximum depth allowed to maintain gas exchange and moisture infiltration without causing root rot or hydrophobic crusting. Any more will kill the plant.
| Mulch Type | Decomposition Rate | Water Retention | Nutrient Value | Risk Level |
|---|---|---|---|---|
| Standard Dyed Wood | Very Slow | Poor (Hydrophobic) | Zero (Nitrogen Drawdown) | High |
| Triple-Shredded Bark | Moderate | Excellent | High (Trace Minerals) | Low |
| Arborist Wood Chips | Natural/Varied | Superior | High (Mycorrhizal Support) | Very Low |
| Pine Straw/Nuggets | Fast | Moderate | Acidic (Good for Azaleas) | Low |
The Hydrophobic Crust: Why Your Irrigation is Failing
Standard mulches are often shredded so finely that they form a felt-like mat. Once this mat dries out in the summer sun, it becomes hydrophobic. I have been on sites for a yard cleanup where I pulled back a layer of dry mulch after a heavy rainstorm only to find the soil underneath bone dry. The water simply runs off the top of the mulch and into the driveway. If you are paying for irrigation, you are wasting money because the water never reaches the root zone. You need coarse textures to allow gravity to pull that water down. Don’t skip the texture check.
“Root collar rot is frequently caused by the accumulation of moisture against the trunk of the plant, often the result of improper mulching techniques that trap water and prevent gas exchange.” – International Society of Arboriculture (ISA)
What is the best way to mulch new shrubs?
The best way to mulch new shrubs involves the ‘donut’ method: applying 2 inches of aged bark mulch starting 3 inches away from the root flare and extending to the drip line, ensuring no mulch touches the bark of the plant. This prevents fungal pathogens from entering the cambium layer. [image_placeholder]
The Proper Planting and Mulching Checklist
- Excavate the Hole: Ensure the hole is twice as wide as the root ball but no deeper.
- Identify the Root Flare: The spot where the trunk widens at the base must be visible above ground level.
- Sod Install Clearance: Keep sod at least 12 inches away from the base of new shrubs to prevent competition.
- Apply Mycorrhizae: Add beneficial fungi to the backfill to stimulate root growth.
- The Donut Rule: Never allow mulch to touch the trunk. 3 inches of clearance is the law.
- Watering Protocol: Deep, infrequent watering (1 inch per week) is better than daily misting.
How does standard mulch affect irrigation systems?
In many landscaping setups, standard mulch can clog or bury drip irrigation emitters, leading to uneven watering patterns and localized soil saturation that causes anaerobic root death. You must keep emitters visible or placed slightly above the mulch layer to ensure distribution uniformity. It will rot if you don’t. Deep roots chase water. Surface roots chase mulch-moisture and then die during the first hard freeze.
The ‘Mulch Volcano’ Forensic Autopsy
I see it every day: ‘mow-and-blow’ crews piling mulch up against the trunk like a volcano. This is a death sentence. The bark of a tree or shrub is designed to be exposed to air. When it is constantly damp under a pile of mulch, the bark softens and becomes susceptible to borers and canker diseases. By the time the homeowner notices the leaves are wilting, the vascular system of the plant is already girdled and dead. It’s structural negligence. If you see a mulch volcano, fix it immediately. Your yard cleanup isn’t finished until the root flares are breathing.