
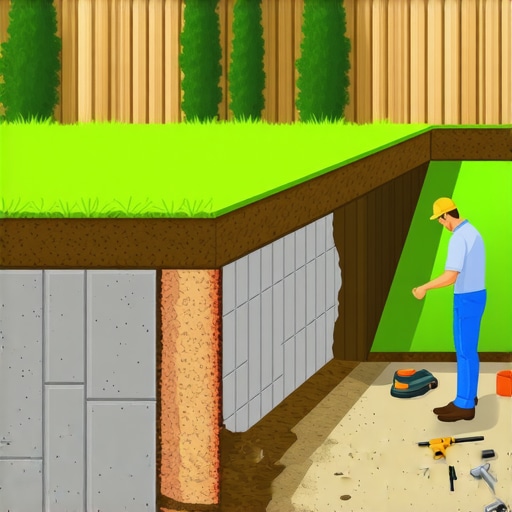
A bowing retaining wall is not a cosmetic issue; it is a structural failure in progress that signals an immediate threat to your landscape’s integrity. When a wall starts to lean or ‘belly out,’ it means the lateral earth pressure behind the structure has exceeded its load-bearing capacity. If you do not address this now, you are not just looking at a collapsed wall, but a massive excavation and reconstruction bill that can easily reach five figures. This is the reality of civil engineering in your backyard.
The Hardscape Autopsy: Why Walls Fail
I recently got called out to tear up a $30,000 patio that was sinking because the previous contractor failed to account for hydrostatic pressure behind the adjacent retaining wall. The wall was bowing three inches past its vertical axis. The homeowner thought it just needed a few new blocks. They were wrong. Upon excavation, we found that the ‘pro’ had used native clay soil as backfill instead of clean #57 stone. That clay acted like a giant sponge, holding thousands of gallons of water after every rain. The sheer weight of that saturated soil was pushing the wall off its base. It was a total loss. This is what happens when you hire a ‘mow-and-blow’ crew to do an engineer’s job. Landscaping is about managing water and gravity, not just making things look pretty for a weekend.
Why Retaining Walls Bow and Lean
Bowing retaining walls occur primarily due to hydrostatic pressure caused by poor drainage and inadequate backfill materials that trap water against the structure. When water cannot escape through weep holes or French drains, it exerts massive lateral force that pushes the blocks or timber outward. Most failures stem from a lack of geogrid reinforcement or a base layer that wasn’t compacted to 95% Proctor density. It is physics, plain and simple.
“A retaining wall doesn’t fail because of the stone; it fails because of the water trapped behind it.” – Hardscape Engineering Axiom
The technical reason for this failure involves the ‘angle of repose’ of the soil. Different soils have different internal friction. Dry sand might sit at a 30-degree angle, but wet clay wants to flow like liquid. If your wall wasn’t engineered to hold back the specific weight of your local soil type, it will fail. In many regions, we deal with heavy red clay. This material is the enemy of hardscaping. It expands when wet and shrinks when dry, creating a constant ‘shoving’ motion against your wall. Without a proper 12-inch chimney of clean gravel behind the wall, that clay will eventually win.
How much modified gravel do I need for a patio base?
For a standard patio base or retaining wall footer, you need a minimum of 6 inches of compacted modified gravel (typically 21A or DGA). To calculate the volume, multiply the square footage by the depth in feet (0.5), then divide by 27 to get cubic yards. Always add a 10% buffer for compaction loss. If you do not hit this depth, the freeze-thaw cycle will heave your wall within two seasons. Period.
The Anatomy of a Structural Failure
When I inspect a bowing wall, I look for the ‘toe kick-out.’ This is where the bottom course of the wall is sliding forward. This happens when the trench wasn’t dug deep enough. You must bury at least one full block (usually 6 to 8 inches) below the finished grade. That buried block acts as an anchor. If I can see the bottom of your first course, your wall is already doomed. We also look for ‘shear cracks’ in mortar. If you have a masonry wall, a vertical crack means the footing has snapped. You cannot patch that with more mortar. You have to stabilize the ground underneath.
Why is my retaining wall leaning outward?
A leaning retaining wall is typically caused by overturning pressure, where the top of the wall moves faster than the base. This indicates that the wall’s batter (the inward lean) was insufficient or that the soil reinforcement like geogrid was either omitted or installed at the wrong vertical intervals. Without mechanical stabilization, gravity will pull the top of the wall down.
| Material Type | Drainage Rating | Compaction Stability | Primary Risk Factor |
|---|---|---|---|
| #57 Clean Stone | Excellent | High | Must be wrapped in geotextile |
| Dense Grade Aggregate | Poor | Maximum | Traps water if used for backfill |
| Native Clay Soil | Zero | Low | Expands and creates massive pressure |
| Bank Run Sand | Moderate | Medium | Subject to internal erosion (piping) |
The Step-by-Step Remediation Process
Shoring up a wall isn’t about bracing it from the front with ugly wooden posts. That is a band-aid on a gunshot wound. To truly fix it, you have to perform surgery from the back. First, we excavate the soil behind the wall to relieve the pressure. This is dangerous work and requires shoring the trench so it doesn’t collapse on the crew. Once the pressure is off, we evaluate if the blocks can be salvaged. Most of the time, we have to rebuild the top 50% of the wall to integrate new geogrid layers. These grids are high-tenacity polymers that lock the soil together, making the soil part of the structure rather than just a weight pushing against it.
Second, we address the irrigation. I’ve seen countless walls fail because a homeowner’s sprinkler system was spraying directly into the backfill area. This saturates the zone of influence. We re-route irrigation lines at least 5 feet back from the wall face. We also install a 4-inch perforated drain tile at the base of the wall, sloped to a daylight exit. If that pipe doesn’t ‘daylight’ (exit to a lower spot), the water just sits there and the wall bows again. Don’t skip the drain.
“Soil saturation increases lateral pressure by 62.4 pounds per cubic foot for every foot of depth, significantly exceeding the structural limits of unreinforced masonry.” – Penn State Agricultural Extension
The Master Landscaper’s Inspection Checklist
- Check the Weep Holes: Ensure they aren’t clogged with mud or debris. If they are dry after a rainstorm, they aren’t working.
- Monitor the Capstones: If the caps are separating, the wall is stretching.
- Surface Grading: The ground above the wall should slope away from it, not toward it.
- Vegetation Check: Large trees within 10 feet of a wall can use their roots as levers. Remove invasive saplings immediately.
- Identify Efflorescence: White powdery salt on the wall face means water is moving through the block. This is a red flag for drainage failure.
Maintenance and Long-Term Stability
Once we’ve shored up the wall or performed a sod install to stabilize the surrounding earth, the job isn’t over. You need a yard cleanup routine that includes checking the drainage outlets. A single bird’s nest in a drain pipe can destroy a $50,000 wall over one winter. We recommend a professional inspection every two years. We use laser levels to check for movement down to the millimeter. It might seem like overkill, but it’s cheaper than a collapse.
If you are planning a new landscaping project, do not let a contractor tell you that ‘dirt is just dirt.’ Demand a sieve analysis of the backfill and a compaction report. If they don’t know what a ‘vibro-plate’ is or why they need non-woven geotextile fabric, kick them off your property. Your home’s foundation depends on the grading and the walls that hold it back. Do it right or do it twice.