
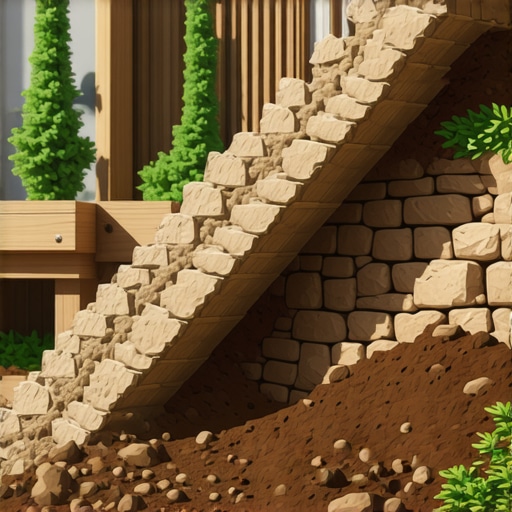
The Telltale Lean: Why Your Retaining Wall is Failing
A leaning retaining wall typically indicates hydrostatic pressure buildup, insufficient base compaction, or inadequate drainage behind the structure. When water saturates the soil, the weight increases significantly, pushing against the wall face. Without a 12 inch thick gravel drainage chimney and functional weep holes, structural failure is inevitable.
I recently got called out to tear up a $30,000 patio that was sinking because the previous contractor thought he could skip the modified gravel base and just dump some sand on native clay. The wall supporting the entire elevation was tilting at a 15 degree angle toward the neighbor’s driveway. It was a forensic disaster. The base wasn’t just thin; it was nonexistent. When I dug it out, the soil was a saturated, anaerobic mess. This is what happens when you hire a mow and blow crew to do civil engineering. They see a wall as a stack of blocks. I see it as a battle against gravity and fluid dynamics. If you don’t respect the hydrostatic pressure, the wall will lose every single time. It is physics, not aesthetics.
The Anatomy of Structural Collapse
To understand why your wall is failing, you have to look at the soil friction angle and the surcharge loads. Most residential walls fail because the backfill is too heavy or too wet. When you have a heavy rain, the soil behind the wall acts like a liquid. This liquid state exerts thousands of pounds of pressure per square foot against the masonry. If you didn’t install a 4 inch perforated drain pipe at the footing level, that water has nowhere to go. It sits there, building PSI, until the wall yields.
“A retaining wall doesn’t fail because of the stone; it fails because of the water trapped behind it.” – Hardscape Engineering Axiom
How much modified gravel do I need for a patio base?
For a standard paver patio or small retaining wall, you need a minimum of 6 inches of compacted 2A modified gravel for the base, plus an additional 12 inches of clean #57 stone for the drainage column directly behind the wall units. Failure to provide this volume leads to settling and shifting under freeze-thaw cycles. Most DIYers under-calculate their stone needs by 40 percent.
The Physics of Soil and Surcharge
Different soil types exert different pressures. Heavy clay, common in many regions, expands when wet and shrinks when dry. This cyclic movement is a slow-motion wrecking ball for your landscaping. If you are doing a sod install near the top of a wall, your irrigation system might be your worst enemy. If those sprinkler heads are saturating the backfill, you are manually pumping failure into your wall. You need to ensure the yard cleanup involves checking that your irrigation lines aren’t leaking near the wall’s heel. A small leak can liquefy the base in a month.
| Material Type | Drainage Efficiency | Weight (Wet) | Suitability for Backfill |
|---|---|---|---|
| Clean #57 Stone | 95% | 105 lbs/cf | Excellent (Primary Choice) |
| 2A Modified | 30% | 130 lbs/cf | Base Only (Not Backfill) |
| Native Clay | 5% | 120 lbs/cf | Poor (Causes Failure) |
| Sandy Loam | 60% | 110 lbs/cf | Acceptable with Geogrid |
How do you fix a leaning retaining wall without tearing it down?
Fixing a leaning wall without total excavation requires helical anchors or deadmen to pull the structure back to vertical. You must first relieve the pressure by excavating the saturated backfill and replacing it with clean stone. If the wall is leaning more than 1 inch per foot of height, it is technically a total loss and must be rebuilt from the footing up to ensure safety. Bracing is often a temporary fix for a terminal problem.
Remediation: The Step-by-Step Recovery
If you catch the lean early, you might save it. First, check the irrigation. Turn it off. Let the soil dry. Second, look at the grading. Is water flowing toward the wall or away? You need a 2 percent pitch away from the wall. Third, check the weep holes. If they are clogged with mud, the filter fabric has failed. You will need to dig. There are no shortcuts here. You can’t just push it back. You have to remove the cause of the push.
“The stability of a gravity wall depends entirely on the weight of the units and the friction of the base material against the subgrade.” – ICPI Structural Standards Manual
When we do a yard cleanup for a client with wall issues, we often find that the mulch is piled 6 inches too high, creating a “mulch volcano” that traps water against the wall cap. This moisture seeps into the joints, freezes, and pops the glue or the mortar. It starts with a small crack. It ends with a collapsed wall in the middle of a storm. Do not ignore the cracks. They are the wall’s way of screaming for help.
- Step 1: Excavate the top 2 feet of soil behind the wall to inspect for geogrid.
- Step 2: Install or clear the 4 inch perforated drain pipe.
- Step 3: Replace native soil backfill with clean, angular #57 stone.
- Step 4: Re-level the cap stones and seal with professional-grade masonry adhesive.
- Step 5: Re-grade the surface to ensure positive drainage away from the wall.
The Long-Term Maintenance Plan
Maintenance isn’t just about mowing the lawn. It is about asset management. Every spring, walk the line of your wall. Look for bulging. Look for “efflorescence,” that white salty powder on the face of the stone. That is a sign that water is moving through the stone because it can’t get out through the drainage system. It is a red flag. If you see it, your drainage is failing. Fix it now or pay me five times more to fix it later when it’s on the ground. Professional landscaping is about more than plants; it is about protecting the structural integrity of the property. Check your irrigation zones. Make sure they aren’t spraying the wall face. Stone is durable, but water is the universal solvent. It will win.