I always drill into my new crew members: if you do not fix the soil grading and document the system first, every plant or yard you put in the ground is just expensive compost. I recall a job where a sub-contractor laid forty pallets of tall fescue over an active irrigation system without flagging the heads. Three days later, the client had dry spots the size of a sedan. We had to locate twenty-four buried heads under two inches of fresh sod without turning the yard into a battlefield. If you do not have a map, you are not landscaping; you are just guessing with a shovel.
The Critical Importance of Irrigation Recovery
Finding buried sprinkler heads involves using soil probes, electronic locators, or visual moisture cues to identify hidden components without excavating large sections of turf. This process ensures your sod install survives by maintaining proper hydration while preventing hydrostatic pressure damage to buried lines and fittings.
When a head is buried under an inch of soil or thatch, it does more than just miss its watering window. It creates a localized swamp. The water cannot clear the nozzle, so it pools around the riser, saturating the soil and leading to root rot or fungal outbreaks like Rhizoctonia solani. This is especially prevalent in heavy clay soils where drainage is already a struggle. You need to understand the physics of the system. A standard residential zone runs at 30 to 50 PSI. When a head is trapped, that pressure has nowhere to go but out the seals, which eventually washes away the base material under your turf, leading to those annoying sinkholes. To find these heads, you must think like an engineer, not a gardener. You are looking for a four-inch plastic cylinder buried in a massive field of biological matter.
“A sprinkler system is only as efficient as its lowest head; buried rotors cause backpressure that can compromise the integrity of the entire lateral line.” – Irrigation Association Technical Manual
How to find a sprinkler head with a metal detector?
To locate a sprinkler head with a metal detector, you must identify the metal screws or stainless steel retraction springs inside the plastic housing. Sweep the detector in a grid pattern over the suspected zone, focusing on areas with localized browning or where the irrigation layout suggests a head should be.
Many homeowners think a metal detector is a silver bullet, but most modern heads are 95% high-impact ABS plastic. You are looking for the tiny amount of metal in the spring or the internal riser assembly. If you are using a professional-grade detector, you will get a faint signal. Do not expect a loud scream like you found a chest of gold. It will be a subtle tick. This is why I prefer the manual probe. A 12-inch thin-blade screwdriver is often your best friend. You are feeling for the distinct ‘clunk’ of plastic. Soil has a soft, granular resistance; a Hunter PGP or a Rain Bird 5000 has a hard, flat top that feels like hitting a brick. Use a grid pattern. Start where the grass is greenest and move toward the dry spot. Usually, the head is right at the transition point. If you hit something, don’t just start digging. Probe around the object to confirm it has a circular shape. I have seen guys dig up rocks, gas lines, and even old bricks thinking they found their missing head.
| Method | Accuracy | Equipment Needed | Risk of Damage |
|---|---|---|---|
| Manual Probing | 85% | 12-inch Screwdriver / Soil Probe | Low |
| Wetting/Bubble Test | 70% | Water Pressure / Air Compressor | Low |
| Electronic Wire Tracing | 98% | 521 Locator / Valve Chatter | Zero |
| Metal Detecting | 45% | Metal Detector | Low |
How do you find a buried irrigation valve?
To find a buried irrigation valve, use an electronic wire tracer to follow the 24V wires from the irrigation controller to the solenoid location. You can also listen for the clicking sound of the valve opening or use a chatterbox device to create an audible vibration underground.
The valve box is the brain of your zone. If it gets buried during a yard cleanup or a heavy landscaping renovation, you are in trouble. I have seen boxes buried under six inches of mulch. This is why I tell my guys to never trust a mulch-volcano. The ‘chatter’ method is the industry standard for a reason. By sending a specific electrical pulse to the solenoid, you make the internal plunger vibrate rapidly. If you put your ear to the ground—or use a mechanic’s stethoscope—you can hear a distinct buzzing. It is much more efficient than digging test holes every five feet. Once you find it, do not just clear the top. Excavate the entire lid and add a riser to the box so it stays at the new grade. If the box is below the soil line, it will just fill with silt again within two seasons. Proper landscaping requires thinking about the next ten years, not just the next ten minutes.
“Soil compaction levels exceeding 300 PSI will prevent root penetration and significantly increase the difficulty of manual probe detection for buried utility components.” – Penn State Center for Turfgrass Science
The Forensic Restoration Checklist
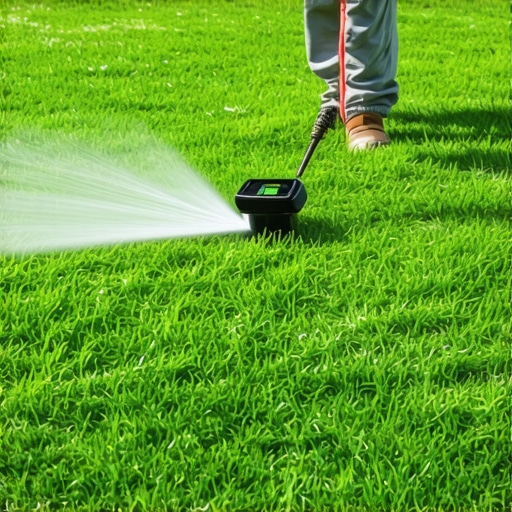
- Turn on the zone and look for ‘bubbling’ or heavy saturation in the turf.
- Use a 12-inch probe in a 6-inch grid pattern around suspected dry zones.
- Mark every ‘hit’ with a wire flag before any digging occurs.
- Hand-excavate with a small trowel to avoid slicing the lateral PVC lines.
- Adjust the riser height to ensure the head is 1/2 inch above the soil grade.
- Install a concrete or plastic donut around the head to prevent future grass encroachment.
Once you have located the heads, you need to address the height. If they were buried by a sod install, they are likely too low to ever clear the grass blades. This leads to ‘shadowing’ where the grass right in front of the head gets soaked and the grass ten feet away stays bone dry. You must use swing pipe or funny pipe to raise the head to the new grade. Do not just use a longer threaded nipple. A rigid nipple will snap the main line if a mower ever runs over it. The swing pipe acts as a shock absorber. This is the difference between a hack job and a professional irrigation repair. It takes an extra ten minutes per head, but it saves the client thousands in future repairs. After the heads are raised, run the zone again. Check the arc and the radius. Often, the internal filters are clogged with the very dirt that buried them. Clean the screens or replace the nozzles entirely. A five-cent nozzle is not worth a dead yard. In this business, we trade in precision. If you are off by two inches, you might as well be off by two miles.