
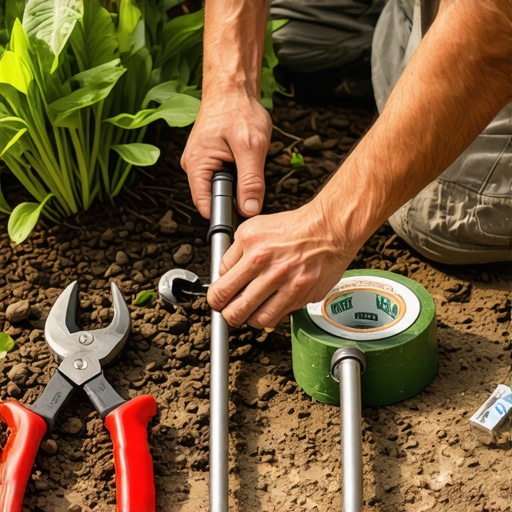
The Diagnostic Autopsy: Why Irrigation Lines Fail During Yard Cleanup
To repair a cut irrigation line in 10 minutes, you must excavate a two-foot trench around the puncture, cut the damaged section square with PVC ratcheting cutters, and install a telescoping slip-fix repair coupling using heavy-duty purple primer and solvent cement to ensure a permanent, high-pressure seal. I always drill into my new crew members: if you do not bury your lines at least 12 inches deep, every yard cleanup or sod install becomes a liability. I recently took over a site where a ‘mow-and-blow’ crew had used a power edger and sliced through three separate lateral lines because the previous installer was too lazy to dig past the four-inch mark. This is the difference between professional landscaping and amateur hour. When you find a geyser in the middle of your turf, you are not just losing water; you are losing soil structure and inviting hydrostatic pressure to undermine your grading. Do not panic. It is just plumbing. Focus on the soil. Move it fast. Get to the pipe.
The Physics of Irrigation Failures
Most irrigation leaks are not accidental. They are the result of poor planning during the initial sod install or a failure to account for ground heave. In heavy clay soils, the earth expands and contracts with moisture cycles. This constant movement puts immense stress on rigid Schedule 40 PVC if it is not bedded correctly in sand or fines.
“Irrigation system efficiency and longevity depend heavily on the hydraulic design and the physical protection of the distribution lines from mechanical damage during routine maintenance.” – Texas A&M AgriLife Extension Service
You need to understand the material you are working with. Most residential systems use Class 200 PVC for laterals or Schedule 40 for main lines. Class 200 is thin-walled and brittle. One stray shovel hit during a yard cleanup and it shatters. If you are doing a professional repair, you should be upgrading that section to Schedule 40. It will last. It will resist the next guy with a shovel.
Essential Tools for an Emergency Irrigation Repair
You cannot fix a pressurized line with duct tape or rubber patches. You need the right kit on your truck. Use this checklist before you start digging.
- Ratcheting PVC pipe cutters (prevents cracking the pipe).
- Telescoping Slip-Fix Coupling (the only way to fix a line without digging a ten-foot trench).
- Purple Primer and Medium-Bodied Gray PVC Cement.
- Wire brush for cleaning mud off the pipe.
- Replacement Schedule 40 pipe sections.
- A sturdy spade shovel and a hand trowel.
How much does it cost to fix a cut irrigation line?
A professional irrigation repair typically costs between $150 and $300 for a standard lateral line break, though a DIY repair using a telescoping coupling costs less than $20 in materials. The real cost lies in the wasted water and potential turf damage caused by erosion if the leak is not addressed immediately.
Step-By-Step: The 10-Minute Professional Repair
Stop the water first. Locate the isolation valve or the main backflow preventer. Shut it down. If you do not stop the flow, you will be fighting a mud hole, and PVC cement will not bond to wet plastic. Dig deep. You need at least six inches of clearance under the pipe to get your hands and tools around it. Clean the pipe until it looks new. Any dirt in the joint will cause a leak within six months. It will fail. Cut out the damaged section. Use the ratcheting cutters to ensure the cut is perfectly square. Measure your slip-fix coupling. These telescoping fittings expand to bridge the gap. Apply primer to both the pipe and the fitting. Do not be stingy. Apply the cement. Slide the fitting on and expand it into place. Hold it for 30 seconds. This is a cold weld, not a glue. The chemical reaction literally melts the plastic together. [image-placeholder]
| Pipe Material | Standard Burial Depth | Pressure Rating (PSI) | Best Use Case |
|---|---|---|---|
| Class 200 PVC | 8-10 Inches | 200 PSI | Low-cost laterals (Not recommended) |
| Schedule 40 PVC | 12-18 Inches | 450-600 PSI | Main lines and high-traffic laterals |
| Poly Pipe (PE) | 10-14 Inches | 80-160 PSI | Cold climates (Freeze/Thaw resilience) |
Can I use SharkBite fittings on irrigation lines?
While SharkBite fittings are rated for indoor plumbing, they are not recommended for direct burial in landscaping applications due to soil corrosion and the risk of seal failure under varying exterior temperatures. Stick to solvent-welded PVC fittings for a permanent underground solution. Most municipal codes actually prohibit mechanical fittings for permanent burial on main lines.
“A retaining wall doesn’t fail because of the stone; it fails because of the water trapped behind it, and a leaking irrigation line is the fastest way to liquefy a base layer.” – Hardscape Engineering Axiom
This is why I obsess over irrigation. A small leak from a bad repair can migrate behind a $50,000 paver patio and wash out the modified gravel base. Now your patio is sinking because you didn’t want to spend five minutes cleaning mud off a PVC pipe. Don’t be that guy. Fix it right the first time. Check the pressure after 15 minutes of cure time. Backfill the hole in layers, tamping down the soil as you go. If you leave a loose mound of dirt, it will settle and create a trip hazard. Professionalism is in the details. The repair is only half the job; the restoration of the landscape is the other half. Always check your spray patterns after a repair. Air in the lines can blow nozzles off. Run a manual cycle. Bleed the air. Walk the zone. Only then is the job done.{“@context”:”https://schema.org”,”@type”:”HowTo”,”name”:”How to Repair a Cut Irrigation Line”,”step”:[{“@type”:”HowToStep”,”text”:”Shut off the main water supply to the irrigation system.”},{“@type”:”HowToStep”,”text”:”Excavate the area around the break to provide 6 inches of clearance.”},{“@type”:”HowToStep”,”text”:”Cut out the damaged section of pipe using a ratcheting cutter.”},{“@type”:”HowToStep”,”text”:”Clean the pipe ends thoroughly to remove all dirt and moisture.”},{“@type”:”HowToStep”,”text”:”Apply PVC primer and cement to the pipe and the telescoping coupling.”},{“@type”:”HowToStep”,”text”:”Install the coupling and hold for 30 seconds to ensure a solvent weld.”}]}