
Why Soil-to-Root Contact Dictates Your Lawn’s Survival
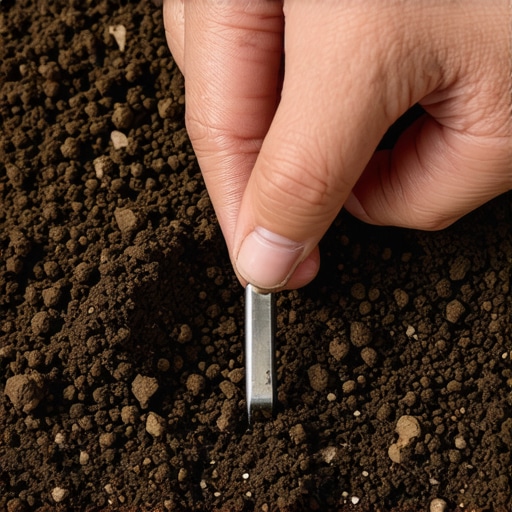
The tug test is the definitive field method for verifying that new sod has successfully initiated root-to-soil transition by checking for resistance when gently lifting the turf mat. This diagnostic check ensures that the sod install has bypassed the initial shock phase and is successfully drawing moisture and nutrients from the native substrate rather than relying solely on the thin layer of peat or soil it was harvested with.
I always drill into my new crew members: if you don’t fix the soil grading first, every plant you put in the ground is just expensive compost. I have seen too many rookies slap down high-dollar hybrid Bermuda on top of compacted clay that was as hard as a sidewalk. They think the weight of the sod is enough to establish a connection. It is not. Without proper yard cleanup, removing debris, and fracturing the top two inches of the soil profile, those roots will just spin in circles, eventually drying out and dying. We call this ‘pancake rooting,’ and it is the primary reason why 70 percent of DIY sod jobs fail within the first season. You must have direct, intimate contact between the bottom of the sod piece and the tilled soil surface.
“Proper establishment of turfgrass sod requires intimate contact between the sod and the soil surface to facilitate rapid root penetration and minimize desiccation of the thin sod layer.” – Penn State Center for Turfgrass Science
The Engineering of a Successful Sod Install
Before you even think about the tug test, you have to engineer the environment for success. This starts with the base. We look for a 90 percent compaction rate on the subgrade for stability but a loose, friable upper two inches for the actual root zone. If you are dealing with heavy clay, we integrate gypsum or sand to break up the molecular bonds of the clay particles. This allows for better irrigation infiltration. If the water cannot move through the soil profile, it sits at the interface, turns into a anaerobic swamp, and rots the roots before they ever have a chance to grab hold.
How to Perform the Tug Test Correcty
Wait at least 7 to 10 days before performing your first test. Walk to a seam, not the middle of a piece, and use two fingers to gently lift. If the sod piece lifts up like a rug, you have zero contact. This usually indicates a failure in irrigation frequency or a lack of rolling during the install phase. If you feel a distinct resistance, almost like a piece of Velcro being pulled apart, you have successfully initiated root hair elongation. This is the goal. Do not pull hard enough to break the roots. Just feel for the tension. It is a binary check. Either it is anchored or it is not.
Sod Establishment Success Matrix
| Phase | Action Required | Root Goal | Watering Frequency |
|---|---|---|---|
| Day 1-3 | Heavy Rolling | Eliminate Air Pockets | 3-4 times daily (light) |
| Day 4-7 | Visual Inspection | Hydration Maintenance | 2 times daily (deep) |
| Day 10-14 | The Tug Test | Primary Anchoring | 1 time daily (heavy) |
| Day 21+ | First Mow | Lateral Spread | Every 2-3 days (1 inch total) |
How much water does new sod need to pass the tug test?
New sod requires approximately 0.25 inches of water during each application in the first week to maintain turgid cell structure and prevent the edges from shrinking. You are not just watering the grass; you are saturating the interface where the sod meets the dirt. If that interface dries out for even four hours in 90-degree heat, the microscopic root hairs will shrivel and die. You cannot skip this. Set your irrigation timers. Monitor them. If you see the seams opening up, you are already losing the battle. The tug test will fail every time if the soil moisture at the two-inch depth drops below 15 percent.
Why is my sod turning yellow despite heavy watering?
Yellowing usually indicates one of two things: nitrogen leaching or anaerobic root rot. If you over-water to the point of ponding, you are pushing all the oxygen out of the soil pores. Roots need oxygen to respire. If they cannot breathe, they cannot take up nutrients. This is why landscaping professionals focus so heavily on the yard cleanup and grading phase before the sod ever arrives. You need a 1 to 2 percent slope away from the home to ensure excess water moves off the site while leaving enough behind for the plants.
“Hydrostatic pressure in poorly drained soils can cause root asphyxiation in newly laid turfgrass, leading to chlorosis and eventual necrosis of the leaf blades.” – Texas A&M AgriLife Extension
Post-Install Checklist for 2026 Standards
- Verify 811 utility markings are clear before any sub-grade tilling.
- Apply a high-phosphorus starter fertilizer (10-20-10) to stimulate ATP production in new roots.
- Use a 300-pound water-filled roller across the entire surface immediately after laying.
- Check the irrigation coverage using catch cups to ensure no dry spots.
- Conduct the tug test at 10 random locations across the yard.
The transition from a ‘carpet’ to a ‘lawn’ is a biological process that cannot be rushed. In my 20 years, I have seen people try to use growth stimulants and chemical shortcuts to bypass the basics. It never works. If you have done the yard cleanup, addressed the soil chemistry, and maintained the hydraulic bridge between the sod and the earth, the tug test will be a formality. If you skipped the prep, the tug test will be the autopsy of your investment. Get it right the first time. The dirt does not lie.