
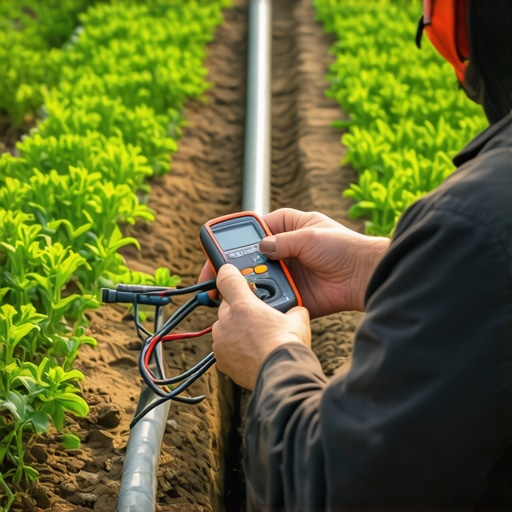
The Forensic Diagnosis of a Failing Irrigation Circuit
I always drill into my new crew members: if you don’t fix the electrical foundation of your irrigation, every pallet of sod you lay is just expensive brown fuel for the compost pile. In my twenty years of tearing out botched systems, the most common point of failure isn’t the pipe or the controller; it is the solenoid. This small electromagnetic component is the gatekeeper of your yard’s survival. When a zone fails to fire, most homeowners immediately start digging up the valve box and making a mess. Stop. Before you touch a shovel, you need a multimeter. Testing the resistance of your 2026 irrigation solenoids is the only way to diagnose a system without guessing. We are looking for specific electrical signatures—measured in ohms—to tell us if the copper coil inside that plastic casing has shorted, snapped, or simply worn out after years of heat cycles and soil moisture exposure.
How to Test a 24V Irrigation Solenoid with a Multimeter
Testing an irrigation solenoid requires a digital multimeter set to the ohms (Ω) setting to measure electrical resistance within the internal copper coil. By checking the continuity and resistance levels at the controller or the valve box, you can identify open circuits or shorted coils without excavating pipes. If the reading falls outside the 20 to 60-ohm range, the solenoid is mechanically or electrically compromised and needs replacement.
“The solenoid is the translation point between the digital logic of the controller and the physical flow of water; its failure is almost always an electrical issue masquerading as a hydraulic one.” – Irrigation Association Technical Manual
How do I know if my irrigation solenoid is bad?
A bad solenoid usually reveals itself through a few distinct symptoms: the zone won’t turn on at all, it won’t shut off, or the controller displays a ‘FLT’ or ‘Short’ error. Visually, you might see charred plastic or leaking water from the top of the valve, but the real proof is in the resistance. If your multimeter reads ‘OL’ (Open Loop) or an infinite number of ohms, the wire inside the coil is severed. If it reads below 10 ohms, the internal insulation has failed, creating a short that can potentially fry your controller’s output triac. It is a binary reality. It works, or it is junk.
What should the ohms reading be on a sprinkler valve?
For standard 24VAC systems, including the latest 2026 high-efficiency models, you want to see a resistance reading between 20 and 60 ohms. This range indicates the coil is intact and capable of creating the electromagnetic field required to lift the plunger. If you are testing through the field wires at the controller, you might see a slightly higher reading—perhaps 2-5 ohms more—due to the length and gauge of the wire run. Anything wildly outside this window means your system is bleeding voltage or hitting a dead end.
| Multimeter Reading (Ohms) | Diagnostic Result | Required Action |
|---|---|---|
| 0 – 12 Ω | Short Circuit in Coil | Immediate Replacement |
| 20 – 60 Ω | Healthy Solenoid | Check Mechanical Plunger |
| 60 – 100 Ω | Failing/Corroded Coil | Monitor or Replace |
| Infinite / OL | Open Circuit (Broken Wire) | Repair Wire or Replace |
The Horticultural Impact of Irrigation Failure
When an irrigation solenoid fails, it doesn’t just stop a clock; it begins a countdown for your landscape. In high-clay soils, a valve that fails to close—often caused by a solenoid plunger stuck in the open position—leads to soil saturation and anaerobic conditions. Roots literally drown because they cannot exchange gases. Conversely, a valve that fails to open during a heat spike will cause permanent wilt point in sod within 48 hours. I have seen clients lose $15,000 in Zoysia because they didn’t want to spend ten minutes with a multimeter. Your yard is a living organism. The irrigation system is its vascular network. If the electrical pulse stops, the biology follows shortly after.
- Step 1: Turn off the power to the controller to avoid interference, though testing resistance is generally a passive measurement.
- Step 2: Disconnect the zone wire and the common wire from the controller terminals.
- Step 3: Set your multimeter to the lowest Ohms setting (usually 200).
- Step 4: Place one probe on the common wire and the other on the specific zone wire.
- Step 5: Record the reading and compare it to the manufacturer’s specs.
“A retaining wall doesn’t fail because of the stone; it fails because of the water trapped behind it, just as a lawn fails not from the sun, but from the absence of controlled hydration.” – Hardscape Engineering Axiom
Advanced Troubleshooting: Field Wire vs. Solenoid
If you get a bad reading at the controller, don’t buy a new solenoid yet. You have to isolate the problem. Walk out to the valve box. Cut the waterproof grease nuts and test the solenoid wires directly, disconnected from the field wires. If the solenoid tests at 30 ohms at the valve but showed ‘OL’ at the controller, you have a broken field wire somewhere in the yard. This is where most DIYers fail. They replace parts that aren’t broken. If you have to dig, dig for a wire nick, not a valve. Remember to always use 811 before you go deep. Utility lines love to hide right next to irrigation runs. In 2026, we are seeing more smart-valves with internal sensors; these still rely on basic ohms-law physics. Don’t let the ‘smart’ label intimidate you. It is still just a coil and a magnet. Use your meter. Trust the numbers. Keep the water moving. It is that simple.