
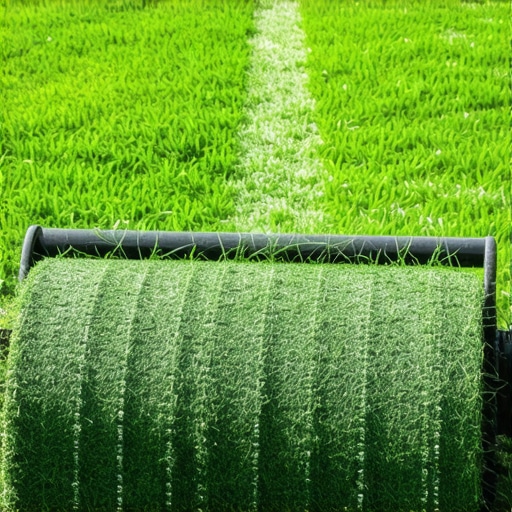
Eliminating Air Pockets in High-Spec 2026 Sod Installations
To remove air pockets from 2026 sod, you must utilize a water-filled lawn roller within 24 hours of installation. This process ensures capillary contact between the sod roots and the prepared topsoil, eliminating oxygen voids that cause root desiccation and localized dry spots in your landscaping project.
I always drill into my new crew members: if you don’t fix the soil grading first, every plant you put in the ground is just expensive compost. I remember an apprentice back in 2018 who thought he could hide a three-inch dip in the subgrade by just doubling up the sod layers. Within three days, that section was hay. It was not a water issue; it was a physics issue. The roots were suspended in an air pocket, unable to draw moisture from the soil because the sod install lacked structural integrity. We had to rip it all up, regrade the base with 70/30 topsoil/sand mix, and start over. That lesson cost us two days and four pallets of turf. You do not skip the prep. You do not skip the roll.
The Biological Necessity of Soil-to-Root Contact
When you lay a piece of sod, you are performing a transplant surgery on a massive scale. The root system of 2026 cultivars is denser and more aggressive, designed for rapid establishment. However, those roots are highly sensitive to atmospheric oxygen. If an air pocket exists, the root hairs will oxidize and die within hours. This leads to a phenomenon called localized dry spot, where the grass above the pocket turns straw-colored despite heavy irrigation. The air acts as an insulator, preventing the natural capillary fringe of the soil from moving water upward into the sod mat. You must force the air out and the soil in.
“A lawn roller is essential not for leveling the ground, but for ensuring the root system makes direct contact with the moisture-wicking soil layer.” – Penn State Center for Turfgrass Science
The Engineering of the Roll: Pressure and Timing
The goal of rolling is not to compact the soil until it is as hard as concrete. Excessive compaction destroys the pore space needed for oxygen exchange and drainage. You want just enough pressure to marry the sod to the earth. For 2026 sod, a roller filled one-third to one-half with water is usually sufficient. This typically equates to roughly 150 to 225 pounds of total weight. You must move in a grid pattern. Start at one corner and walk in straight lines, then repeat the process perpendicular to your first pass. This ensures that every square inch of the sod install is pressurized.
Yard Cleanup and Subgrade Preparation
You cannot achieve a perfect roll if your yard cleanup was sloppy. Any debris left under the sod, such as rocks larger than one inch, sticks, or clumps of old turf, will create permanent air gaps. These gaps are impossible to roll out. You must use a landscape rake to scarify the top two inches of soil. This creates a soft bed that the sod can sink into. If you are working with heavy clay, you must incorporate gypsum or organic matter to prevent the subgrade from glazing. A glazed surface acts like a barrier, preventing the new roots from penetrating the native soil even if you roll it perfectly.
| Rolling Method | Pressure (PSI) | Risk Level | Effectiveness |
|---|---|---|---|
| Empty Poly Roller | 1.2 PSI | Low | Insufficient |
| 50% Water-Filled Roller | 3.5 PSI | Medium | Ideal for 2026 Sod |
| Full Steel Roller | 6.8 PSI | High | High Compaction Risk |
| Hand Tamping | Variable | Medium | Uneven Results |
How much water does new sod need after rolling?
After the roll is complete, your irrigation schedule becomes the most critical factor for survival. You must saturate the sod immediately to a depth of 6 inches. This further settles the soil and collapses any microscopic air pockets that the roller might have missed. For the first 14 days, the goal is to keep the interface between the sod and the soil constantly moist. This is not about a light misting. You need deep, penetrating water. In most climates, this means 20 minutes of irrigation three times a day during the daylight hours.
“Improper irrigation after sod installation accounts for 70% of turf failure in the first fourteen days.” – USDA Agriculture Handbook
Post-Installation Checklist
- Remove all debris and rocks during the yard cleanup phase.
- Apply a high-phosphorus starter fertilizer (10-20-10) to stimulate root growth.
- Lay sod in a staggered brick pattern to minimize seam exposure.
- Roll the entire area within 24 hours of laying the last piece.
- Check the edges of the sod daily to ensure they are not shrinking or gapping.
How do I know if I have air pockets after rolling?
Walk across the lawn. If the ground feels spongy or “springy” under your boots, you have an air gap. You should feel a firm, solid connection to the earth. Another trick is to pull up a corner of a sod piece. If you see white root tips reaching into the soil, you have good contact. If the bottom of the sod is dry while the top is wet, you have an air pocket problem. Fix it immediately by re-rolling or adding targeted weight. If you wait until the grass turns brown, the roots are already dead. It will not recover easily. Precision matters. Details matter. Do the work right the first time so you do not have to do it twice.