
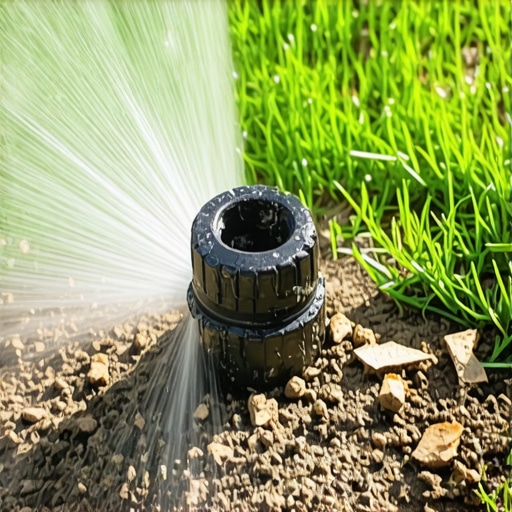
The Hydraulic Reality of Your Lawn
Sprinkler heads fail to pop up primarily due to insufficient water pressure, debris infiltration in the wiper seal, or physical obstructions like overgrown thatch or sunken bodies. Identifying the root cause requires measuring the PSI at the head and inspecting the mechanical integrity of the internal spring. This is not about aesthetics; it is about the physics of water delivery and the structural integrity of your irrigation network. If your heads stay buried, your turf dies. It is that simple.
I always drill into my new crew members: if you don’t fix the soil grading first, every plant you put in the ground is just expensive compost. The same logic applies to irrigation. I have seen hundreds of homeowners spend thousands on premium sod install projects only to watch the grass wither because they didn’t understand the hydraulic requirements of their zones. You can buy the most expensive Hunter or Rain Bird heads on the market, but if you set them in a low spot without proper drainage or ignore the friction loss in your lateral lines, they will fail. I’ve seen it a thousand times. A guy thinks he can just throw a system together with some poly pipe and a prayer, but then the pressure drops and the heads won’t clear the grass line. That is a failure of engineering, not the equipment.
“Irrigation efficiency is governed by the hydraulic principles of friction loss and velocity; even a minor leak downstream can drop the operating pressure below the minimum 30 PSI required for pop-up activation.” – Agricultural Irrigation Handbook
Why Low Pressure is Your Number One Enemy
In most residential systems, the static pressure from the city main is around 50 to 60 PSI. However, the dynamic pressure—the pressure while water is actually flowing—is what matters. If you have too many heads on a single zone, the friction loss through the pipes and fittings will bleed off that pressure before it reaches the last head. Most spray heads require at least 20 to 30 PSI to overcome the internal retraction spring. If you are seeing 15 PSI at the head, the riser will simply sit in the body, bubbling water into the soil and creating a muddy mess. This often happens after a yard cleanup where workers accidentally kick or damage a head, causing a subterranean leak that robs the rest of the zone of its power.
How do I know if my sprinkler pump is failing?
If you are on a well, the pump’s pressure switch might be failing, or the impeller could be worn down by sand. A tell-tale sign is a fluctuating spray pattern or heads that pop up halfway and then drop. You need to check the pressure gauge at the tank. If it isn’t hitting its 40/60 cut-in/cut-out cycle, your pump is the culprit, not the heads.
| Pipe Diameter (PVC) | Velocity (FPS) | Pressure Loss per 100ft |
|---|---|---|
| 1/2 Inch | 5.0 | 6.32 PSI |
| 3/4 Inch | 5.0 | 2.40 PSI |
| 1 Inch | 5.0 | 1.15 PSI |
As seen in the data above, using 1/2-inch pipe for long runs is a rookie mistake. The friction loss is nearly triple that of 1-inch pipe. This is why the heads at the end of the line often fail to pop up while the ones near the valve box work fine. You are literally choking the water out of the system.
The Grit Factor: Wiper Seal Contamination
The wiper seal is the rubber gasket where the riser emerges from the body. It is designed to ‘wipe’ the riser clean as it retracts. However, during a sod install, fine particles of dirt and sand often get trapped in this seal. This creates friction. Eventually, the sand scores the plastic riser, and the seal can no longer keep the water in. This results in ‘weeping’ at the base of the head. When enough water leaks out the seal, there isn’t enough pressure to push the head up. It is a feedback loop of failure. If you see sand around the top of your heads, you need to flush the system immediately. Don’t wait. It will rot the internal spring.
How much modified gravel do I need for a patio base?
While this seems unrelated to irrigation, many homeowners bury their irrigation lines under new hardscaping. You need a minimum of 4 to 6 inches of compacted 21A or 411 modified gravel for a stable base. If you run your irrigation lines under this without a sleeve, the compaction process will crush the PVC, leading to mysterious pressure drops. Always sleeve your lines. No excuses.
“A properly designed irrigation system must maintain a distribution uniformity (DU) of at least 70%, which is impossible if the spray heads fail to clear the turf canopy by at least 4 inches.” – Penn State Extension
The Forensic Troubleshooting Checklist
- Check the main shut-off valve. Ensure it is fully open. Even a 10% closure can kill your dynamic pressure.
- Inspect for leaks. Look for ‘soupy’ spots in the lawn between heads. That is a cracked pipe or a loose fitting.
- Clean the filters. Every head has a small mesh basket under the nozzle. If these are clogged with silt, the head won’t lift.
- Check for physical blockage. If you haven’t done a yard cleanup in a while, grass and thatch can grow over the top of the head, literally pinning it down.
- Test the solenoid. A failing 24V solenoid on the zone valve might not be opening the diaphragm fully.
Physical Height and Grading Issues
Over time, sprinkler heads ‘sink.’ This isn’t actually the head moving; it’s the soil and thatch layer building up around it. If your head is 2 inches below the soil line, it has to fight through 2 inches of dirt before it even hits the grass. You need to use ‘swing pipe’ or ‘funny pipe’ to raise the head back to the proper grade. Do not just pull the head up and pack dirt under it. It will settle again. Use a proper riser extension or swing joint to ensure it stays level with the soil surface. This is vital for new sod because the sod itself adds about 1 to 2 inches of height to the yard instantly.