
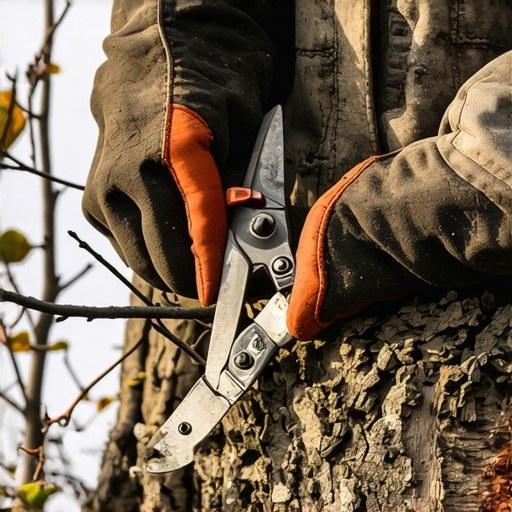
Why Late Winter is the Best Time to Prune Dead Wood
Removing 2026 dead wood during late winter is crucial because trees are dormant, pathogens are inactive, and the lack of foliage provides maximum visibility for precision cuts. This timing minimizes stress, prevents sap bleeding, and allows the tree to immediately seal wounds when spring growth begins.
I always drill into my new crew members: if you don’t fix the soil grading and clean up the structural wood first, every plant you put in the ground is just expensive compost. Just last season, I had an apprentice who wanted to prune a client’s mature oak in mid-summer because ‘the dead branches looked ugly.’ I stopped him mid-swing. Pruning during the active growing season opens up fresh wounds when fungal spores and boring insects are active. It is a death sentence for the tree. You wait until late winter, or you don’t touch the saw at all. Precision timing is the difference between a healthy canopy and a rotting hazard.
“Pruning during dormancy minimizes the transmission of vascular diseases and allows the tree’s natural compartmentalization process to begin immediately in the spring.” – ISA Best Management Practices
The Microscopic Reality of Dormant Pruning
During the depth of winter, woody plants enter a state of true dormancy. Deciduous trees have dropped their leaves, pulling their energy reserves deep into the root system and inner trunk wood. This metabolic slowdown means the tree does not actively expend energy defending itself from fresh cuts, nor does it bleed sap excessively. More importantly, destructive pathogens like oak wilt or fire blight are completely inactive in sub-freezing temperatures. Cutting now prevents these microscopic killers from hitching a ride on your pruning shears and infecting healthy vascular tissue. You must respect the plant’s biology.
How do you identify dead wood in late winter?
To identify dead wood in late winter, look for brittle twigs, peeling bark, fungal growth, and wood that lacks a green cambium layer beneath the surface. A simple scratch test using your thumbnail or a pocket knife will reveal if the tissue underneath is dry and brown (dead) or moist and green (alive). Dead branches also lack the swollen, healthy buds seen on living limbs preparing for spring.
The structural integrity of your trees directly impacts your entire landscape system. When heavy winter storms hit, dead wood acts as a sail, catching wind and ice until it snaps. These falling limbs crush understory plantings, destroy expensive turf, and tear up irrigation lines buried beneath the canopy drip line. Integrating a comprehensive yard cleanup with structural pruning protects these investments. If you plan a fresh sod install or major landscaping renovations in the spring, removing these overhead hazards in late winter is your mandatory first step. Do not lay fresh sod only to drop a thousand-pound oak limb on it three weeks later.
| Tree/Shrub Type | Optimal Late Winter Pruning Window | Key Operational Objective | Potential Risk of Summer Cutting |
|---|---|---|---|
| Deciduous Shade Trees (Oak, Maple) | January – Early March | Remove dead limbs, shape canopy | Oak Wilt infection, excessive bleeding |
| Flowering Shrubs (Summer Bloomers) | Late February – March | Stimulate new wood for spring blooms | Loss of season’s flower buds |
| Broadleaf Evergreens (Holly) | Late Winter (Dormant) | Maintain structural density | Frost damage on tender new growth |
How much dead wood can you remove from a tree at one time?
You can remove 100% of truly dead, diseased, or broken wood from a tree at any time of year without harming its health. Unlike living tissue, which should never be reduced by more than 25% in a single season to prevent starvation, dead wood contains no active energy reserves and its removal only benefits the tree.
When executing your late winter cleanup, you must master the three-cut method for any branch larger than one inch in diameter. Never make a single downward cut from the top of the limb. The weight of the falling branch will tear the bark down the side of the trunk, leaving a massive, unhealable wound that invites rot. Start with an undercut six inches out from the trunk, followed by a top cut twelve inches out to safely drop the limb. Finish by removing the remaining stub cleanly, just outside the branch collar. Do not flush cut. The collar contains the chemical defenses needed to seal the wound. Protect the collar, or the trunk will rot.
- Inspect the canopy: Map out dead, crossing, or diseased limbs before making any cuts.
- Sanitize your tools: Dip saws and pruners in a 10% bleach solution or isopropyl alcohol between trees.
- Check the branch collar: Locate the swollen area where the branch meets the trunk to guide your final cut.
- Clean up the debris: Remove all pruned wood from the property to prevent overwintering pests from remaining near your healthy landscape.
“Improper pruning cuts that damage the branch collar lead to permanent decay columns within the main trunk structure.” – Penn State Extension Agronomy Guide
Do not coat the fresh cuts with wound paint or tar. This is an outdated DIY myth that actually traps moisture and accelerates fungal rot. Trees do not heal like humans; they compartmentalize. They wall off the damaged area with specialized chemical barriers, growing new wood over the wound. Let the tree do its job naturally. Your only job is to provide a clean, precise cut that makes that compartmentalization as easy as possible. Keep your blades razor-sharp. Dull teeth crush the cambium, delaying recovery.