
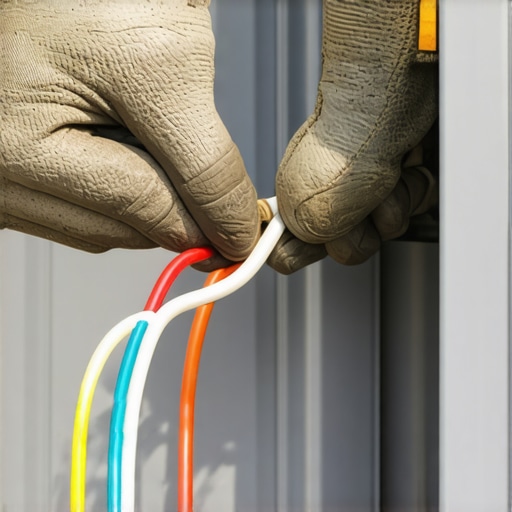
The Anatomy of a Silent Irrigation Failure
To fix a 2026 sprinkler wiring short, you must identify the corroded splice, cut back the copper wire to clean metal, and seal the new connection using outdoor-rated grease nuts to prevent moisture intrusion. This simple, low-voltage repair halts current leakage that triggers diagnostic faults on your modern irrigation controller. Do not rely on cheap electrical tape; water always wins that battle.
I always drill into my new crew members: if you don’t fix the soil grading and protect your sub-grade utility lines first, every system you put in the ground is just expensive garbage. Last month, my junior crew spent three days excavating a high-end yard in search of a ‘ghost short.’ The previous installer had spliced the multi-strand solenoid wires with standard interior wire nuts and wrapped them in electrical tape. Within two seasons, the high moisture levels in the clay soil seeped right into those caps, corroding the copper into a green, non-conductive mush. The controller kept throwing a ‘Solenoid Short’ error, shutting down three critical turf zones. It cost the homeowner thousands in diagnostic time just to find a ten-cent mistake. We had to dig up three valve boxes and rewire the entire manifold from scratch.
“Low-voltage irrigation control lines operating in saturated soils are highly susceptible to galvanic corrosion and current leakage unless protected by waterproof, direct-burial connectors.” – American Society of Agricultural and Biological Engineers (ASABE)
Why Standard Wire Connections Fail Underground
Irrigation valves live in a hostile environment. They are constantly subjected to water pooling, mud, fertilizer runoff, and extreme temperature fluctuations. Standard twist-on wire nuts are designed for dry, junction-box environments inside your home. When buried in an outdoor valve box, they act like tiny cups that collect condensation and run-off water.
Once water enters the wire nut, the electrical current traveling through the copper wire triggers electrolysis. This process accelerates corrosion, eating away at the delicate copper strands until they can no longer carry the 24-volt AC current required to pull the solenoid plunger. The result is a system that either refuses to turn on or continuously blows the internal fuse on your digital controller. Irrigation wire must be completely sealed from the elements.
How to Diagnose a Sprinkler Wiring Short with a Multimeter
To diagnose a sprinkler wiring short, use a digital multimeter set to the Ohms scale to measure resistance between the common wire and individual zone terminals at the controller. A healthy solenoid valve should read between 20 and 60 Ohms, while a reading close to zero indicates a direct short circuit, and a reading of infinity indicates an open circuit or broken wire. This diagnostic process eliminates guesswork before you dig.
| Multimeter Reading (Ohms) | System Status | Required Action |
|---|---|---|
| 0 to 10 Ohms | Short Circuit | Locate and replace corroded wire splice or bad solenoid. |
| 20 to 60 Ohms | Healthy Circuit | No action needed; valve is operating within normal electrical parameters. |
| Over 100 Ohms / OL | Open Circuit | Repair broken field wire or replace completely severed connection. |
How to Implement the Grease Nut Fix
Never skip steps here. First, disconnect the power to your irrigation controller. This is low voltage, but we want zero current flowing while we cut. Locate the suspected valve box. It is usually filled with dirt, spiders, and standing water. Clear out the debris until you can clearly see the solenoid wires.
Snip off the old, corroded wire connection with clean wire cutters. Strip back the outer insulation of the field wire and the solenoid lead by exactly half an inch. Ensure the exposed copper is bright and shiny. If the copper looks black or dark green, scrape it with your utility knife or cut back further until you reach clean metal. Clean metal conducts. Corroded metal resists.
Insert the clean, stripped wire ends into an outdoor-rated, silicone-filled grease nut (often called a DBY or DBR connector). Push the wires deep into the gel reservoir, then twist the nut firmly clockwise. You should see a small amount of the silicone grease squeeze out around the wire insulation. This grease acts as a hydrophobic barrier. It physically blocks water molecules from reaching the bare copper. Tug gently on each wire to ensure they are locked together securely. Do not skip this test.
How much modified gravel do I need for a valve box base?
You need approximately 0.5 cubic feet of clean, 3/4-inch crushed gravel to create a three-inch drainage base beneath a standard rectangular valve box. This aggregate layer prevents muddy water from rising into the box during heavy rain and keeps your newly installed grease nuts elevated above the saturated soil. Do not use fine sand or round river rock, as they will clog the drainage path.
Can I use regular electrical tape instead of grease nuts?
No, you cannot use standard vinyl electrical tape for underground low-voltage splices because the adhesive degrades rapidly when exposed to constant soil moisture and microbial activity. Within months, the tape will unravel, allowing water to pool around the bare copper and cause a short. Only direct-burial grease nuts or gel-filled snap connectors provide the permanent, waterproof seal required by local electrical codes.
Preventative Maintenance for Long-Term System Reliability
Do not wait for your controller to throw an error code before you check your wiring. Make valve box inspection a regular part of your spring startup routine. Open every green lid on your property, clear out the accumulated silt, and check for signs of nesting pests like ants or mice who love to chew through soft wire insulation.
- Inspect all wire connections for cracking plastic or weeping silicone gel.
- Check that all wire bundles are bundled neatly and suspended above the soil floor of the box.
- Verify that your valve box has not settled below grade, which allows muddy surface runoff to flood the electrical components during rain storms.
- Apply a light spray of pest-repellent around the box interior to keep nesting rodents away from critical wiring paths.
By taking these preventative steps and replacing all failing wire nuts with high-quality grease nuts, you protect your landscaping investment and ensure your grass, sod, and ornamental plants receive consistent hydration throughout the brutal summer heat. Do it right the first time, or prepare to dig it up later.