
Understanding the Mechanics of Irrigation Solenoid Failure
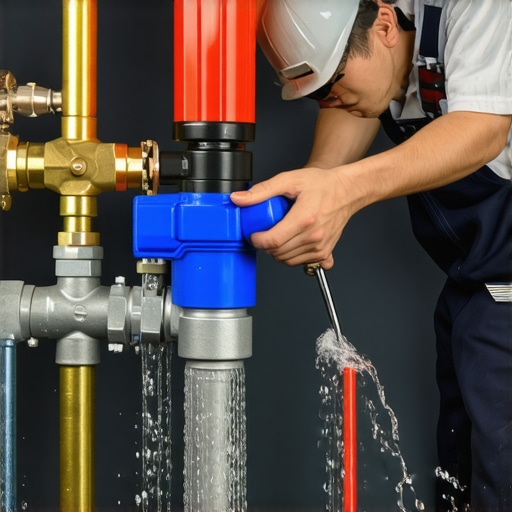
Replacing a dead solenoid without shutting off the main water requires executing a wet swap, a technique where you quickly exchange the internal plunger and coil while the valve is under pressure. This process demands precise timing and the use of waterproof wire connectors to maintain electrical integrity without depressurizing the entire irrigation manifold.
I always drill into my new crew members: if you do not respect the physics of water pressure, the yard will teach you a lesson you will not forget. Last June, I had an apprentice try to swap a solenoid on a high-pressure line without checking the bonnet screws first. The static pressure was pushing 90 PSI. As soon as he cracked the solenoid, the internal plunger shot out like a bullet, and the resulting geyser washed out six square feet of a brand-new sod install before he could even find the shut-off. That mistake cost us a half-day of labor and $200 in materials. In this industry, you learn that every component is a mechanical valve first and an electrical component second. If the soil grading is off or the drainage is poor, that water is going to pool exactly where you do not want it during a repair. You have to be fast, and you have to be precise.
“Irrigation system efficiency is often compromised by minor component failures; a malfunctioning solenoid can lead to localized drought stress or over-saturation, impacting the overall health of the turfgrass ecosystem.” – Penn State Extension: Turfgrass Management Standards
How do I know if my irrigation solenoid is dead?
Determining a solenoid failure involves using a multimeter to check for electrical resistance measured in Ohms. A functioning solenoid typically registers between 20 and 60 Ohms; a reading of zero indicates a short circuit, while a reading of infinity (or OL) indicates a broken internal wire. You should also listen for a mechanical ‘click’ when the zone is activated from the controller. If you hear the click but no water flows, the issue is likely debris in the valve diaphragm or the pilot hole. If there is no click and the electrical readings are off, the solenoid is toast.
| Component | Failure Symptom | Professional Solution |
|---|---|---|
| Solenoid Coil | Infinite Ohms / No Click | Replace Solenoid |
| Diaphragm | Constant Weeping/Leakage | Clean or Replace Diaphragm |
| Pilot Hole | Zone Won’t Open | Clear Debris with Thin Wire |
| Wire Nuts | Intermittent Operation | Install Grease-Filled Connectors |
The Step-by-Step ‘Wet Swap’ Procedure
Performing this repair under pressure is not for the faint of heart, but it saves time on large properties where the main shut-off is a quarter-mile away. Follow this checklist to ensure a clean swap:
- Identify the correct valve in the manifold box—double-check the wire colors.
- Clear all mud and debris from around the valve base to prevent contamination.
- Pre-strip the wires on your new solenoid and have your waterproof wire nuts ready.
- Unscrew the old solenoid slowly until you hear a hiss of air or a trickle of water.
- In one fluid motion, unscrew the old unit and thread the new one into the bonnet.
- Hand-tighten only; over-tightening will crack the plastic housing.
- Splice the wires using UL-listed irrigation connectors to prevent corrosion.
Why skip the main shut-off during irrigation repair?
Professional contractors often skip the main shut-off to maintain static pressure on the rest of the system, allowing for immediate testing of the repair. When you shut down a main line, you introduce air pockets that can cause water hammer when the system is repressurized, potentially shattering PVC fittings or dislodging seals in other zones. By doing a wet swap, you keep the system stabilized. However, you must be prepared for the ‘soak factor.’ You will get wet. The key is ensuring that no dirt enters the valve chamber while it is open, as even a single grain of sand can prevent the diaphragm from sealing, leading to a ‘weeping’ zone that wastes thousands of gallons of water.
“Hydrostatic pressure must be managed carefully during irrigation maintenance to avoid structural damage to the valve manifold and surrounding soil structures.” – ICPI Hardscape Engineering Manual
How much does a replacement solenoid cost?
A standard 24VAC replacement solenoid usually costs between $15 and $30 depending on the brand, such as Rain Bird, Hunter, or Irritrol. While big-box stores carry generic versions, I always recommend using the exact manufacturer’s part to ensure the thread pitch and plunger depth match perfectly. Using a ‘universal’ solenoid is a recipe for a leak. If you are already in the valve box, do a quick yard cleanup of the area—remove overgrown roots that might be pressing against the pipes. Root intrusion is a primary cause of valve body warping. If the solenoid isn’t the problem, you may be looking at a full valve replacement, which is a significantly more invasive surgery involving landscaping restoration and pipe cutting.
Long-Term Maintenance and System Integrity
Don’t just fix it and forget it. After the swap, run a full cycle. Watch the spray patterns. If you just did a sod install, ensure the head pressure is sufficient to lift the rotors. Often, a failing solenoid is a symptom of a larger electrical issue, like a lightning strike or a failing transformer in the controller. Check your common wire for continuity. Irrigation is a game of inches and PSI. If you don’t get the electrical right, the biology of your lawn will suffer within 72 hours. It is that simple. Keep your valve boxes clean, use the right connectors, and stop buying cheap parts. Your lawn will thank you. [IMAGE_PLACEHOLDER]