
What is the Quickest Way to Remove a Massive Overgrowth of Brambles?
The most effective way to eliminate overgrown brambles involves a combination of mechanical clearing and systemic herbicide translocation. Professionals use heavy-duty brush cutters to reduce the canopy, followed by a stump-cut treatment with triclopyr to ensure the perennial root system is completely neutralized before landscaping or sod install begins.
I always drill into my new crew members: if you don’t fix the soil grading first, every plant you put in the ground is just expensive compost. When we tackle a massive yard cleanup involving the Rubus species, commonly known as brambles, we are not just doing a surface trim. I recently saw a crew from a local mow-and-blow outfit try to clear a two-acre lot with standard string trimmers. They spent three days on it. By the time they reached the back fence, the front was already sprouting new shoots. They didn’t understand the biology. Brambles are biological survivalists. They use lateral runners and adventitious roots to colonize soil. If you don’t kill the crown, you haven’t done anything. You’ve just made the plant angry.
The Forensic Autopsy of a Bramble Infestation
A bramble thicket is a structural failure of land management. It usually starts in a low-lying area where irrigation runoff collects, creating a high-moisture environment that favors aggressive woody perennials. These plants produce canes that can grow 20 feet in a single season, arching over to touch the ground and rooting at the tips. This is called ‘tip rooting,’ and it creates a localized grid of thorns that is nearly impenetrable. When I walk onto a site like this, I look for the ‘mother plant.’ This is the thickest part of the brush where the original root crown is located. The soil here is often depleted of nitrogen but high in organic matter from years of leaf litter. This litter creates a protective mulch that keeps the roots cool and moist, even in a drought.
“Successful control of invasive Rubus species requires the total depletion of the plant’s energy reserves stored in its perennial root system.” – University of California Agriculture and Natural Resources
Phase 1: Mechanical Maceration and Tool Selection
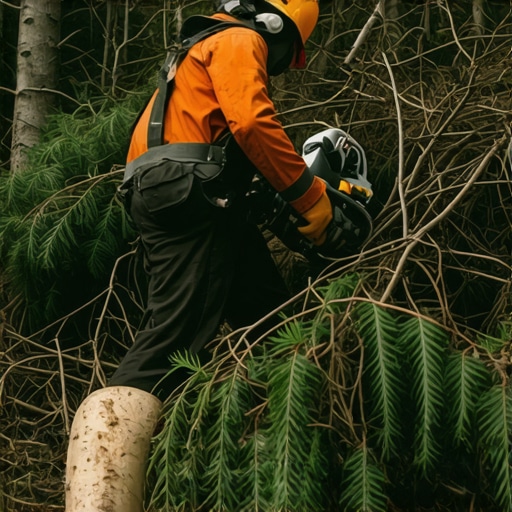
To clear the mess, you need more than a machete. We use a high-torque brush cutter, specifically something like a Stihl FS 460 with a circular saw blade or a three-sided brush knife. You don’t swing it like a scythe. You use a deliberate, horizontal sweeping motion to take the plant down in layers. Start at the top and work down. This prevents the long, whip-like canes from wrapping around the gearbox and stalling the engine. If the area is large enough, we bring in a skid steer with a forestry mulcher attachment. This machine turns four-inch thick woody stems into sawdust in seconds. The goal here is to expose the soil. You cannot accurately assess the landscaping potential or the drainage needs until you can see the dirt. It is also vital to call 811 before you start any deep digging. Those brambles love to wrap around utility lines.
Phase 2: Chemical Warfare and Translocation
Once the brush is down to the ground, you have a 15-minute window for the most effective kill. This is the ‘cut-stump method.’ We use a concentrated solution of Triclopyr 4. Unlike glyphosate, which is a broad-spectrum killer, Triclopyr is specifically designed for woody plants and broadleaf weeds. It doesn’t kill the grass, which is crucial if we are planning a sod install later. We paint the chemical directly onto the freshly cut stems. The plant’s vascular system, the xylem and phloem, is still open and will pull that chemical down into the root system. If you wait until the next day, the plant will have already formed a callus over the wound, and the chemical won’t penetrate. This is where most DIY attempts fail. They spray the leaves in the spring when the sap is flowing up. You need to hit them when the sap is flowing down to the roots.
| Tool / Method | Efficiency Rating | Cost Factor | Best Use Case |
|---|---|---|---|
| Manual Loppers | Low | Minimal | Small patches, near sensitive plants |
| High-Torque Brush Cutter | High | Moderate | Residential yard cleanup |
| Forestry Mulcher (Skid Steer) | Extreme | High | Large lots, commercial clearing |
| Chemical Translocation | Mandatory | Low | Preventing regrowth in all scenarios |
How much modified gravel do I need for a patio base?
While you are clearing brush, you might be thinking about the next step: a patio. To calculate your base, you need to understand hydrostatic pressure. For a standard 10×10 patio, you need at least 6 inches of 21A or 411 modified gravel. This equals approximately 2.5 cubic yards. You must compact this in two-inch lifts. If you dump all six inches at once and run a plate compactor over the top, the bottom four inches will stay loose. In two years, your patio will look like a roller coaster. We use a jumping jack compactor for the edges and a heavy plate compactor for the field. Don’t skip the geotextile fabric. It keeps the gravel from migrating into the soil, especially in the disturbed earth left behind by bramble removal.
Phase 3: Soil Remediation and Sod Install
Brambles often leave the soil acidic. Before we even think about landscaping, we take a soil core sample. We are looking for a pH between 6.5 and 7.0 for optimal turf growth. Often, we have to apply pelletized lime to neutralize the acidity. Then comes the sod install. You cannot just lay sod on top of the cleared area. You need to till the soil to a depth of 4 inches, incorporating 1 inch of high-quality compost. This breaks up the compaction caused by the heavy machinery and the old root mats. When the sod arrives, it must be on the ground within 24 hours. If it stays on the pallet, the center will heat up to 120 degrees due to microbial activity and kill the grass. Once laid, we set up the irrigation system to deliver 1 inch of water per week, delivered in two deep cycles. This forces the new roots to grow deep into the soil to find moisture, rather than staying near the surface.
“A soil’s seed bank can remain viable for decades, requiring immediate competition from desired turf or groundcover after clearing.” – Professional Agronomy Manual
The Post-Removal Checklist
- Monitor for Resurgence: Check the area every two weeks for three months. Pull any tiny red shoots immediately.
- Adjust Drainage: Ensure the yard cleanup didn’t leave a bowl that collects water. Grade the soil at a 2 percent slope away from structures.
- Maintain Irrigation: Ensure the new sod install is receiving uniform coverage. Check for dry spots in the corners.
- Mulch Heavily: In areas not receiving sod, apply 3 inches of hardwood mulch to suppress the bramble seed bank.
Can I till ground after removing brambles?
Tilling is a double-edged sword. If you haven’t killed the root system with chemicals first, tilling will actually multiply your problem. Each 1-inch segment of a bramble root can grow into a completely new plant. You are essentially propagating the weeds. Only till the soil once you are certain the chemical translocation has finished, usually 14 days after application. This ensures you are turning over dead organic matter rather than live clones. After tilling, we immediately follow with landscaping or sod install to fill the niche. Nature hates a vacuum. If you leave that soil bare, the brambles will return, or worse, you’ll get a flush of pigweed and thistle. Proper landscaping is about managing competition. We want the turf to win. We want the ornamental shrubs to win. We do that by controlling the nutrients and the water.