
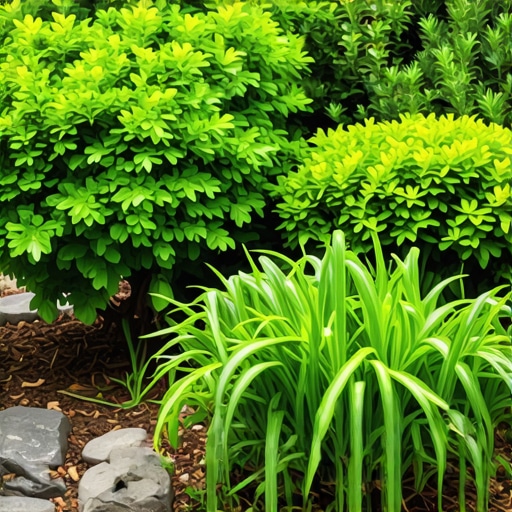
Understanding Zone 7 Shade Dynamics for High-Performance Landscaping
Zone 7 shade gardening requires managing high humidity, heavy clay, and variable light levels through soil engineering, drainage optimization, and specific drip irrigation protocols to ensure plant survival during heat spikes and fungal pressure common in this climate. Successful shade beds in the Mid-Atlantic and Upper South are not just about picking plants that don’t need sun; they are about managing the limited energy those plants have to process nutrients in heavy soil. If the soil chemistry is off, the plant cannot photosynthesize efficiently at low light levels. It will fail. Every professional installation starts with a 12-inch soil core sample to determine the Cation Exchange Capacity (CEC) and organic matter percentage.
The Ground-Up Build: Why Soil Grading Beats Aesthetics
Proper shade landscaping begins with soil grading and site preparation to prevent the anaerobic conditions that occur when water pools in low-light areas without adequate evaporation. I always drill into my new crew members: if you don’t fix the soil grading first, every plant you put in the ground is just expensive compost. I have seen $50,000 installations rot in three months because a contractor ignored the hydrostatic pressure of a nearby slope or failed to account for the slow percolation rates of Zone 7 red clay. You can buy the most expensive nursery stock available, but if you drop a root ball into a hole that acts like a ceramic bathtub, the plant will drown. You must ensure a 2 percent minimum slope away from the primary root zones.
“Soil compaction in shade environments reduces pore space, leading to anaerobic conditions that suffocate roots before the lack of sunlight ever kills the plant.” – University of Maryland Extension
How much modified gravel do I need for a patio base in the shade?
For a standard paver patio in a shaded Zone 7 backyard, you typically need a 6-inch base of compacted 21A or CR-6 modified gravel to ensure stability and drainage. This prevents the growth of moss and algae in the joints by allowing moisture to move vertically through the profile. Don’t skip the geotextile fabric between the subgrade and the base. It is the only thing keeping your gravel from sinking into the clay over time.
Design #1: The Native Woodland Resilience Palette
The Native Woodland design focuses on stratified planting layers using hardy perennials and understory trees that have evolved to handle the high humidity and heavy rainfall cycles of Zone 7. This design utilizes a canopy-to-floor logic. Start with a Serviceberry (Amelanchier) as the anchor. Underneath, integrate Christmas Ferns (Polystichum acrostichoides) and Tiarella. These species are physiologically adapted to the low-angle light of a forest floor. They do not just survive; they thrive in the 5.5 to 6.5 pH range typical of these shaded regions. You must avoid the temptation to over-fertilize these natives. High nitrogen leads to weak, succulent growth that attracts aphids and scale. Use a slow-release organic meal instead.
| Plant Name | Light Requirement | Soil Preference | Root Type |
|---|---|---|---|
| Christmas Fern | Full Shade | Moist/Acidic Clay | Fibrous |
| Tiarella (Foamflower) | Part/Full Shade | Rich Loam | Clumping |
| Serviceberry | Part Shade | Well-Drained | Deep Tap/Lateral |
| Hellebore | Deep Shade | Alkaline Tolerant | Heavy Rhizome |
Design #2: The Structural Evergreen Understory
This design utilizes architectural evergreens like Taxus (Yew) and Sarcococca to provide year-round privacy screening and structural density in areas with less than four hours of direct sun. Most homeowners make the mistake of planting arborvitae in the shade. They will thin out and die. Instead, use Taxus x media ‘Hicksii’. It handles the shade and can be sheared into tight, formal lines. When installing these, pay attention to the root flare. If you bury the flare, the bark will stay moist, inviting Phytophthora root rot. We dig our holes 300 percent wider than the root ball but no deeper. This allows the lateral roots to penetrate the compacted surrounding soil easily. Irrigation must be delivered via 12-mm Netafim drip lines, not spray heads. Spray heads in shade gardens lead to powdery mildew on the foliage.
Design #3: The Textural Carpet and Ground Management
The Textural Carpet design solves the problem of soil erosion and muddy patches in deep shade by using rhizomatous groundcovers and sedges instead of traditional turf grass. You cannot grow Bermuda or Zoysia in the shade. It is a biological impossibility. If you must have a lawn look, we use a sod install of specialized Fine Fescue blends, but even those need 4 hours of dappled light. For deep shade, Carex pensylvanica (Pennsylvania Sedge) is the professional choice. It looks like grass but thrives in the dark. It requires a thorough yard cleanup of all leaf litter in early spring to prevent matted crowns. If you leave heavy oak leaves on top of your sedge all winter, the lack of airflow will kill the crown. It is simple physics.
“Successful landscape establishment in Zone 7 hinges on managing the transition between heavy spring rains and late summer drought, particularly in shaded microclimates.” – NC State Extension
How do I improve drainage for a shade-loving garden?
To improve drainage in a Zone 7 shade garden, you should incorporate expanded shale or coarse organic compost into the top 8 inches of the soil profile to break up clay particles. If surface water remains 4 hours after a rain, you must install a French drain system with a 4-inch perforated pipe wrapped in a silt sock. Never rely on chemical ‘soil conditioners’ to fix a structural drainage problem. They don’t work. Physics always wins over chemistry when it comes to standing water.
Professional Installation Checklist: The 10-Step Protocol
- Conduct a professional soil test (pH, P, K, and Micronutrients).
- Call 811 to mark all underground utility lines before excavation.
- Clear the site of all invasive English Ivy and invasive weeds.
- Grade the area to a minimum 2 percent slope away from structures.
- Trench for 1/2 inch drip irrigation lines to provide consistent moisture.
- Amend the soil with 3 inches of leaf mold or aged compost.
- Set plants at a height where the root flare is 1 inch above the soil line.
- Backfill with native soil mixed with 20 percent organic matter.
- Apply 2 inches of triple-shredded hardwood mulch (no mulch volcanoes).
- Deep water immediately to settle air pockets around the root system.
Irrigation and Maintenance: The Critical First Year
Irrigation in a shade garden is a delicate balance because the evapotranspiration rate is significantly lower than in full sun. You must monitor the soil moisture with a tensiometer or a simple finger test. If the soil is cool and moist 2 inches down, do not turn on the irrigation. Over-watering in the shade is the fastest way to kill a new landscaping project. During the first summer, deep watering twice a week is usually sufficient to force roots to grow downward into the cooler subsoil. Avoid shallow daily watering. It keeps the roots at the surface where they will cook during a July heatwave. Finally, schedule a comprehensive yard cleanup every November. Removing the heavy mat of fallen leaves is essential for the health of your shade perennials. If left, the leaves trap moisture and create a breeding ground for slugs and fungal pathogens. Professional care is the difference between a garden that lasts decades and one that dies in eighteen months.