
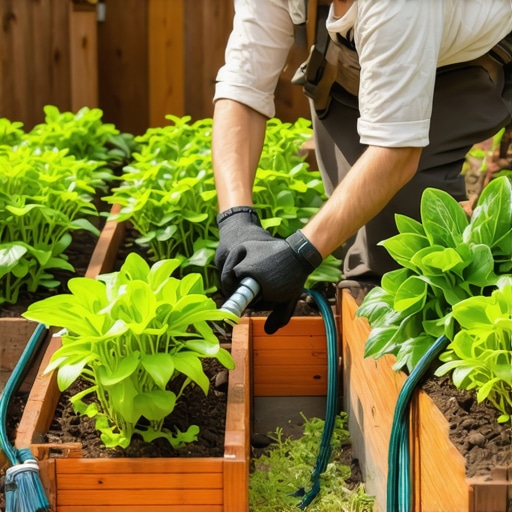
Why Precision Irrigation Trumps Every Other Garden Upgrade
A drip irrigation system for raised beds delivers precise hydration directly to the root zone, minimizing evaporation and preventing foliar diseases by using low-pressure emitters, poly-tubing, and pressure regulators to maintain a consistent PSI across the entire planting area. This is not just about convenience; it is about managing the hydraulic dynamics of your soil to prevent nutrient leaching. I always drill into my new crew members: if you don’t fix the soil grading and water delivery first, every plant you put in the ground is just expensive compost. Irrigation is the nervous system of your landscaping. Without it, your high-dollar soil and nursery stock are at the mercy of the next heat wave. We aren’t just wetting the dirt; we are managing the capillary action of the soil profile.
The Critical Planning Phase: 80% of the Work Happens Before the Trench
Most DIYers fail because they buy a ‘kit’ from a big-box store and expect it to work across 50 linear feet. It won’t. You need to understand flow rates and friction loss.
“Water distribution efficiency in drip systems is governed by the uniformity of pressure across all emitters, typically requiring a regulated pressure between 15 and 30 PSI to prevent blowout or starvation.” – Agricultural Irrigation Standards Manual
Before you touch a shovel, you must map your zones. A raised bed is an island. It drains faster than the surrounding earth, meaning its soil physics are entirely different. While a sod install requires broad coverage, a raised bed requires surgical precision. You are looking for a system that can handle the vertical lift if your beds are tall, ensuring the pump or house pressure can overcome the gravity of the riser. Do not skip the backflow preventer. It is a legal requirement in most municipalities to protect the city water supply from your fertilizer-laden garden water.
What size tubing for raised bed drip system?
For most residential raised beds, a 1/2-inch poly-tubing main line coupled with 1/4-inch distribution tubing (micro-tubing) is the industry standard for maintaining consistent flow without excessive pressure drop. Use 1/2-inch for the header—the ‘spine’ of your system—and 1/4-inch for the ‘ribs’ that reach individual plants. If your run exceeds 200 feet, you will need to jump to a 3/4-inch main line to avoid significant friction loss. Friction is your enemy. Every elbow, tee, and emitter creates resistance. Measure twice. Dig once.
The Blueprint: Essential Materials and Their Scientific Purpose
Materials matter. Cheap vinyl tubing will degrade under UV exposure within two seasons. Professional-grade polyethylene is carbon-blackened to resist solar breakdown. Look at the table below to understand what you are actually buying.
| Component | Purpose | Critical Spec |
|---|---|---|
| Pressure Regulator | Reduces house PSI to manageable levels | 25 PSI Max |
| Backflow Preventer | Stops garden chemicals from entering tap water | ASSE 1001 Standard |
| 0.5-inch Poly Mainline | Primary water transport | UV-Rated Polyethylene |
| Inline Emitter Tubing | Delivers water at fixed intervals | 0.5 to 1.0 GPH emitters |
| Filter (150-200 mesh) | Prevents sediment from clogging tiny emitters | Stainless Steel Screen |
We see it all the time during yard cleanup: brittle, cracked lines from ‘budget’ kits that have become a tripping hazard. Don’t be that homeowner. Invest in commercial-grade materials. Your plants will know the difference. The salt buildup in cheap lines will eventually choke out your emitters, leading to dry spots that kill your yield before you even notice.
Step-By-Step Installation: The Forensic Approach
Start at the water source. Install your timer, then the backflow preventer, then the filter, and finally the pressure regulator. This sequence is non-negotiable. If you put the regulator before the filter, the filter might burst under high static pressure. Run your 1/2-inch main line along the base of your beds. I prefer to bury these 2-4 inches deep to keep them away from weed whackers and UV rays. When you bring the line up into the bed, use a ‘swing pipe’ or a rigid riser to prevent kinking at the 90-degree turn. Inside the bed, use 1/4-inch emitter tubing spaced every 6 to 12 inches, depending on your plant density.
“Clogging is the single largest cause of drip irrigation failure; proper filtration and periodic line flushing are the only effective mitigations.” – Penn State Extension: Irrigation Management
Flush the lines before you pop the end caps on. You would be shocked at how much construction debris—dirt, plastic shavings—gets inside during the install. Run the water for two minutes until it is crystal clear. Then cap it.
How long should I run drip irrigation for vegetables?
Run times depend on your emitter flow rate and soil type, but a standard starting point is 30 to 45 minutes every other day to deliver approximately 0.5 to 1.0 inches of water per week directly to the root zone. Heavy clay soil requires shorter, more frequent bursts to prevent runoff (pulsing), while sandy soil needs longer runs because the water moves vertically so quickly. You want a ‘wetting bulb’ under the soil. If the surface looks dry but the root zone 3 inches down is moist, you have succeeded. This is the goal of professional landscaping.
The Information Gain: Why Surface Moisture is a Lie
The biggest mistake people make is watering until the top of the soil looks wet. In a raised bed, gravity is aggressive. The soil at the bottom of the bed can be a swamp while the top looks like a desert. This leads to root rot. To fix this, you must understand ‘field capacity.’ This is the amount of water the soil can hold after excess water has drained away. Use a soil moisture probe or the old-fashioned finger test. If the soil 4 inches down doesn’t feel like a wrung-out sponge, your timing is off. Also, consider your yard cleanup routine. Mulching over your drip lines is essential. It hides the tubing and, more importantly, it drops the soil temperature and stops evaporation. Two inches of arborist wood chips or straw can reduce your water needs by 30%.
Post-Installation Maintenance: The First Year
Your system will settle. Expect some emitters to clog. It happens. Every spring, pull the end caps and flush the lines. Check for leaks where the 1/4-inch lines punch into the 1/2-inch main line. Squirrels and rabbits might chew the lines if they are thirsty, so keep a small stash of ‘goof plugs’ and couplers on hand. This isn’t a ‘set it and forget it’ system. It is a piece of machinery. Treat it as such. If you are doing a new sod install nearby, ensure your irrigation zones are separate. Grass and vegetables have different metabolic rates. Mixing them on one zone is a recipe for a soggy lawn and dead tomatoes.
- Check PSI at the furthest emitter monthly.
- Clean the filter screen every 90 days.
- Inspect for ‘salt crusting’ around emitter heads.
- Winterize by blowing out lines with compressed air if you live in a freeze zone.
- Label your valves; don’t rely on your memory.
Precision irrigation is the hallmark of a master gardener. It separates the hobbyists from the producers. By controlling the water, you control the nitrogen cycle and the health of your soil microbiology. It is the smartest investment you can make in your landscape.