
Why Most Clay-Based Sod Installs Fail Within Six Months
Laying 2026 sod on clay soil requires a fundamental shift from surface aesthetics to soil physics and bulk density management using the Gypsum Layer Rule. This rule mandates the chemical flocculation of clay particles through calcium sulfate application to break the ionic bonds that cause compaction, ensuring that new root systems can penetrate the subsoil instead of rotting in a bathtub of trapped water. Don’t skip the prep.
I recently got called out to a site where a homeowner had spent $8,000 on premium hybrid fescue only to watch it turn into a yellow, anaerobic swamp within three weeks. They followed the big-box store advice: lay it down, water it every day. When I stuck my probe into the ground, it came back smelling like rotten eggs. The previous contractor hadn’t touched the clay base. They just slapped the sod over a compacted, impermeable layer. We had to rip it all out, treat the soil chemistry from scratch, and start over. It was a $12,000 mistake that could have been avoided with 40 pounds of gypsum and a power tiller.
The Science of Flocculation: Understanding the Gypsum Layer Rule
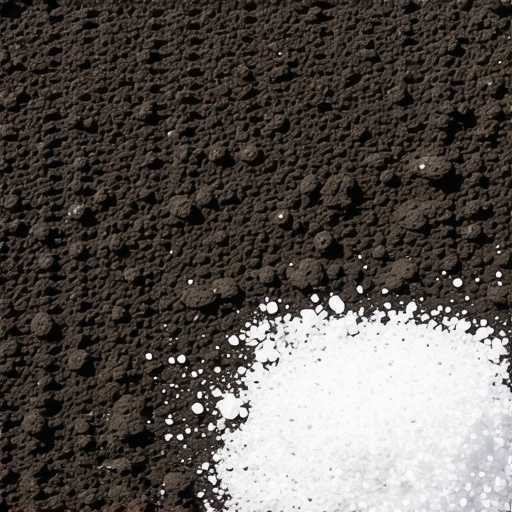
Applying the Gypsum Layer Rule involves spreading 40 to 50 pounds of granular calcium sulfate per 1,000 square feet to displace sodium ions and create soil aggregates that allow for gas exchange. This process, known as flocculation, turns dense, microscopic clay plates into larger ‘crumbs,’ creating the macropores necessary for irrigation efficiency and deep root penetration in 2026 sod varieties. It is the only way to fix the soil’s internal architecture.
“A retaining wall doesn’t fail because of the stone; it fails because of the water trapped behind it.” – Hardscape Engineering Axiom
In the same way a wall fails from pressure, sod fails from lack of drainage. Clay soil acts like a plastic liner. When you lay fresh sod on top, the interface between the sod’s nursery soil and your native clay creates a capillary break. Water sits at that junction. The roots won’t cross it. They drown. By incorporating gypsum, you are essentially engineering a transitional zone that allows water to move vertically through the soil profile rather than horizontally across your yard and into your foundation.
How much gypsum do I need for a 5,000 square foot lawn?
For a standard 5,000 square foot residential lot with heavy clay, you will need 200 to 250 pounds of pelletized gypsum. Use a broadcast spreader set to a heavy flow rate to ensure even coverage across the entire landscaping footprint before you even think about ordering your sod install. This isn’t a ‘light dusting’ operation. You need enough calcium to chemically react with the aluminum and iron silicates in the clay. If you see white powder, you’re doing it right. If you can’t see the gypsum, you’re wasting your time.
The Blueprint: Step-by-Step Clay Soil Remediation
Preparation is 90% of the job. Most ‘mow-and-blow’ outfits will tell you that a quick yard cleanup is enough. They are wrong. You need to strip the area to bare earth. Remove every weed, every rock, and every bit of old, rotting thatch. If you leave organic matter under the new sod, it will ferment. Fermentation produces heat and methane, which will cook your new roots from the bottom up.
Next, you must address the grade. Clay expands and contracts with moisture. If your yard doesn’t have a 2% slope away from the home, you are building a pond. Use a transit level. Don’t trust your eyes. Once the grade is set, apply your gypsum and a 2-inch layer of coarse sand or organic compost. Then, and only then, do you bring in the tiller. You need to incorporate these amendments at least 6 inches deep. We call this ‘opening the soil.’ If the tiller doesn’t struggle, you aren’t deep enough.
What is the best irrigation schedule for new sod on clay?
New sod on clay requires deep, infrequent irrigation after the initial 14-day establishment period to force the root system to chase receding moisture into the treated subsoil. During the first two weeks, keep the sod ‘spongy’ but not submerged; after day 14, transition to watering 1 inch per week in a single cycle to prevent shallow root syndrome and fungal pathogens like Pythium blight. Clay holds water too well. If you water every day, the roots have no reason to grow down. They stay in the top half-inch. Then, when the July heat hits, they shrivel and die.
| Material Layer | Purpose | Application Rate |
|---|---|---|
| Granular Gypsum | Flocculates Clay Particles | 40 lbs / 1,000 sq ft |
| Organic Compost | Increases CEC (Cation Exchange) | 2-inch Top Layer |
| Coarse Sand | Improves Drainage Porosity | 1-inch Top Layer |
| Starter Fertilizer | High Phosphorus for Rooting | Per Manufacturer Spec |
The Installation Process: Sod-to-Soil Contact
When the sod arrives, check the temperature of the pallets. If the center of the pallet feels hot, the grass is already dying. 2026 cultivars are resilient, but they aren’t immortal. Lay the sod in a staggered, brick-like pattern. This prevents long seams where water can channel and erode the soil underneath. Use a sharp linoleum knife to trim edges. Do not overlap. Overlapping creates air pockets. Air pockets kill roots.
“Successful turf establishment is dependent on the elimination of the air-soil interface through mechanical compaction after placement.” – Agronomy Manual Vol. 14
After the last piece is laid, you must use a water-filled sod roller. This is the most skipped step in DIY landscaping. You need to press the sod into the clay. The goal is to eliminate every single air gap. If the grass doesn’t feel firm under your boots, roll it again. The ‘give’ in the ground is your enemy. A firm contact ensures that the capillary action can begin immediately, pulling moisture from the damp clay into the sod’s root zone.
Essential Pre-Sod Checklist
- Mark all irrigation heads with flags to avoid crushing them with the roller.
- Call 811 to mark underground utilities before deep tilling.
- Perform a soil pH test; clay is often acidic and may require lime in addition to gypsum.
- Check the 3-day weather forecast; avoid laying sod if a washout rain is expected.
- Edge all hardscapes (sidewalks/driveways) 1 inch below the concrete line.
The Post-Install ‘Settling In’ Period
In year one, your clay soil is still ‘learning’ how to drain. You will see some minor heaving during the first freeze/thaw cycle. This is normal. Do not panic and start dumping more chemicals on it. The gypsum you applied will continue to work for 12 to 18 months, slowly migrating deeper into the soil profile. The biggest mistake you can make in the first year is scalping the grass. Keep your mower blade at the highest setting. More leaf surface means more photosynthesis, which means more energy for the roots to fight through the clay.