
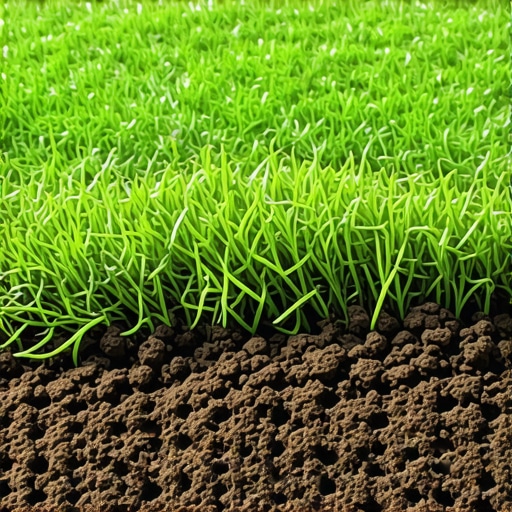
The Foundation of Failure: Why Most Sod Jobs Die in 12 Months
To ensure new sod installation success, you must utilize a screened sandy loam blend with 5-10% organic compost, rather than raw topsoil. This specific ratio optimizes cation exchange capacity (CEC) and ensures proper drainage while preventing the root-killing compaction typical of heavy clay or unamended fill dirt. Most homeowners think buying ten yards of ‘dirt’ is enough. They are wrong. It will rot.
I always drill into my new crew members: if you don’t fix the soil grading first, every plant you put in the ground is just expensive compost. I remember a job in a high-end subdivision where the builder had dumped three inches of cheap ‘topsoil’ over compacted construction debris. The homeowner spent $15,000 on landscaping and premium Fescue. Six months later, the yard was a swamp of fungus and dead blades. We had to rip the entire thing out. The problem wasn’t the grass; it was the interface layer between the new soil and the dead, compacted clay underneath. We spent three days just doing yard cleanup and mechanical excavation before a single square of sod touched the ground. If you skip the prep, you are just throwing money into a hole.
The Forensic Reality of Soil Horizons
Proper soil preparation for sod install requires a deep understanding of the soil horizon and how water moves through different densities of earth. When you place a layer of high-quality soil on top of a compacted, low-quality base, you create a perched water table. Water will not move from the fine-textured top layer into the coarse or heavily compacted bottom layer until the top is completely saturated. This suffocates the roots. Roots need oxygen just as much as they need water. Without macropores in the soil, the roots will stay in the top half-inch, never knitting into the ground. They will fry the first time the temperature hits ninety degrees.
“The physical properties of the root zone are the most critical factor in the long-term success of high-traffic turf systems.” – Penn State Center for Turfgrass Science
How much soil amendments do I need for new sod?
You should aim for 4 to 6 inches of loosened, amended soil to facilitate deep root growth for landscaping projects. For every 1,000 square feet, adding 3 cubic yards of organic matter will significantly improve the soil structure and water retention capabilities without causing the drainage issues associated with pure clay. Use a tiller to integrate this into the existing base. Do not just layer it on top.
The Bio-Chemical Recipe: Beyond the Word “Topsoil”
The term “topsoil” is a marketing gimmick used by quarries to sell whatever they scraped off a construction site. Real landscaping success depends on a specific mix of sand, silt, and clay. For sod, a sandy loam is the gold standard. Sand provides the structure and drainage. Silt and clay provide the Cation Exchange Capacity, which is the soil’s ability to hold onto nutrients like Nitrogen, Phosphorus, and Potassium. If your soil is too sandy, your irrigation costs will skyrocket as nutrients leach away. If it has too much clay, the grass will drown. You need the balance.
| Soil Component | Ideal Percentage | Primary Function | Risk of Excess |
|---|---|---|---|
| Coarse Sand | 60-70% | Drainage and Aeration | Nutrient Leaching |
| Silt/Clay | 20-30% | Nutrient Retention (CEC) | Compaction/Anoxia |
| Organic Matter | 5-10% | Microbial Activity | Subsidence/Muck |
Pre-Installation Grading and Compaction Engineering
Before the first pallet of sod arrives, the grading must be perfect. You need a minimum 2% slope away from any residential foundations to prevent hydrostatic pressure from cracking your basement walls. This isn’t just gardening; it is civil engineering. We use a Harley rake or a power box rake to pulverize clods and remove stones larger than one inch. The soil should be firm enough that a man walking on it only leaves a 1/4 inch footprint. If it is too soft, the sod install will be lumpy and the irrigation lines will settle unevenly. If it is too hard, the roots cannot penetrate. It is a precise balance. Call 811 before you dig. Hit a gas line and your yard cleanup becomes a federal emergency.
“A lawn is only as resilient as the soil depth allows; shallow soils lead to rapid wilting and increased pathogen susceptibility.” – Texas A&M Agronomy Manual
What is the best soil mix for St. Augustine or Bermuda grass?
Warm-season grasses like Bermuda or St. Augustine thrive in a sandy loam mix with a slightly acidic to neutral pH between 6.0 and 7.0. These grasses are aggressive growers and require a soil that allows for rapid rhizome and stolon extension, which is impossible in heavy, unamended clay soils common in many new developments.
The 7-Step Preparation Checklist
- Soil Test: Send a sample to your local extension office to check pH and nutrient levels.
- Vegetation Removal: Complete a thorough yard cleanup using a sod cutter or non-residual herbicide.
- Rough Grade: Establish the 2% slope away from structures to handle drainage.
- Soil Amendment: Incorporate 2-3 inches of composted organic matter into the top 6 inches of soil.
- Fine Grade: Use a landscape rake to remove debris and smooth the surface.
- Initial Irrigation Check: Ensure your irrigation system provides 100% head-to-head coverage.
- Pre-Planting Rolling: Use a water-filled roller to firm the bed and prevent future settling.
Irrigation and the First 14 Days
Once the sod is down, your irrigation schedule is the only thing that matters. For the first two weeks, the soil must remain consistently moist but not saturated. You are trying to keep the crown of the grass alive while it sends out new roots. If the soil underneath the sod dries out even once during the first 72 hours, the grass will go into shock. This is where the sandy loam mix pays off; it holds enough moisture to sustain the plant but allows excess water to move away from the tender new root tips. Check your zones. Fix your nozzles. Watch for brown spots. After 14 days, begin deep, infrequent watering to force the roots to chase the moisture down into the 6-inch amended root zone you created. This is how you build a lawn that survives a drought. Don’t skip this step.