
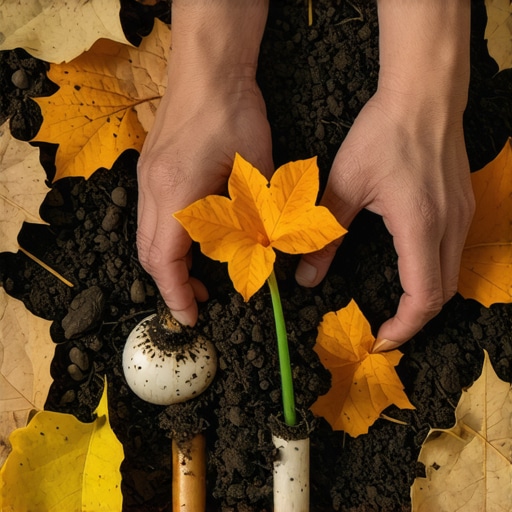
The Horticultural Foundation of Spring Color
I always drill into my new crew members: if you don’t fix the soil grading and drainage first, every plant you put in the ground is just expensive compost. I remember a job in a high-end development where the client spent five figures on premium Dutch bulbs, only to have them rot because the previous landscaping crew didn’t account for the heavy clay shelf two inches below the surface. We had to excavate the entire site, install a proper drainage layer, and restart from scratch. Success in the garden starts with understanding the physics of the soil, not just the beauty of the bloom.
The Best Month to Plant Spring Bulbs for Maximum Color
The optimal window to plant spring-flowering bulbs is September through November, specifically when soil temperatures consistently drop below 55 degrees Fahrenheit but before the first hard freeze. This timing allows the root system to establish a firm structural base without triggering premature foliage growth that would succumb to winter frost.
Timing is a matter of soil thermodynamics. If you plant while the ground is too warm, the bulb may sprout, wasting critical energy reserves. Conversely, waiting until the ground is frozen makes it impossible for the basal plate to initiate root growth. You are looking for that specific biological sweet spot where the bulb goes dormant but the root cells remain active. In the industry, we call this the vernalization window. Without a chilling period of 12 to 16 weeks at temperatures between 35 and 45 degrees Fahrenheit, many bulbs will fail to produce a flower stalk entirely.
“A successful spring display is predicated on the accumulation of chilling hours, a physiological process known as vernalization, which triggers the hormonal shift from vegetative to reproductive growth within the bulb’s embryonic tissue.” – Cornell University Cooperative Extension
How deep should I plant spring bulbs?
As a rule of engineering, you plant bulbs at a depth equal to three times their height. For a two-inch tulip bulb, this means a six-inch excavation. Planting too shallow leaves the bulb vulnerable to temperature fluctuations and squirrels; planting too deep may result in the sprout failing to reach the surface before exhausting its carbohydrate stores.
Site Preparation: Beyond the Yard Cleanup
A standard yard cleanup is not enough to prep for a high-performance bulb bed. You need to look at the soil structure. If you have standing water, your bulbs will get pithium or other fungal rots. We often integrate bulb planting with a broader sod install or irrigation overhaul to ensure the moisture levels are controlled. In heavy clay, I always mix in expanded shale or coarse grit to increase the macropore space, allowing the roots to breathe. Oxygen is just as important as nitrogen in the root zone.
The Hardscape and Irrigation Intersection
When we design a landscape, we consider the proximity of bulbs to irrigation lines. Over-saturation during the summer dormancy period is the number one killer of perennial bulbs like daffodils. You want them in a zone that stays dry during July and August. If your landscaping includes a lot of automatic spray heads, ensure your bulb beds are on a separate valve or use drip emitters that can be capped off during the off-season. Moisture management is the difference between a one-year display and a ten-year investment.
| Bulb Type | Minimum Chill Time (Weeks) | Ideal Planting Depth (Inches) | Soil pH Requirement |
|---|---|---|---|
| Tulips | 14-16 | 6-8 | 6.0 – 7.0 |
| Daffodils | 12-14 | 6-8 | 6.0 – 6.5 |
| Crocus | 10-12 | 3-4 | 6.0 – 7.0 |
| Hyacinth | 12-14 | 5-6 | 6.5 – 7.5 |
Can I plant bulbs in the spring?
Technically, you can put them in the ground, but they will not bloom. They missed their required vernalization cycle. If you find a bag of bulbs in March, your best bet is to pot them up and put them in a refrigerator for 12 weeks before planting, though the success rate is statistically low. The biological clock is set for fall.
“Soil drainage is the most critical factor in bulb longevity; bulbs in anaerobic, waterlogged conditions will suffer from basal rot within a single season of dormancy.” – USDA Agricultural Research Service
The Installation Checklist
Before you crack the soil, follow this professional protocol to ensure you aren’t wasting money on dead stock.
- Test the pH: Aim for 6.0 to 7.0. Use lime to raise or sulfur to lower.
- Check Bulb Integrity: Toss any bulbs that feel soft, lightweight, or show blue mold. They should be firm like an onion.
- Add Bone Meal: Incorporate high-phosphorus amendments into the bottom of the planting hole, not the surface.
- Orientation: Pointed end up. Always. If you can’t tell, plant it on its side; the geotropism will eventually guide the sprout up.
- Mulch Layer: Apply 2 inches of shredded hardwood mulch to insulate the soil and prevent frost heaving.
Don’t be the homeowner who buys a bag of bulbs at a big-box store and throws them in a shallow hole in the middle of a weed-choked bed. That is not landscaping; that is a waste of time. Do the work in October. Dig deep. Amend the soil. Use a tape measure to ensure depth consistency. When April rolls around and your yard is the only one on the block with uniform, structural color, you’ll see why the engineering matters. It isn’t magic; it’s biology. Stop guessing and start measuring.