
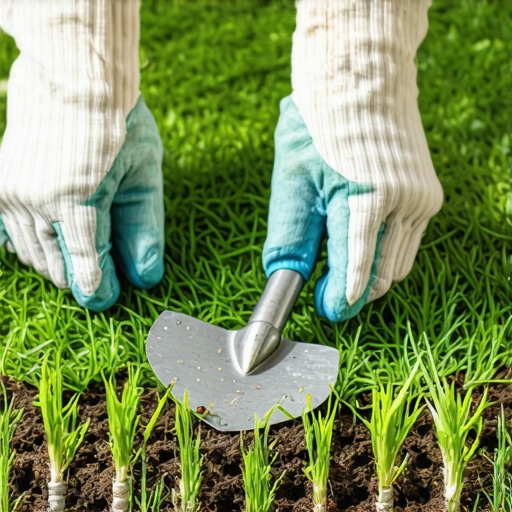
Why Do Sod Gaps Happen After Installation?
Sod gaps occur due to moisture loss, improper edge-to-edge contact, or soil contraction during the initial 14-day curing phase. If the edges dry out, they curl and shrink, leaving 1-to-2-inch fissures that expose the root zone to thermal shock and weed invasion. I always drill into my new crew members: if you don’t fix the soil grading first, every plant you put in the ground is just expensive compost. Most rookies think they can just slap rolls down like carpet. It doesn’t work that way. I recently had an apprentice who thought a 2-inch gap was ‘fine.’ It wasn’t. By day three, the exposed roots were toasted. Soil is a living, breathing mechanical base. If the base settles or the moisture content drops too fast, the physics of the turf changes. We are talking about hydrostatic tension in the root mass. When that tension breaks because the soil below it isn’t level, the sod pulls back. It shrinks. Now you’ve got a line of dead dirt in the middle of a $5,000 yard. You don’t need more rolls to fix this. You need a better understanding of agronomy and some sweat equity.
“Turfgrass establishment fails when the soil-to-root interface is compromised by air pockets or excessive thatch.” – Agronomy Field Manual
The Forensic Autopsy: Identifying the Root Cause of Fissures
Identifying sod gaps involves checking for desiccation, subsidence, or nitrogen burn. Look at the soil beneath the gap; if it is bone-dry and compacted, the issue is poor irrigation. If the grass edges are yellow, it is likely salt accumulation or fertilizer burn from overlapping applications. You need to look at the Cation Exchange Capacity (CEC) of your soil. If you have heavy clay, it holds water but shrinks like crazy when it dries. If you have sandy loam, the water just vanishes. I see guys trying to fix gaps by just throwing more seed in. That is a waste of time. You need to know if the gap is because the roll wasn’t tucked or because the ground moved. Measure the gap. Anything under 1 inch can be fixed with top-dressing. Anything larger requires a harvest-and-plug approach. Don’t be lazy. Check the depth. If there is a 2-inch drop, your base was never level.
How much water does new sod actually need?
New sod requires approximately 1 inch of water per day for the first two weeks, applied in short bursts to prevent runoff. This ensures the soil-to-root contact remains moist without creating anaerobic conditions that rot the roots. After 14 days, you shift to deep, infrequent watering. This forces the roots to chase the water down into the 6-to-8-inch soil profile. If you only water the surface, the roots stay lazy. Lazy roots lead to shrinking rolls. I have seen homeowners run their irrigation for 40 minutes at 2 AM. That’s a mistake. You get fungus. You want 10 to 15 minutes, three times a day, between sunrise and 4 PM. This keeps the humidity down at night and the moisture up during the heat. Simple. Stop over-thinking the ‘green’ and start thinking about the ‘brown’ underneath.
Remediation Without Replacement: The Plug and Patch Strategy
You can fix sod gaps without new rolls by using plugs harvested from inconspicuous areas, top-dressing with organic fines, or encouraging lateral stolon growth through targeted nitrogen-rich fertilization. This method leverages the natural aggressive growth patterns of creeping grasses like Bermuda or St. Augustine. I hate seeing people go back to the nursery for two rolls of sod. It’s a waste of fuel and money. Instead, take a 4-inch PVC pipe or a professional plugger tool. Go to the back corner of your yard—the place where the shed is or under a low-hanging tree—and pull a few plugs. These are genetically identical to the rest of your lawn. They won’t look like a different color ‘patch’ once they take. Drop them into the gaps, backfill with a 70/30 mix of screened topsoil and compost, and step on them. Hard. You need that compaction to eliminate air pockets. Air is the enemy of a root.
| Material | Purpose | Performance Level |
|---|---|---|
| Screened Topsoil | Volume filling and stability | High |
| Masonry Sand | Drainage and leveling | Medium |
| Organic Compost | Nutrient loading and microbial activity | Very High |
| 70/30 Custom Mix | All-around gap remediation | Expert Grade |
Engineering the Soil: Top-Dressing and Nutrient Loading
Top-dressing sod gaps requires a 70/30 mix of screened topsoil and organic compost to provide structure and immediate nutrient availability. This mixture fills the void, stabilizes the root flare of adjacent sod, and prevents the surrounding grass from collapsing into the gap during heavy rain. If you use just sand, you’re creating a miniature desert. Sand has no nutrient holding capacity. It has a CEC of practically zero. You need that organic matter to hold onto the nitrogen. When you fill those gaps, don’t just mound it up. Level it. Use a flat-head rake or even a board. You want the soil in the gap to be about 1/4 inch lower than the surrounding blades. This allows the stolons—the runners of the grass—to crawl over the top and root into the new material. If you bury the edges of the existing sod, you will cause crown rot. I’ve seen 30-year veterans make that mistake. Don’t be that guy. Keep the crown clear.
Will sod gaps fill in on their own?
Sod gaps will eventually fill in on their own if the grass species has rhizomes or stolons, such as Bermuda, Zoysia, or St. Augustine. However, without manual intervention like top-dressing, the gaps will often fill with weeds first, creating a structural weakness in the turf canopy. If you have a bunch-type grass like Tall Fescue, those gaps will never close. You will just have a hole forever. Fescue doesn’t ‘run.’ If you have Fescue, you have to seed or plug. For the runners, you need to push them with a high-phosphorus fertilizer to encourage root expansion. Don’t just dump nitrogen on it. You want roots, not just green blades. Check your NPK ratios. You’re looking for something like a 10-20-10 for repair work.
“High-quality turf management relies on deep, infrequent irrigation to force root systems to chase moisture into the subsoil.” – Turfgrass Extension Service
- Excavate the debris: Clean out any dead grass or rocks from the gap.
- Score the edges: Use a knife to lightly cut the edges of the existing sod to stimulate growth.
- Backfill: Use the 70/30 topsoil/compost mix mentioned earlier.
- Tamp down: Ensure there are no air pockets between the new soil and the existing root wall.
- Irrigate: Hand-water the gaps specifically to settle the soil.
Preventing Future Gaps: The Maintenance Protocol
Prevent future sod issues by maintaining a soil pH between 6.0 and 7.0, ensuring 1 inch of water weekly, and performing core aeration annually. Consistent soil moisture levels prevent the clay or loam base from shrinking, which is the primary mechanical cause of sod seam separation. Landscaping isn’t a ‘one and done’ deal. It’s a biological maintenance contract. If you ignore the yard cleanup, if you let leaves sit and rot on the new sod, you’re inviting disease. Thatch is another killer. If your thatch layer gets over 1/2 inch thick, your water isn’t even hitting the soil. It’s just sitting in the fluff and evaporating. That leads to shrinkage. Keep it clean. Keep it fed. Most importantly, keep it watered correctly. If you can’t commit to a real irrigation schedule, don’t bother buying sod. Just paint the dirt green. It’ll save you the heartbreak.