
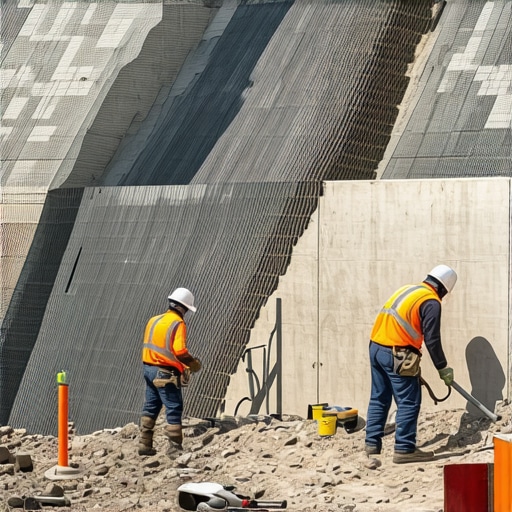
Fixing 2026 Retaining Wall Bulge: Why Your Wall is Failing and How Geogrid Saves It
A retaining wall bulge is the visual signature of a structural failure caused by hydrostatic pressure or excessive surcharge loads pushing against an unreinforced wall face. To fix this, you must excavate the failure zone, manage water with perforated drain tiles, and integrate geogrid reinforcement to tie the wall mass back into the soil column. It is a matter of physics, not aesthetics.
The Hardscape Autopsy: Why Walls Bow
I recently got called out to tear up a $30,000 patio and retaining wall system that was bowing like a cheap barrel. The homeowner was devastated. The previous contractor—one of those ‘mow-and-blow’ types who thought a skid steer made him an engineer—had stacked heavy 80-pound blocks against raw, uncompacted clay. No gravel. No pipe. No grid. Within two seasons, the clay saturated, expanded, and pushed the wall four inches out of plumb. The wall wasn’t just ugly; it was dangerous. I had to tell the owner that every single block had to come down. You can’t ‘patch’ a structural bulge. You have to perform a forensic teardown and address the root cause: the invisible weight of water-logged soil.
“A retaining wall doesn’t fail because of the stone; it fails because of the water trapped behind it.” – Hardscape Engineering Axiom
The Physics of Hydrostatic Pressure
When it rains, soil becomes a sponge. If you have heavy clay, that sponge holds thousands of gallons of water. This water creates hydrostatic pressure, which exerts a lateral force measured in pounds per square foot (PSF). Without a chimney drain of No. 57 clean stone and a 4-inch perforated SDR-35 pipe, that pressure has nowhere to go but through your wall. This is why you see ‘weeping’ walls or blocks that look like they are leaning forward. If you are planning a sod install or new landscaping on the upper terrace, you are adding even more weight—surcharge—that the wall wasn’t built to handle.
The Solution: Geogrid and Interlocking Soil Mechanics
Geogrid is a high-tenacity polyester mesh that provides tensile strength to the soil, effectively turning a thin stack of blocks into a massive, reinforced soil wedge. By laying geogrid between the courses of block and extending it several feet back into the compacted backfill, you create a composite structure. The soil grains lock into the apertures of the grid, preventing the soil from sliding toward the wall face. It’s the difference between a stack of loose cards and a bound book.
| Soil Type | Friction Angle (Approx) | Geogrid Length Requirement | Max Unreinforced Height |
|---|---|---|---|
| Clean Gravel/Sand | 32-36° | 70% of wall height | 36 inches |
| Silty Sand/Loam | 28-32° | 80% of wall height | 24 inches |
| Heavy Clay/Silt | 22-26° | 100% of wall height | 12-18 inches |
How much modified gravel do I need for a patio base?
For a standard residential retaining wall or patio, you need a minimum of 6 inches of compacted 2A modified gravel (also known as CR6 or ¾-inch minus) for the footer. This base must be wider than the block itself—typically 12 inches wider—to distribute the weight. Use a vibratory plate compactor until the base is rock hard. If the tamper doesn’t bounce off the surface, it isn’t compacted enough. Don’t guess. Measure the density.
The Step-by-Step Remediation Process
Fixing a bulge isn’t a yard cleanup task; it’s a civil engineering project. Follow this protocol to ensure the 2026 fix lasts for the next fifty years.
- Excavation: Remove the blocks and dig out the ‘inflicted’ soil behind the wall. You need to go back at least the height of the wall plus one foot.
- Base Preparation: Level the footer. If the soil is soft, over-excavate and add more aggregate.
- Drainage Core: Place 12 inches of clean, angular stone (No. 57) directly behind the blocks. This is non-negotiable. Do not use ‘modified’ stone here; it will clog.
- Geogrid Placement: Lay the geogrid on a clean block surface. Pull it taut toward the back of the excavation. Stake it down. Cover with 6-inch lifts of soil and compact.
- Compaction: Use a jumping jack or plate compactor every 6 inches of fill. Hand-tamping is for flower beds, not structural walls.
- Irrigation Management: Ensure your irrigation lines are not leaking into the backfill zone. A slow leak can liquefy your structural fill over time.
Do I really need geogrid for a 3-foot wall?
If you have level ground and sandy soil, you might get away without it. But if there is a slope above the wall, or if you are parking a car anywhere near it, geogrid is mandatory. The cost of the mesh is pennies compared to the cost of a wall collapse. I’ve seen 3-foot walls fail because the homeowner installed sod and then over-watered it, turning the backfill into a slurry. Geogrid provides the safety margin that prevents a total loss.
“Internal stability of a reinforced soil structure is maintained by the friction developed between the soil and the reinforcement layers.” – NCMA Design Manual for Segmental Retaining Walls
The Intersection of Landscaping and Engineering
Once the wall is structurally sound, your landscaping choices matter. Avoid planting large trees with aggressive taproots directly behind the wall, as they can displace the geogrid layers. Instead, use native grasses or shrubs that assist with surface erosion control without compromising the structural integrity of the backfill. If you are doing a yard cleanup, ensure your mulch levels aren’t blocking the weep holes at the bottom of the wall. Water must exit the system freely. If the pipe is clogged, the wall is a ticking time bomb.
The 1-Inch Water Rule
While the internet tells you to water every day after a sod install, turf grass actually needs deep, infrequent watering—exactly 1 inch per week—to force roots to chase the water down. This is critical near retaining walls. Shallow, frequent watering keeps the top layer of backfill saturated, increasing the weight on the geogrid and potentially leading to surface slumping. Deep roots stabilize the topsoil, acting as a secondary reinforcement layer. It will rot if you keep it swamped. Physics doesn’t care about your garden’s thirst.
How do I know if my wall is about to fail?
Look for ‘stair-step’ cracking in the mortar or gaps opening between dry-stack blocks. If you see soil migrating through the face of the wall (piping), your filter fabric has failed or was never installed. If you notice the irrigation heads near the wall are leaning, the ground is already shifting. Address it now. Waiting until 2026 just means you’ll be paying for a more expensive crane later. Don’t skip the drain tile. The wall is dead without it.