
Fixing Sinking Pavers: The Engineering Reality of Sand Injection and Base Stabilization
I recently got called out to tear up a $30,000 patio that was sinking because the previous contractor thought he could skip the compaction phase on a heavy clay subgrade. The homeowner was devastated. The pavers were undulating like a North Atlantic swell, and the pool coping was separating by nearly two inches. This wasn’t just an aesthetic nightmare; it was a structural failure caused by a fundamental misunderstanding of hydrostatic pressure and soil load-bearing capacity. When you see a paver dip, you aren’t just looking at a ‘settled brick.’ You are looking at a failure of the stratified layers beneath it.
Why Do Pavers Sink?
Paver settlement occurs when the interlocking mechanism fails, typically due to sub-base erosion, inadequate compaction, or poor drainage that allows water to saturate the bedding sand. Restoring these surfaces requires a surgical approach to sand injection or base remediation to ensure the paving units regain their structural integrity and load-bearing distribution. If you ignore the base, you are just rearranging deck chairs on the Titanic.
“A retaining wall doesn’t fail because of the stone; it fails because of the water trapped behind it.” – Hardscape Engineering Axiom
In my twenty years of tearing out ‘mow-and-blow’ hack jobs, the culprit is usually the same: the base. Most guys use stone dust. Stone dust is garbage. It holds water, it turns to mush in the freeze-thaw cycle, and it has zero structural drainage. You need a modified gravel base, typically 21A or 3/4-inch minus, compacted in three-inch lifts with a plate compactor hitting at least 4,000 lbf. Anything less is just a sandbox.
How much modified gravel do I need for a patio base?
For a standard pedestrian walkway or patio, you require a minimum of 4 to 6 inches of compacted Class 5 or 21A modified gravel, while driveways require 10 to 12 inches. This depth ensures the load is distributed across the sub-grade without causing localized shear failure or frost heave during winter cycles.
| Material Type | Drainage Rating | Compaction Stability | Best Use Case |
|---|---|---|---|
| Modified Gravel (21A) | Excellent | Very High | Structural Base Layer |
| Stone Dust | Poor | Low | Avoid for structural use |
| ASTM C33 Sand | High | Moderate | Bedding Layer (1 inch) |
| Polymeric Sand | Moderate | High (Lateral) | Joint Stabilization |
The Forensic Autopsy: Diagnosing the Failure
Before you even touch a bag of sand, you have to find the leak. Is your irrigation system blowing a seal? I’ve seen a single cracked lateral line wash out ten square feet of bedding sand in a week. Is your yard cleanup routine missing the clogged French drains? If water sits on the surface, it finds its way into the joints, saturates the base, and turns your solid ground into a slurry. Check your sod install levels. If the grass is higher than the pavers, water will dam up and find a way down. Fix the grade first.
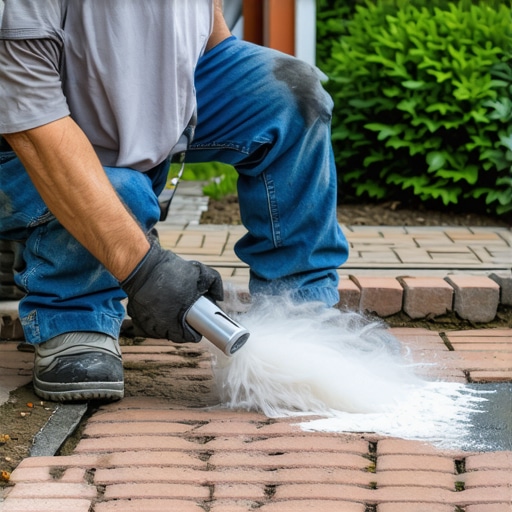
The ‘Sand Injection Trick’ isn’t some magic wand. It is a remediation technique used for minor settling where the base is still largely intact but the bedding layer has migrated. It involves using a high-flow polymeric sand or a dry-packed sand-cement slurry injected into the voids. It works. But it only works if you stop the water first.
Can I just pour sand over sinking pavers?
Simply pouring sand over the surface is a temporary cosmetic fix that does nothing to address the underlying void or base compaction failure. To properly fix the issue, you must extract the affected pavers, rebuild the compacted aggregate base, and replace the bedding sand to ensure the surface remains planar and stable under load.
The Step-by-Step Remediation Process
- Step 1: Extraction. Use two screwdrivers or a paver extractor tool to lift the ‘key’ stone. Don’t pry against the edges or you’ll chip the concrete.
- Step 2: Sub-base Inspection. Check for ‘pumping.’ If you push on the gravel and water squeezes up, you have a drainage failure. Excavate it.
- Step 3: The Sand Injection. For minor low spots, we use a dry-mix of ASTM C33 washed sand mixed with a small amount of Type S masonry cement. We ‘inject’ this into the low points of the base to create a solid, non-migratory platform.
- Step 4: Compaction. Once the pavers are reset, use a rubber-mat compactor. The tamper should literally bounce off the compacted base. If it feels ‘thuddy,’ you have moisture in the base.
- Step 5: Polymeric Jointing. Sweep in a high-quality polymeric sand. Don’t buy the cheap stuff from the big-box store. You want a product with high vapor permeability but strong lateral bonding.
“Proper interlocking pavement performance is dependent upon the transfer of loads through the joint sand to adjacent units.” – ICPI Technical Manual
I tell my crew every morning: ‘If you don’t fix the soil grading first, every plant you put in the ground is just expensive compost.’ The same applies to stone. If your landscaping design doesn’t account for where the water goes, your pavers will sink. Period. It’s a matter of physics. Your yard is a living, breathing hydraulic system. Treat it with respect, or it will eat your investment. After the repair, keep your irrigation sensors calibrated. Over-watering is the number one killer of hardscapes in this region. One inch of water per week is all your sod install needs. Any more, and you’re just inviting the sand to wash away. The work is in the dirt. Always.