
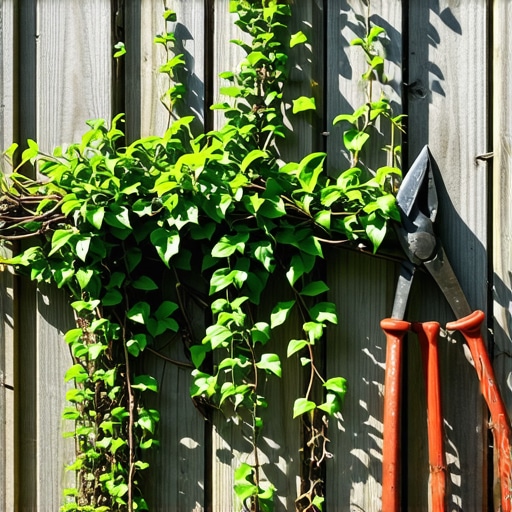
How to Clear a Neglected Fence Line Fast: A Professional Landscaper’s Reclamation Guide
Most homeowners look at a fence line choked with English Ivy, wild grapevines, and woody saplings and see a weekend of torture. I see a structural liability. I recently got called out to tear up a $30,000 cedar fence and the accompanying stone patio because the previous contractor allowed the fence line to remain a biological soup of invasive roots and trapped moisture. The hydrostatic pressure from the unmanaged soil and the constant moisture against the post footings caused the entire line to heave three inches. The fence was leaning at a 15-degree angle. It was a total loss. This is why you don’t just ‘trim’ a fence line; you reclaim it with engineering precision.
The Critical First Step in Fence Line Reclamation
To clear a neglected fence line in one afternoon, you must combine mechanical cutting with root-zone extraction using high-torque brush cutters and mattocks. Focusing only on surface foliage ensures rapid regrowth; you need to eliminate the crown of the weed and the rhizomatous root systems to see permanent results and protect your landscaping investment.
The biggest mistake is using a standard string trimmer. You are bringing a toothpick to a knife fight. If the brush is thicker than a pencil, your .095-inch trimmer line will simply melt against the wood. You need a dedicated brush cutter with a 3-tooth metal blade. This tool doesn’t ‘cut’ so much as it pulverizes woody stalks. You must wear shin guards and a full face shield. I have seen a brush cutter kick back a piece of hidden chain-link fence at 400 feet per second. Do not skip the PPE. It is not about comfort. It is about safety.
“A fence line is more than a boundary; it is a drainage corridor. When vegetation obstructs the base of a fence, it traps organic debris, creating a perched water table that accelerates wood rot and metal corrosion.” – Hardscape Engineering Axiom
The Anatomy of a Neglected Fence Line
Before you start swinging a Pulaski, you need to understand what you are fighting. Most neglected lines are a mix of three things: annual weeds, perennial woody vines, and ‘volunteer’ trees like Mulberry or Black Locust. Each requires a different kill-shot. The annuals die with a quick scalp. The vines, however, have root systems that can extend 15 feet. If you leave a single node of Trumpet Vine in the ground, it will be back in three weeks. This is why we use the ‘Cut and Paint’ method. You cut the vine at the base and immediately apply a 41 percent glyphosate or triclopyr concentrate to the fresh wound. The plant’s own vascular system pulls the herbicide down to the roots.
| Tool Type | Best Use Case | Professional Recommendation |
|---|---|---|
| Brush Cutter (Metal Blade) | Woody saplings and thick briars | Stihl FS 250 or Husqvarna 545FR |
| Root Mattock | Grubbing out stumps and heavy vines | 5lb forged steel head |
| Reciprocating Saw | Cutting roots near fence posts | Diablo ‘Amped’ carbide teeth blades |
| Flame Weeder | Post-clearing seed bank sterilization | 200,000 BTU propane torch |
How much modified gravel do I need for a fence base?
To prevent future growth, you should excavate a 4-inch deep trench along the fence line and backfill it with 3/4-inch modified gravel. For a 100-foot fence line that is 1 foot wide, you will need approximately 1.25 cubic yards of stone. This creates a sterile zone that prevents seeds from reaching the soil. It also facilitates irrigation drainage away from the fence posts, extending the life of the structure by years.
What is the best tool for clearing heavy brush?
The best tool for heavy brush is a high-torque brush cutter equipped with a circular saw blade or a 3-point brush knife. For larger areas where the fence is accessible, a skid steer with a bush hog attachment is the professional choice, but for residential lines, manual grubbing with a root mattock is the only way to ensure the root ball is entirely removed. If the root stays, the weed stays.
The Step-by-Step Reclamation Process
Step one: The Initial Scalp. Use your brush cutter to take everything down to six inches. Do not go to the dirt yet. You need the stalks visible so you can identify the main root clusters. Step two: The Identification. Locate the ‘volunteer’ trees. These are the saplings growing through the chain link or right against the pickets. Use a reciprocating saw with a carbide-tipped blade to cut these flush. Step three: The Grubbing. This is where the work happens. Use the mattock to swing under the root flare. Pop the root out of the ground. If you leave it, it will rot and create a void that invites pest infestations or soil settling.
“Management of invasive woody species requires the total exhaustion of the plant’s carbohydrate reserves, usually achieved through repeated mechanical removal or systemic chemical translocation.” – Penn State Agricultural Extension
Once the area is clear of bulk material, you are left with the ‘seed bank.’ This is the top two inches of soil filled with thousands of dormant seeds. If you do a sod install or new landscaping right now, those seeds will explode into growth the moment you add water. You must treat this soil. I prefer a high-heat propane torch to ‘flash-cook’ the surface. It kills the seeds without damaging the soil microbiology deeper down. It is fast. It is effective.
- Check for Utilities: Always call 811 before digging, even for a shallow trench. Cable lines are often buried only 3 inches deep near fences.
- Monitor the Grade: Ensure the ground slopes away from the fence at a 2 percent minimum. Standing water is the enemy of your fence and your yard.
- Clean Your Blades: Invasive species spread via root fragments. Wash your tools before moving to a new area of the yard.
- Apply Pre-Emergent: Use a granular pre-emergent like Prodiamine to stop new seeds from germinating in the fresh soil.
Long-Term Fence Line Maintenance
Clearing the line in an afternoon is a sprint; keeping it clear is a marathon. After the yard cleanup, do not just leave bare dirt. Bare dirt is an invitation for Mother Nature to send her worst. I recommend installing a heavy-duty, 5-ounce non-woven geotextile fabric. Do not buy the cheap plastic film from big-box stores. It will tear in six months. Put the heavy fabric down, then top it with three inches of clean stone or hemlock mulch. Hemlock is naturally rot-resistant and acts as a mild deterrent to certain insects.
If you have an irrigation system, check the spray patterns. Overspray hitting a wooden fence is a death sentence. Adjust the heads so they water the sod, not the cedar. If the fence is constantly wet, you will be back out there in two years fighting moss and rot. Keep the base clear. Keep the wood dry. That is the secret to a professional-grade property. It requires discipline. It requires the right tools. Do the work once, and do it right.